
Our deck is small, our patio furniture is older than our kids, and by the second week of September our backyard evenings had turned into a fight over who got the one working outdoor chair. I’d been eyeing paver fire pit patios on Pinterest for two summers, and every contractor quote I gathered came back around $3,000 to $4,500 for a space smaller than our living room. Outdoor living has become one of the biggest home trends of 2026, with fireplaces and fire pits turning ordinary backyards into what designers are now calling year-round gathering rooms instead of seasonal afterthoughts. So instead of waiting for a quote I could stomach, my husband and I rented a plate compactor, ordered pavers from our local landscape supply yard, and built our own fire pit patio over two September weekends. As an Amazon Associate, I earn from qualifying purchases, and a few of the smaller tools and fire pit accessories below are linked to make your own build easier to shop for. Here’s exactly how we did it, mistakes and all.
What You’ll Need
Materials: 3/4-inch minus crushed gravel (about half a ton per 100 square feet at 4 inches deep), paver base leveling sand, woven landscape fabric, plastic or aluminum paver edge restraints and spikes, your chosen paver style (we used 6×9-inch tumbled concrete pavers), a steel fire pit ring or fire pit kit, and fire glass or lava rock to fill the pit itself. Tools: a can of marking spray paint or a garden hose for laying out curves, a flat-blade shovel, a wheelbarrow, a rented plate compactor, a hand tamper for tight edges, a 4-foot level, a rubber mallet, a wet tile saw or angle grinder with a diamond blade for cutting border pavers, and a stiff push broom. Shop fire pit ring kits on Amazon and shop fire glass on Amazon if your local supply store doesn’t carry them — both shipped to us faster than we expected.
Step 1: Choose and Mark Your Site
Pick a spot at least 10 feet from your house, fence, or any overhanging branches, and check that it’s reasonably level to start. We used a garden hose to lay out a soft curve on one side and marking paint for the straight edges along the house, then stood back and looked at the shape from the kitchen window before committing. It’s much easier to adjust a spray-paint line than to redo excavation later. Measure the final layout carefully so you can calculate how much gravel, sand, and how many pavers you’ll actually need — most paver calculators online just need your square footage and paver size.
Step 2: Check Codes and Call 811 Before You Dig
This step gets skipped in a lot of DIY tutorials, but it matters more for a fire pit than almost any other backyard project. Call 811 (free, nationwide) a few days ahead so utility companies can mark any buried lines before you break ground. Then check your city or county’s rules on open-flame fire pits — many municipalities require a minimum distance from structures and property lines, and some restrict wood-burning pits during dry seasons in favor of propane or natural gas inserts. A five-minute call to your local fire department saved us from having to move our layout by two feet.
Step 3: Excavate the Area
Dig out the entire patio footprint to a depth of about 6 to 7 inches to leave room for your gravel base, sand layer, and paver thickness combined, sloping the bottom very slightly (about a quarter inch per foot) away from your house for drainage. We used flat shovels and a lot of coffee for this part; renting a small track loader is worth it if your patio is larger than about 150 square feet. Keep the walls of the excavation as straight and even as you can, since an uneven base is the number one reason DIY patios end up wobbly or sunken within a year.
Step 4: Lay Landscape Fabric and Add the Gravel Base
Roll landscape fabric across the entire excavated area, overlapping seams by at least 6 inches, to stop weeds and keep your base gravel from migrating into the soil below. Then spread your crushed gravel in two lifts of about 2 inches each, compacting with the plate compactor after every lift rather than dumping it all in at once. Compact each layer at least two or three passes in different directions — this is the step that determines whether your patio stays flat for years or starts dipping after the first freeze-thaw cycle.
Step 5: Screed the Sand Setting Bed
On top of your compacted gravel, spread about 1 inch of paver base sand and level it using two straight metal or PVC pipes laid parallel as guides, with a 2×4 dragged across them to “screed” the sand flat and even. Work in small sections so you don’t disturb the sand before you can set pavers into it — kneeling boards or plywood scraps help you avoid leaving footprints in a bed you just leveled. Do not compact this sand layer; it should stay loose so pavers can settle evenly into it as you tap them down.
Step 6: Install the Fire Pit Ring First
Set your steel fire pit ring or fire pit kit into position before laying any field pavers around it, since it’s far easier to build the pattern outward from a fixed center than to cut an opening later. Dig the ring’s base slightly deeper if it needs to sit below the paver surface, and use a level to make sure it sits evenly on all sides. Leave a small buffer of loose gravel directly under the ring itself for drainage, since standing water under a fire pit insert can cause rust and cracking over time.
Step 7: Lay the Field Pavers
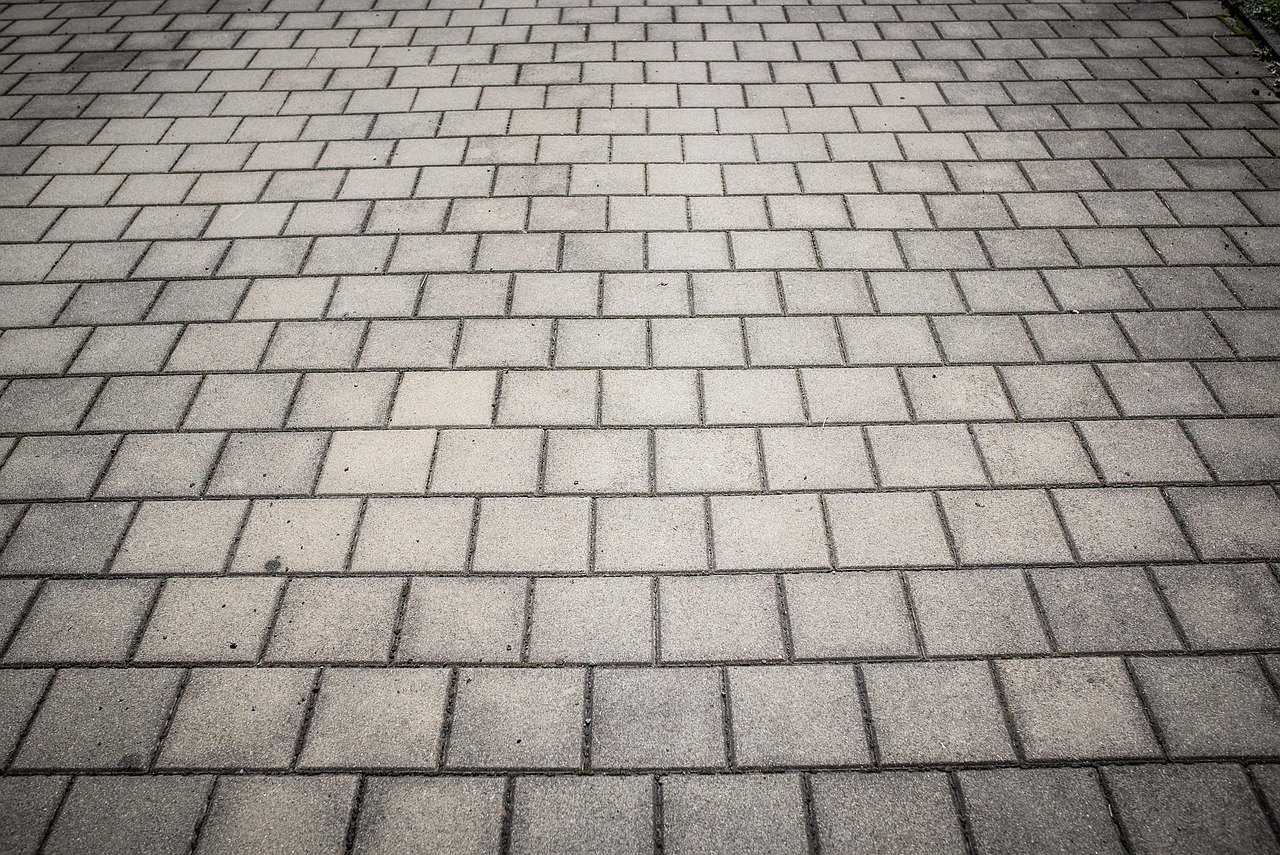
Starting from your fire pit ring or a straight edge, place pavers one at a time directly onto the sand bed in your chosen pattern, working outward in small sections. Tap each paver down with a rubber mallet, checking every few pieces with a level to catch high or low spots early. Keep joints between pavers consistent — most tumbled or interlocking pavers are designed with built-in spacer nubs, but a couple of nails as spacers work fine for square-cut styles. This was the most satisfying part of the entire project; the patio starts looking real almost immediately.
Step 8: Cut Border Pavers to Fit
Along curved or angled edges, whole pavers won’t fit cleanly, so mark each one individually against the gap it needs to fill and cut it with a wet tile saw or an angle grinder fitted with a diamond masonry blade. Always wear safety glasses and hearing protection for this step, and cut outdoors with the hose running if you’re using a dry-cut blade to keep dust down. We found it faster to cut a small batch of border pieces all at once rather than stopping the whole rhythm of laying pavers every time we hit an edge.
Step 9: Lock in Edges and Sweep in Joint Sand
Install edge restraints along the entire perimeter of the patio and secure them with landscaping spikes every 12 inches or so — this is what keeps your pavers from creeping outward over time, especially near a fire pit that expands and contracts with heat. Once the restraints are in, sweep fine polymeric sand across the whole surface, working it into every joint with a push broom, then lightly mist it with water according to the product instructions so it hardens in place and resists weeds and ants.
Step 10: Fill the Pit and Do a Safe First Burn
Fill your fire pit ring with a base layer of lava rock or fire glass, following your specific insert’s fill-depth instructions, and keep a fire extinguisher or hose within reach for the first burn. Start with a small, controlled fire and watch how heat radiates toward nearby plants or furniture before you commit to a full-size fire on a busy night. We waited a full 24 hours after the polymeric sand cured before lighting anything, just to be safe with the fresh joints.
Fire Pit Safety and Maintenance Tips for Fall
Keep at least a 3-foot clear zone around the fire pit free of chairs, blankets, and dry leaves, which pile up fast once the trees start turning. Sweep the paver surface regularly through fall so leaf debris doesn’t stain the stone, and check your edge restraints each spring for any spikes that worked loose over winter. If you’re in a region with hard freezes, cover the fire pit insert on nights you won’t use it, and always fully extinguish embers with water rather than letting them smolder out on their own overnight.
Final Thoughts
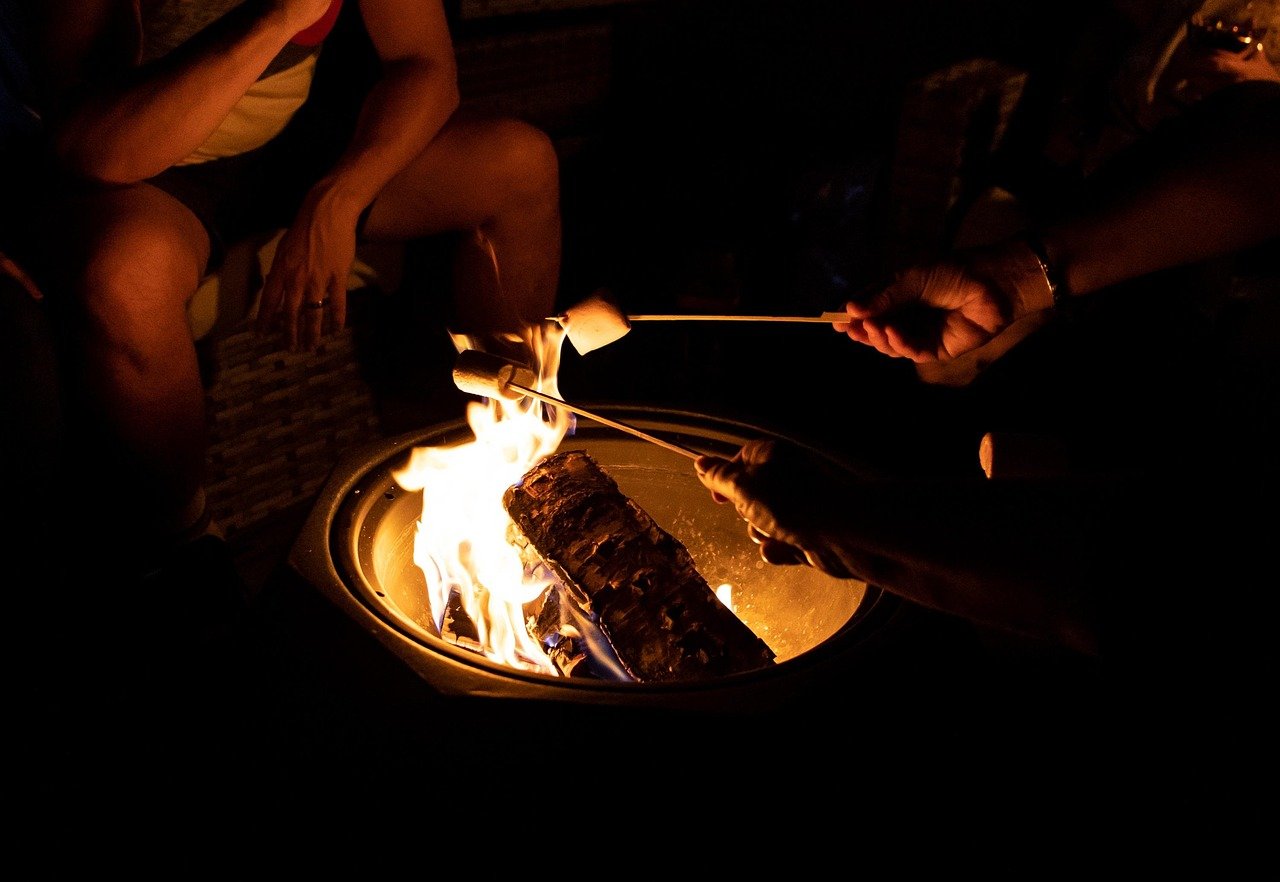
We lit our first real fire on the last weekend of September, and within twenty minutes our kids had dragged out marshmallow sticks and every blanket in the house. What started as a way to avoid a $4,000 contractor quote turned into the spot our whole family actually wants to be after dinner now — no screens, just the fire and whoever pulls up a chair. It took two weekends instead of one, and the sand-screeding step tested my patience more than I expected, but standing out there with a fire we built with our own hands made every aching muscle worth it. If your backyard has felt more like a walkway than a destination, a weekend with a shovel and a plate compactor might be the fastest, cheapest way to change that before the weather turns for good.