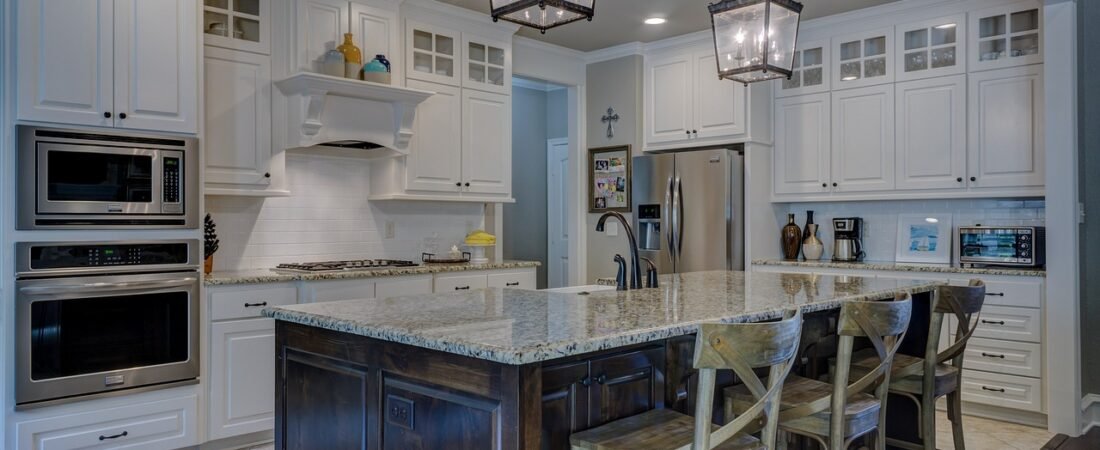
Last Thanksgiving I counted what lived on my kitchen counter: a coffee maker, a toaster, an air fryer, a stand mixer, a blender, and a tangle of cords that I kept shoving behind the bread bin. My sister walked in, looked around, and asked where she was supposed to put the pie. There was no flat space left, and it was my own fault, because every one of those machines earned its spot by being used at least twice a week. That’s the exact problem designers are now solving with a 1980s throwback, and I’ve been collecting ideas ever since. The budget-friendly versions below include a handful of shopping links, so I’ll say it plainly: as an Amazon Associate, I earn from qualifying purchases, at no extra cost to you. The big idea comes first, though, because the most useful part of this trend costs nothing: deciding which appliances actually deserve counter space.
Why Appliance Garages Are Back
An appliance garage is, as Apartment Therapy’s Olivia Harvey puts it, “exactly what it sounds like — a countertop ‘garage’ to store your appliances in when they’re not in use.” In an August 29, 2026 piece, she wrote that they are “about to make a huge comeback in trendy kitchen design, overtaking wish lists for new builds in 2027.” Her source is a survey from cabinet maker MasterBrand, which describes appliance garages as “steadily rising in popularity to minimize countertop clutter without sacrificing accessibility.”
The idea isn’t new. They first became popular in the ’80s, usually tucked into a countertop corner behind a roll-up tambour door. What changed is the execution. Harvey notes that modern versions use “a slider door (a pocket-style feature) or a fold-up cabinet door instead,” which “blend in with existing cabinetry and make an appliance garage so much more seamless.”
Another write-up of the MasterBrand findings, published September 15, 2026 by Investors Hangout, says “appliance garages and clever waste/recycling units are no longer a luxury but standard fare.” I’d treat that as a reported summary rather than the original report, but it matches what designers have been saying for a year. Los Angeles designer Jeff Andrews told Better Homes & Gardens, “We are working to eliminate clutter throughout our homes, and kitchen appliances are at the top of many homeowner lists.”
What a Modern Appliance Garage Actually Looks Like
Forget the sticky roll-up shutter from your grandmother’s kitchen. Livingetc’s January 2026 roundup of appliance garage ideas shows how many shapes the idea now takes, and each one solves a slightly different annoyance.
A tambour door still works when it’s well made. Designer Olivia Botrie of Dart Studio told Livingetc, “The countertop flows straight into the garage, so there’s no lifting or shuffling appliances around.” The pull-out shelf version is the one I’d want for a coffee maker. Designer Anna Popov of Interiors by Popov described a coffee station hidden behind a flip-up door, where “the coffee maker is plugged in and is on a pull-out shelf, making it very convenient for daily use.”
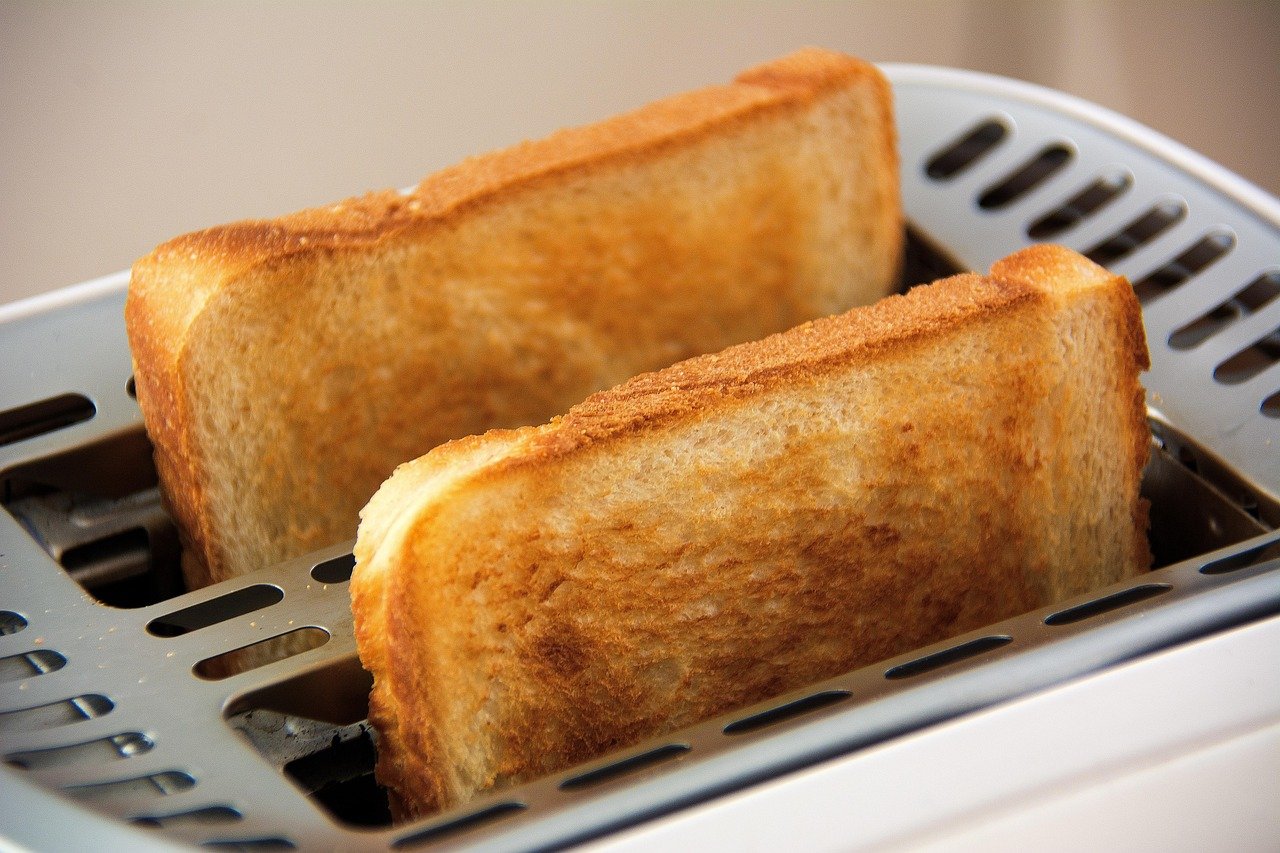
The same roundup features a toaster drawer from House of Waffle x IKEA that slides out for busy mornings and catches crumbs, plus a Californian kitchen where sliding glass panels beside the range hide a mixer, coffee makers, a blender, and a toaster that stay plugged in. The pattern across all five ideas is the same: the appliance never has to be lifted, unplugged, or hunted for.
The Heat Rule for Air Fryers and Toasters
The biggest mistake with a closed cabinet is treating it like a regular shelf. Heat-producing appliances need air. When Livingetc covered the “air fryer garage” built by Zoe Perks of No.54 Interiors in October 2025, the design put the air fryer on an extendable drawer behind a lift-up door. Perks said her team “walked through the ergonomics to ensure safety and ease of use, created suitable ventilation, and ensured power was placed appropriately within first fix.”
Better Homes & Gardens flags the same issue: ventilation has to be planned for air fryers, toaster ovens, and microwaves. In practice, that means pulling the appliance forward before you turn it on, never running it with a door closed, and checking your owner’s manual for clearance. I’m not giving you a number here because it varies by model, and the manual is the only source that counts.
Measure Before You Commit
The most useful warning in all of this comes from Andrews: “The major con is if you don’t plan properly, and then the desired appliance doesn’t fit well or function properly with the storage solution.” He adds a second one that most of us forget: “Another obstacle comes when you upgrade an appliance and the dimensions change.”
Before you build or buy anything, do this audit. It takes about twenty minutes.
- List what you used in the last seven days. Anything you touched at least twice stays in the running; the rest goes to a cabinet or the donation box.
- Measure height, width, depth, and cord length for each one, with the lid or door open as well as closed.
- Note where the outlet is. A garage that forces you to unplug a toaster to use it has failed.
- Leave an inch or two of extra room, because your next air fryer won’t be the same size as your current one.

No Renovation? Renter-Friendly Versions
You don’t need a custom cabinet maker to get most of the benefit. The point is to give each daily appliance one hidden, ready-to-use home, so here are the pieces that get you there for a fraction of the cost.
A freestanding countertop cabinet. If you can’t alter your cabinets, a roll-top or door-front unit on the counter works as a portable garage and you can take it with you when you move. Measure your tallest appliance first, since these come in fixed heights. Browse countertop appliance cabinets to compare sizes and door styles.
A sliding tray for heavy machines. A stand mixer is the appliance most people stop using because it weighs too much to lift. A tray with rollers turns it into a pull-out shelf. See appliance sliding trays for a version that fits under your cabinet height.
A pull-out cabinet shelf. If you have a deep lower cabinet already, adding a sliding shelf mimics the pull-out design Popov described, without any carpentry. Check out sliding cabinet shelves and measure the inside width before you order.
A heat-resistant mat. Even the best garage gets warm shelves when a toaster oven cools down. A mat protects the surface and gives you a spot to rest a hot appliance. Look at heat-resistant countertop mats.
Cord control. The tangle behind my bread bin was the part I hated most. Winding the extra length means you can pull each appliance forward without dragging the others along. Find appliance cord wraps and stick one on each machine.
Decide What Stays Out
A garage works best when it has a rule. Mine is simple: anything used daily gets a home with a door, anything used weekly lives in a low cabinet, and anything used a few times a year goes in the pantry or the garage proper. The coffee maker and toaster are the ones that benefit most, because they are the ones you reach for half-awake.
Keep one thing out on purpose. A fruit bowl, a good knife block, or a plant gives the counter a reason to exist beyond storage, and it stops you from filling the cleared space with new clutter.
Where to Start This Weekend
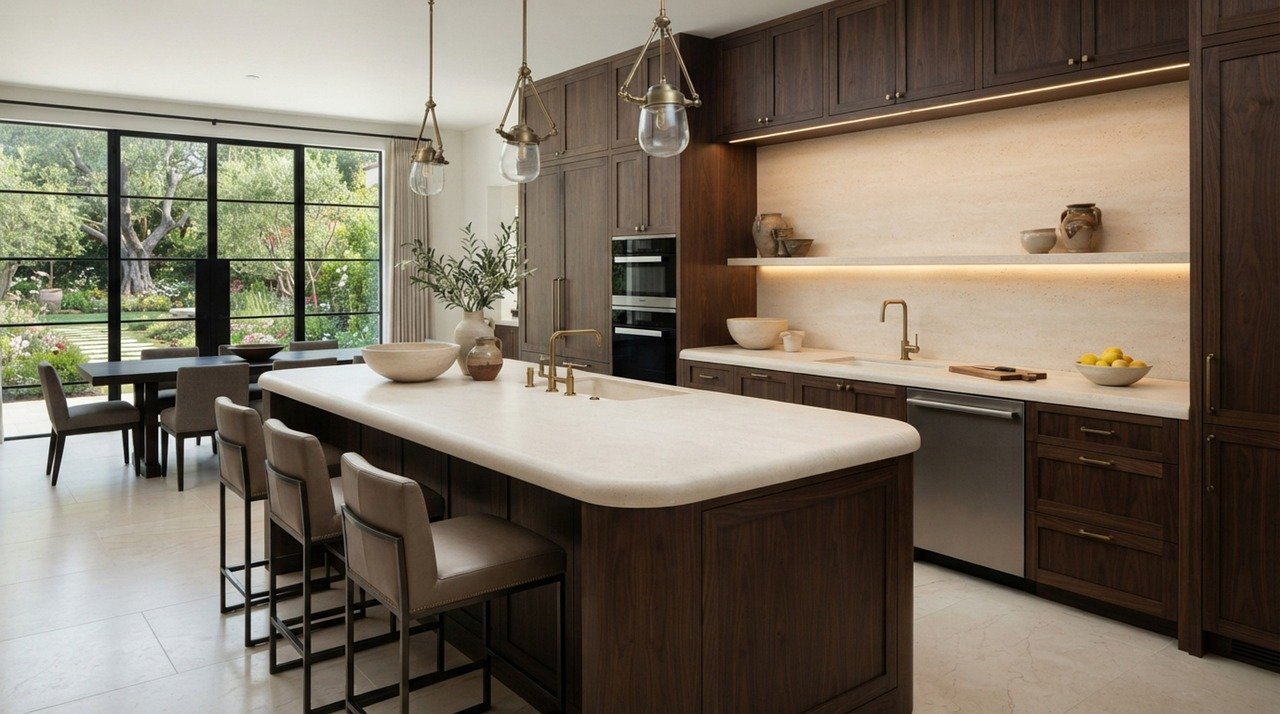
Skip the shopping for now. Clear the counter completely, put back only the coffee maker and toaster, and live with that for a week. If you find yourself missing the air fryer or the mixer, measure those and give them a pull-out shelf or sliding tray in a cabinet next to the outlet. The designers in this story are building custom versions of exactly that, and the main thing you copy from them is the planning: know the size, the heat, and the plug before you pick the door.