
Last month I stood in our spare bedroom, staring up at a ceiling I had painted a plain, forgettable white four years ago, and realized it was the only part of the room that had never been given a job. The walls had color. The bed had pattern. The ceiling just sat there. Around the same time, my Pinterest feed started filling up with big-top stripes running overhead, and I decided to stop scrolling and start taping. It took one weekend, a roll of low-stick tape and more neck stretches than I would like to admit. Below is exactly how I would do it again, including the mistakes I would skip. One honest note before the supply list. As an Amazon Associate, I earn from qualifying purchases, so the few tools below link to Amazon searches, and I only point you to the ones I would buy myself, at no extra cost to you.
Why Striped Ceilings Are Having a Moment in 2026
This is not just a social media whim. Pinterest’s 2026 trend report said searches for “circus interior” jumped 130 percent, while interest in striped ceilings rose 40 percent. The same report suggested pairing punchy patterns with pared-back palettes so the room feels elevated with just a touch of camp. That advice is worth keeping in your back pocket, because a striped ceiling is a loud move and the rest of the room should give it some quiet to work with.
Better Homes & Gardens dug into the look in February 2026 and asked designers why it is landing now. Susan Wemlinger, founder and principal designer at Susan J. Designs, told the magazine, “I think this particular trend is happening now because consumers are ready for some lightheartedness and color.” Lindsey Putzier, a residential interior designer in Hudson, Ohio, added a fair warning: “If you’re a neutrals-only type of person, circus stripes probably aren’t for you, and that’s ok.”
The good news for renters-with-permission and homeowners alike is that a ceiling is the cheapest canvas in the house. You need two cans of paint, patience with a tape measure and a free weekend. No wallpaper paste, no lumber, no power tools.
Pick the Right Room and the Right Stripe Width
Start by being honest about the ceiling you have. Wemlinger told Better Homes & Gardens that a square room or ceiling maximizes the big-top effect, which is why a bedroom, nursery, powder room or small den makes a better first project than a long, narrow hallway. Smooth drywall is ideal. Heavy texture, like popcorn or knockdown, is a different story, because tape cannot seal against bumps and you will fight paint bleed on every stripe.
On width, the same designer was clear: “Generally, a wide width would be best if one really wants to pull off the look.” She also noted that mid-width stripes of about 3 to 5 inches can still add excitement. For a ceiling, I like to go wide, somewhere around 12 to 18 inches, because the stripes foreshorten when you look up at them and thin lines turn busy fast.
Color is the other big decision. Sticking close to the room’s existing palette gives you a subtle, tone-on-tone look. Pushing contrast, like cream against tomato red or white against deep teal, gives you the full circus tent. If you are nervous, paint a two-foot test patch on a piece of poster board and tape it overhead for a day before you commit.
One more design note from Putzier is useful once the paint dries: “I’d avoid doing too many other linear patterns with these stripes.” Keep the walls solid or softly textured and let the ceiling be the only stripe in the room.

What You Need Before You Start
Gather everything before you climb the ladder. Nothing ruins momentum like a missing pencil when you are balanced on the third step. Here is the short list I would buy, with a note on why each item earns its place.
The single most useful tool for this project is a way to mark perfectly straight, parallel lines across a surface you cannot lean a level against. A self-leveling laser level projects a line for you, so you can trace it with a pencil instead of guessing. This is the difference between stripes that look intentional and stripes that look like a sea voyage.
If you would rather skip the laser, the old-school method works beautifully. A chalk line reel lets you snap a long, crisp mark between two points in a second, and the chalk brushes away or gets painted over. It is cheap, and it is how most painters have laid out stripes for generations.
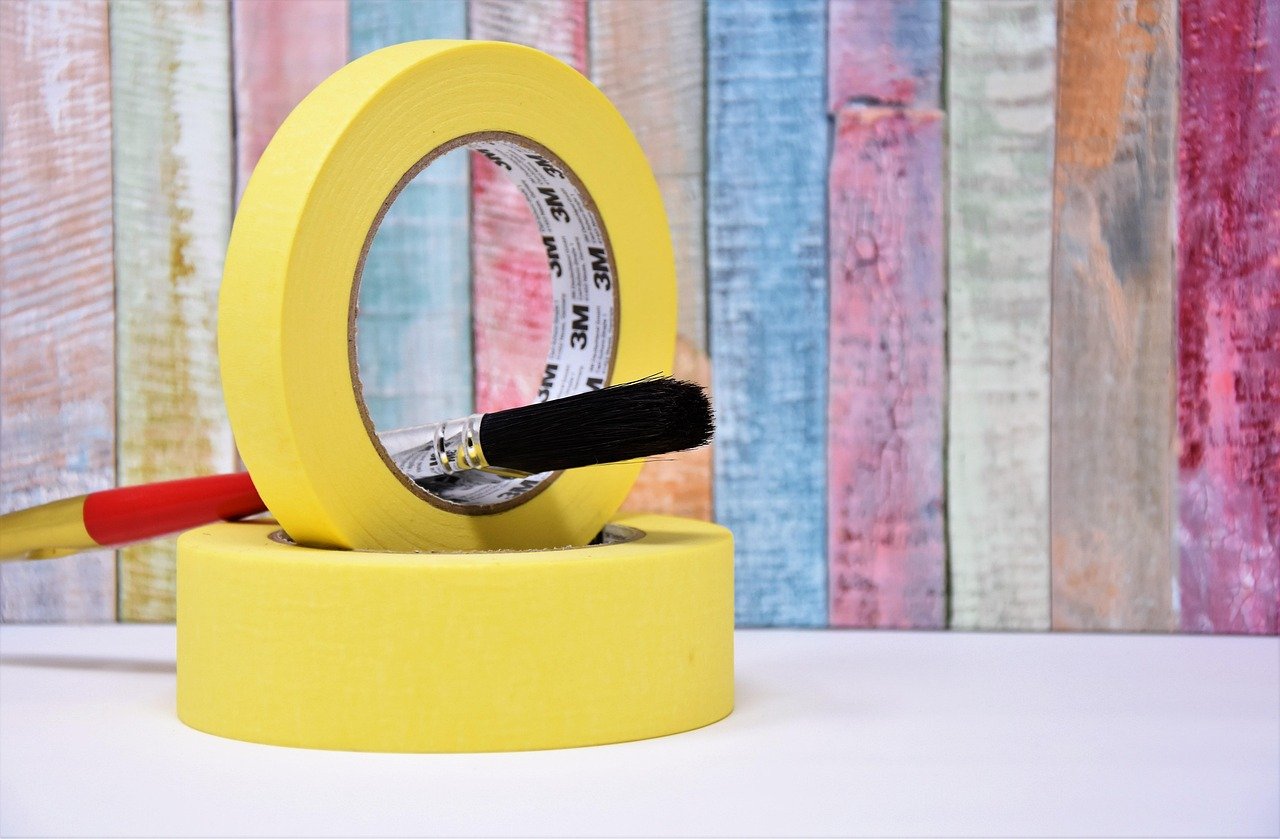
Tape quality matters more than any other supply. Benjamin Moore’s stripe guide says to “use low-stick tape, also known as artist’s tape, for the stripe borders,” because standard tape that grips too hard can lift the base coat when you peel it. Low-tack tape is also kinder to ceiling paint that has been up for years.
Low-tack artist’s tape for painting
Paint bleed is the enemy of every striped surface. The same Benjamin Moore guide advises, “To keep paint from bleeding under your tape, apply a little bead of clear caulk at the edge of your tape lines.” A tube of paintable clear caulk is a few dollars and saves you from hours of razor-blade cleanup.
For the actual painting, a small roller gives you even coverage without the splatter you get from a full-size 9-inch roller overhead. Short-nap or foam mini rollers are the right call for smooth ceilings, and you can toss them when the job is done.
An angled brush handles the tight spots where the stripe meets the wall, and it lets you cut a clean edge along the crown or corner without taping every inch.
Finally, protect the floor and furniture. Painting overhead means drips fall straight down, and a canvas drop cloth stays put better than plastic sheeting, which can be slippery under a ladder.
Beyond those, you will need a pencil, tape measure, a sturdy stepladder, two colors of ceiling-friendly paint, and a pair of safety glasses. Paint in a flat or matte finish, which hides small imperfections overhead and keeps glare off the stripes.
Step 1: Do the Math Before You Touch the Tape
Measure the ceiling in the direction you want the stripes to run. Pick an odd number of stripes so the first and last bands are the same color, which is the trick Sherwin-Williams recommends in its stripe guide for equal-width stripes. Divide the ceiling width by that odd number and you have your stripe width.
Here is a real example. A 12-foot-wide ceiling is 144 inches. Divide by 9 stripes and you get 16 inches per stripe, five in one color and four in the other. Sherwin-Williams used 16-inch intervals in its own example, which tells you the number is not unreasonable. If the math gives you an awkward fraction, adjust the stripe count up or down by two rather than eyeballing it.
Write the measurements on a sketch of the ceiling, and decide which direction the stripes will run. Running them toward the main window or the bed makes the room feel more intentional, and it keeps the first thing you see from the door from looking like a randomly rotated pattern.
Step 2: Prep the Ceiling and Paint the Base Color
Dust the ceiling with a dry microfiber duster or a broom wrapped in a clean cloth, then wipe any greasy spots (kitchens and bathrooms collect them) with a damp sponge and a drop of dish soap. Rinse, let it dry, and patch any nail holes or hairline cracks. Skipping this step is why tape fails on older ceilings.
Next, paint the entire ceiling in your lighter color. Benjamin Moore’s guide has you paint the base color first, and I keep that base the lighter shade, since it is easier to lay dark stripes over light paint than the other way around. Two coats is typical. Then wait. Sherwin-Williams calls for at least four hours of drying time and suggests leaving it overnight, and I would listen, because tape applied to tacky paint pulls the base coat off the ceiling.
If you are keeping the existing white ceiling as your light color, wash it first and confirm it is fully cured. Paint that is a few weeks old is much more likely to peel under tape than paint that is years old, so a quick fingernail test in an inconspicuous corner is worth the five seconds.
Step 3: Mark the Stripe Lines
Find your starting wall and measure from it to place your first line, using the stripe width you calculated. If you are using a laser level, set it on a stable surface or tripod and let it project a line across the ceiling. Trace along the beam with a pencil in short dashes. If you are using a chalk line, hook one end to a helper or tape it to the ceiling edge, pull the string taut and snap it once.
Dulux describes the chalk method simply: rub chalk along a length of string, hold it taut and snap it to create a guide. After the first line, measure again from the first line, not from the wall. Walls are rarely perfectly straight, and measuring from your own line keeps the stripes parallel with each other even if the room is not square.
Mark every stripe line before you tape anything. Then put a small X in pencil in the center of each stripe that will be painted in the dark color. This tiny habit prevents the most common stripe mistake: taping the wrong side of the line.
Step 4: Tape the Edges and Seal Them
Run your low-stick tape along the outside edge of every stripe that will be painted, so the tape sits on the stripes that will stay light. Line the tape up with the pencil or chalk line, then press the edge down firmly with a putty knife or a credit card. Jamielyn Nye, who painted a striped laundry room ceiling, put it this way: “Line up the tape on the line and then push down really hard to secure the edges.”
Now seal. You have two good options, and I use both on a tricky ceiling. The first is Benjamin Moore’s caulk trick: a thin bead of clear caulk along the tape edge, smoothed with a fingertip. The second, from Nye’s laundry room tutorial, is to seal the tape edge by painting over it with the base color before you paint the stripe color. Any paint that sneaks under the tape is the same color as the base, so the line stays crisp.
Remember that sealing is much less reliable on textured ceilings. If your ceiling has heavy texture, either choose a different surface for stripes, such as the walls, or accept a slightly softer, hand-painted look.
Step 5: Paint the Stripes
Stir your darker color well and load a mini roller lightly, rolling off the excess on the tray. Overhead painting is all about control, and a loaded roller will spatter you from the first pass. Start in the middle of a stripe and work out toward the tape, rolling slowly. Use the angled brush to cut in along the wall edges and anywhere the roller cannot reach.
Benjamin Moore advises letting the first coat dry before applying an even second coat for each stripe, and that holds true on a ceiling where dark paint over white often looks streaky after one coat. Keep the coats thin. Two thin coats beat one thick coat for crisp edges, because thick paint pools against the tape and creates a ridge that tears when you peel.
Take breaks. Painting overhead is harder on the neck and shoulders than it looks, and tired arms produce wobbly roller lines. I worked in 30-minute stretches, climbed down, and shook out my arms before the next stripe. Keep the room ventilated, wear safety glasses, and never stand on the top step of the ladder.
Step 6: Peel the Tape at Exactly the Right Moment
This is the moment of truth, and the experts agree on the basics, with slight differences in timing. Benjamin Moore says, “Remove the tape slowly and at a 45-degree angle immediately after you’ve applied your final coat of paint.” The Dulux ceiling-stripe guide says to peel while the paint is still slightly wet, and Nye says to peel slowly at an angle once the paint has started to dry. The common thread is simple: do not wait until the paint is fully cured, because dried paint bridges the tape edge and can tear.
Pull the tape away from the freshly painted stripe, not across it, and keep the angle low and steady. If a small bleed appears, let it dry fully, then fix it with a small artist’s brush and the base color. A ceiling is viewed from a distance and mostly at an angle, so tiny corrections vanish once the room is lit.
Fixing the Most Common Problems
Even careful painters hit snags. Here is what I would do for each of the usual ones.
- Wobbly or crooked stripes: This almost always comes from measuring from the wall instead of from the previous line. Recheck with the laser or chalk line before you paint, and fix the tape while it is still easy to move.
- Paint bleeding under the tape: Let it dry completely, then touch up with a fine brush and the base color. Next time, add the caulk bead or base-color seal described above.
- Tape lifting base paint: The base coat was not cured, or the tape was too sticky. Switch to low-tack artist’s tape and give the base coat extra time.
- Streaky dark stripes: Apply a second thin coat, and make sure you let the first one dry between coats.
- Visible roller marks: Roll in one consistent direction on the final pass, and keep a wet edge as you work along each stripe.
How to Style the Room Around Your New Ceiling
Once the tape is gone, step back and look at the rest of the room. The goal is to make the ceiling feel like a deliberate choice rather than a stray joke. Wemlinger told Better Homes & Gardens, “There has to be some boldness somewhere else in the room to pull off this bold aesthetic.” For me that meant a saturated throw pillow in the same red as the stripe and a rug with a worn, warm tone.
She also had a smart suggestion for adding pattern without a clash: “A fun floral fabric would be a great contrast to the circus stripes, but scale in relation to the stripes is something to keep in mind.” Translation: if your stripes are wide, choose a larger floral, and keep small prints for smaller accents.
If you want to push further, Wemlinger offered a powder room idea: “In a powder room, I’d do the whole room in a striped wallpaper, then color-drench the ceiling, vanity, trim, and door to take it to the next level.” That is a bigger project, but you can borrow the principle on a smaller scale by painting the ceiling trim or crown in the same dark stripe color so the whole thing feels intentional.

Final Thoughts: What I Would Do Differently
My spare bedroom ceiling now has nine wide stripes in warm white and a deep terracotta red, and the first thing I noticed was how much taller the room felt once the lines pulled my eye across it. The second thing I noticed was one stripe near the closet where I rushed the tape and had to fix a hair-thin bleed with a tiny brush. If I did it again, I would snap every line with chalk first, check them all from the doorway, and only then start taping. I would also test the dark color against the bed linens in daylight before buying two gallons.
If you only have one free weekend, this is the order I would use: base coat and prep on Friday evening, layout and taping on Saturday morning, first coat on Saturday afternoon, second coat and tape removal on Sunday. By Sunday night you will have a ceiling that looks like you hired a decorator, and a very sore neck.