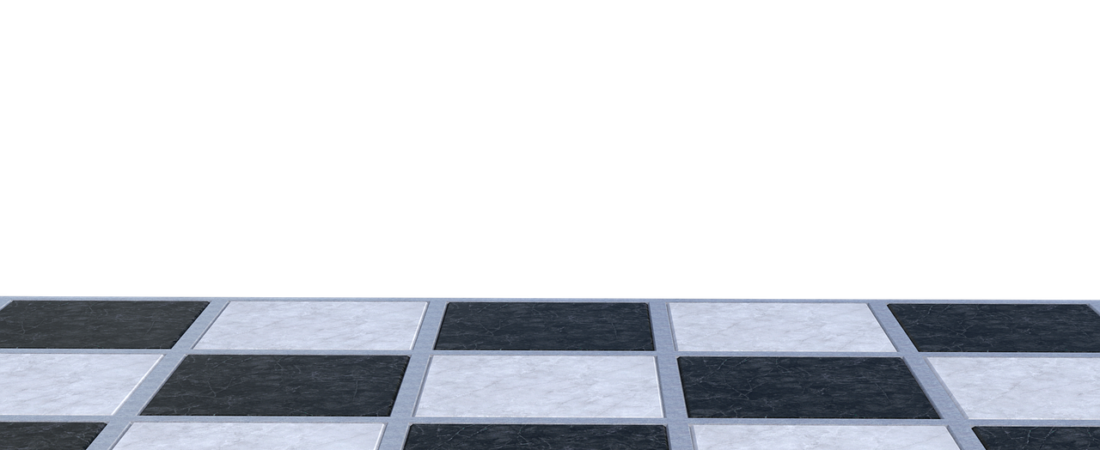
Our kitchen’s breakfast nook had a cracked, yellowing sheet of linoleum that came with the house when we bought it in 2019, and every quote I got for real tile — even the cheap stuff — started at four figures for a room the size of a walk-in closet. I’d been saving screenshots of checkerboard floors on Pinterest for months without doing anything about it, until my neighbor mentioned she’d painted her own entryway floor in a single weekend for about sixty dollars in paint and tape. That was the push I needed. I pulled up the worst corner of linoleum, found solid plywood subfloor underneath, and decided to paint over it instead of replacing it. I bought my porch enamel, brushes, and painter’s tape on Amazon (as an Amazon Associate, I earn from qualifying purchases) and spent one Saturday prepping and priming, then a second finishing the pattern. It’s been two years, three dogs’ worth of muddy paw prints, and one dropped cast-iron skillet later, and the floor still looks sharp. Here’s exactly how I did it, plus the technique real flooring pros use to keep a painted checkerboard pattern crisp for years instead of months.
Why Checkerboard Floors Are Having a Moment Right Now
Checkerboard floors aren’t new — the pattern shows up in Renaissance paintings, Victorian entryways, and mid-century diners — but it’s having a real resurgence heading into 2026. According to Houzz’s 2026 U.S. Home Design Trend Predictions report, searches for “checkerboard floor” jumped 38% during the first three quarters of 2025, and searches specifically for “bathroom checkerboard” spiked more than 100% in the same period. That’s not a small bump; that’s a pattern that’s clearly moved from design-magazine spread to something homeowners are actually typing into Google before they start a project.
Part of the appeal is that it isn’t tied to one era or style. As architect and designer Nicholas Potts put it, “The classic checkerboard pattern of white squares interspersed with black or gray squares is ancient and traverses multiple cultures.” Designers are also moving the look away from the strict black-and-white you’d expect from an old-school diner, swapping in sage, cream, emerald, and oxblood pairings that read more like a bold design choice than a retro gimmick. That flexibility is a big reason this project works in almost any room — a kitchen, a mudroom, a small powder bathroom, even a covered porch.
It also happens to be one of the few big flooring trends you can actually pull off yourself, on an existing subfloor, without hiring a contractor or living without a kitchen for two weeks. That combination — high visual impact, low material cost, a weekend timeline — is exactly why it’s trending as hard as it is right now.
What You’ll Need
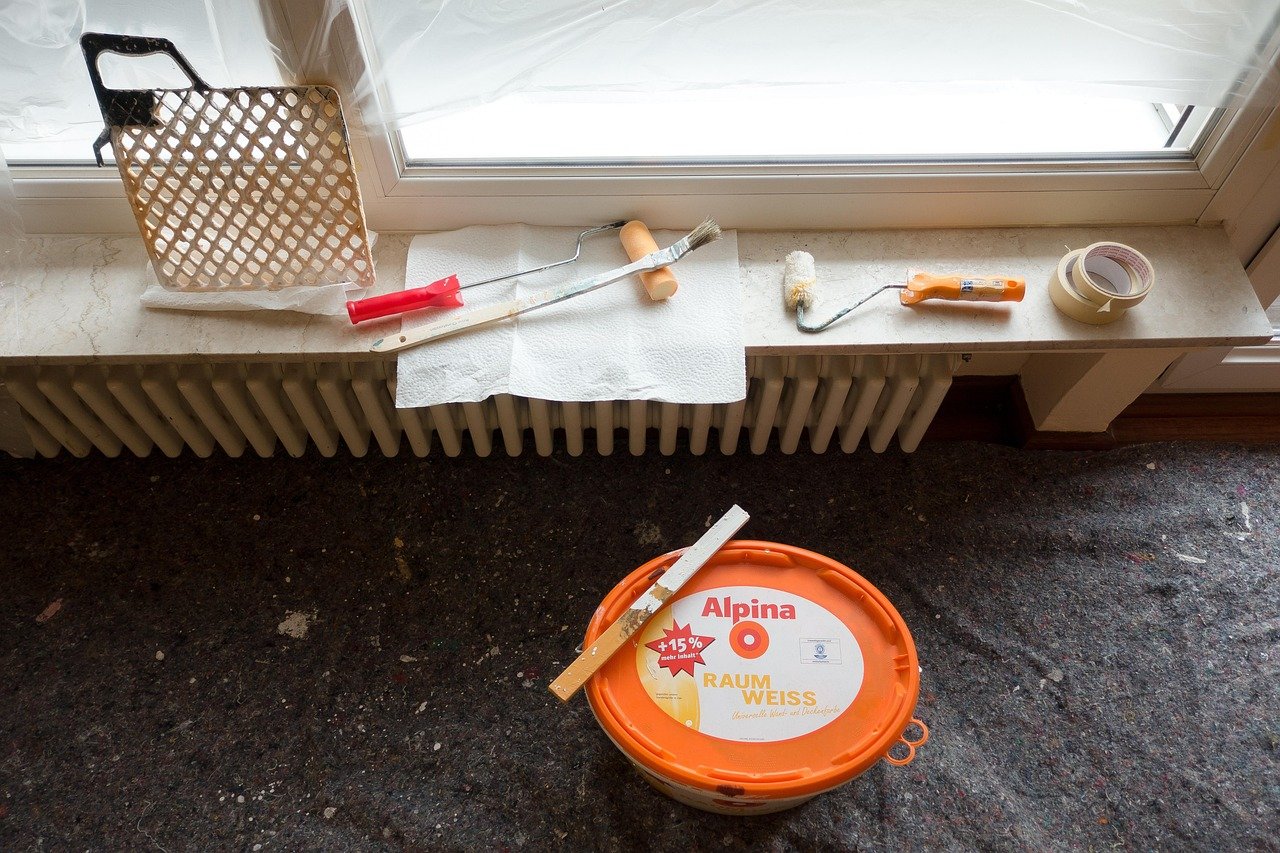
You don’t need specialty tools for this project, but you do need floor-rated paint, not leftover wall paint from another project — regular interior paint won’t hold up to foot traffic. Here’s the full list:
- Electric orbital sander with 120-grit and 220-grit sandpaper
- Wood filler and a flexible filling knife (for gouges, gaps, and old nail holes)
- Porch and floor enamel paint in two colors — one light, one dark
- Floor-rated primer
- Quality painter’s tape, 1.5–2 inches wide
- 9-inch paint roller and tray, plus a mini foam roller for small squares
- 2-inch angled sash paintbrush
- Tape measure, chalk line, and a long straight edge or level
- Pencil and a single peel-and-stick vinyl floor tile (as a physical measuring guide)
- Clear polyurethane floor sealer, water-based, low-VOC if possible
- Shop vacuum and tack cloth
Step 1: Measure the Room and Plan Your Grid
Start by measuring the length and width of the room in inches. Decide on a square size — 12 inches is the most forgiving for a first attempt, since it’s a standard tile dimension and divides evenly into most room widths without a lot of awkward partial squares at the walls. Divide your room’s width and length by your chosen square size to see how many full squares fit, and where the leftover partial squares will land. Most guides recommend centering the grid on the room, or on the most visually prominent doorway, so that any partial squares get pushed to the least noticeable wall (often behind cabinets or under a rug line) rather than the first thing you see walking in.
Sketch the grid on paper first. It sounds like an extra step you can skip, but it’s the cheapest insurance against discovering halfway through taping that your pattern doesn’t land evenly at the far wall.
Step 2: Prep the Floor
This is the step people rush, and it’s the one that determines whether your floor looks great for five years or starts chipping in five months. Clear the room completely. Walk the floor and hammer down or remove any protruding nails, staples, or screws, and screw down any loose or squeaky boards. Fill gouges, seams, and old nail holes with wood filler, let it dry fully, then sand the entire floor — start with 120-grit to knock down high spots and old finish, then go over it again with 220-grit for a smooth, paint-ready surface. Vacuum thoroughly and wipe down with a tack cloth to pull up every bit of dust; paint applied over dust never bonds properly, no matter how good the paint is.
Step 3: Prime and Paint the Base Color
Apply your floor primer starting from the corner farthest from the door, working toward the exit so you don’t paint yourself into a corner. Use the angled brush to cut in a three-inch border around the edges and any obstacles, then switch to the 9-inch roller for the open field. Let it dry fully according to the can’s instructions.
Once the primer is dry, lightly scuff it with 240-grit sandpaper if it feels rough, then apply your lighter color as the base coat using the same brush-then-roller method. This lighter color will become every “white” square in your pattern, so it needs full, even coverage — plan on two coats, letting each dry completely before the next.
Step 4: Lay Out the Checkerboard Pattern
This is where the peel-and-stick tile earns its place in your tool list — instead of measuring every single square with a tape measure, use the tile as a physical template. Starting from your planned center point or reference wall, trace around the tile with a pencil, then use your straight edge to extend clean lines out to the walls in both directions across the whole floor. Work in rows, checking every few squares with your tape measure that you’re still on-grid — small errors compound fast over a large floor, and it’s much easier to correct after four squares than after forty.
Once the full grid is drawn, mark every other square in a true checkerboard pattern (diagonally adjacent squares are the same color) with a small pencil “X” so you don’t lose track of which squares get the dark color once the tape goes down and the pencil lines disappear underneath it.
Step 5: Tape and Paint the Second Color
Apply your painter’s tape along the outside edge of the pencil lines around every square marked with an “X” — meaning the tape goes on the light-colored squares that need to stay protected, framing the dark squares you’re about to paint. Press the tape down firmly with your fingernail or a putty knife along every edge; this is the single most time-consuming part of the whole project, and it’s worth doing slowly. A crisp checkerboard lives or dies on clean tape lines.
Paint the dark color into the taped-off squares, cutting in the edges first with the 2-inch brush, then filling the centers with the mini foam roller for a smooth, even finish. Work section by section rather than taping the entire floor at once, and pull the tape while the paint is still slightly wet rather than fully cured — pulling tape off dry paint risks peeling up chunks of your crisp edge along with it. Sherwin-Williams Director of Product Excellence Dennis Fiorilli, who works directly with porch and floor coatings, notes that “how long a painted floor lasts will really depend on the amount of traffic the floor is exposed to,” which is exactly why the prep work in Step 2 and a quality topcoat matter as much as the pattern itself.

Step 6: Seal the Floor for Durability
Let the full pattern cure for at least 24–48 hours before sealing — check your specific paint can, since dry-to-touch and fully cured are two different timelines. Apply a clear water-based polyurethane sealer across the entire floor using the same brush-then-roller method as the base coat, working from the far corner back toward the door. Most painted floors need two to three coats of sealer for real durability in a high-traffic area like a kitchen or entryway, with a light sand between coats if the can recommends it. This is the step that keeps the pattern from wearing thin under chair legs and foot traffic, so don’t skip it or rush it just because the “fun” part of painting the pattern is already done.
Styling the Finished Floor
Once the sealer has fully cured — give it a full week before moving furniture back in, even if it feels dry sooner — bring the room back together. A bold checkerboard floor reads best when the rest of the room stays relatively calm around it: a plain runner or no rug at all in a small space, simple black or brass hardware, and furniture in solid colors rather than another busy pattern competing for attention. If you’re doing this in a kitchen or entryway, a washable, low-pile mat at the main entry point will help protect the pattern right where the most grit and moisture come in.
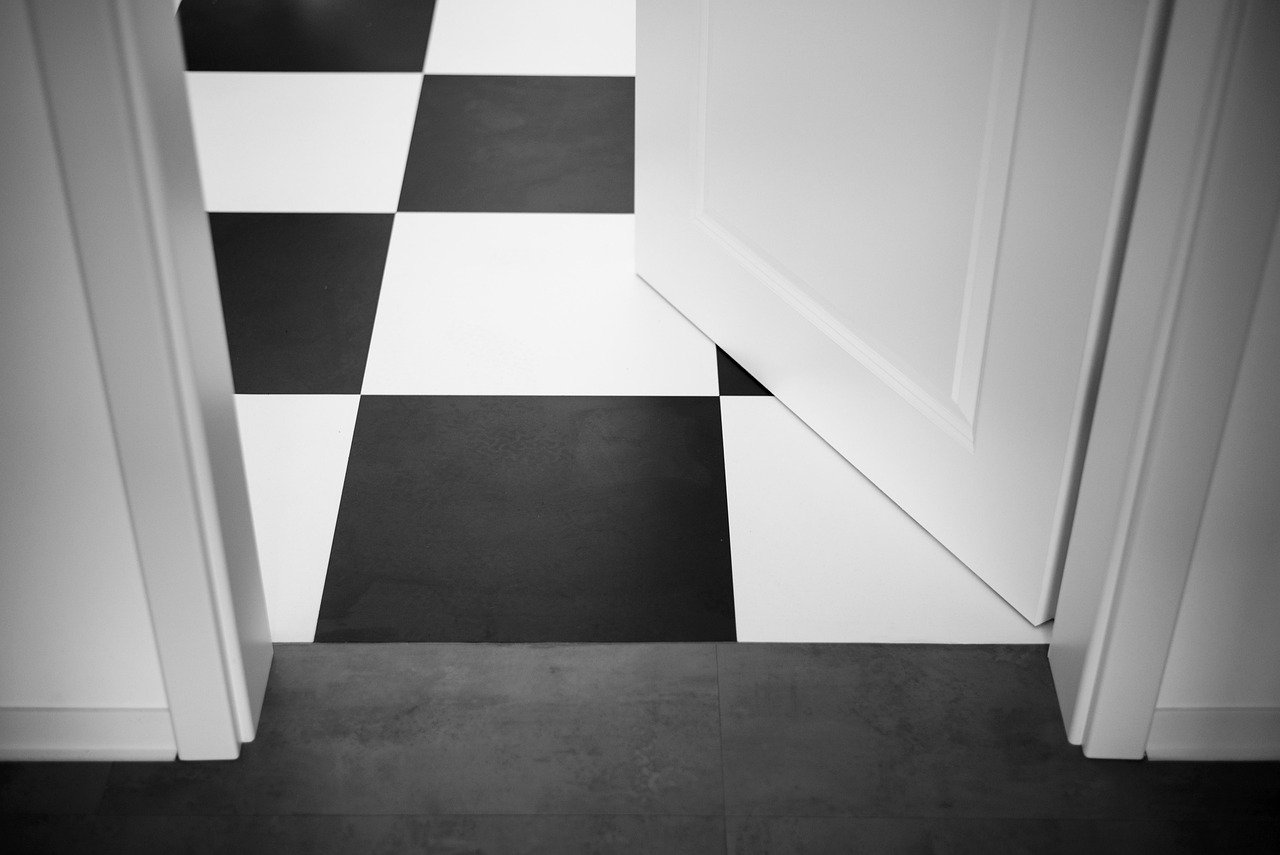
The thing nobody tells you before you start is that the tape-and-touch-up phase is genuinely tedious, and there’s a point about two-thirds through where the floor looks like a half-finished mess and you’ll wonder if you made a mistake — I hit that exact point around 9 p.m. on a Saturday with painter’s tape stuck to my socks. Push through it anyway. The moment the last piece of tape comes off and the pattern lines up is the same rush every time, no matter how many rooms you do. If your first floor turns out a little imperfect at one wall, don’t fix it — a slightly imperfect square at the edge, tucked under a cabinet toe-kick, is far less noticeable than you think once the rug is back down and you’re living in the room instead of staring at it.