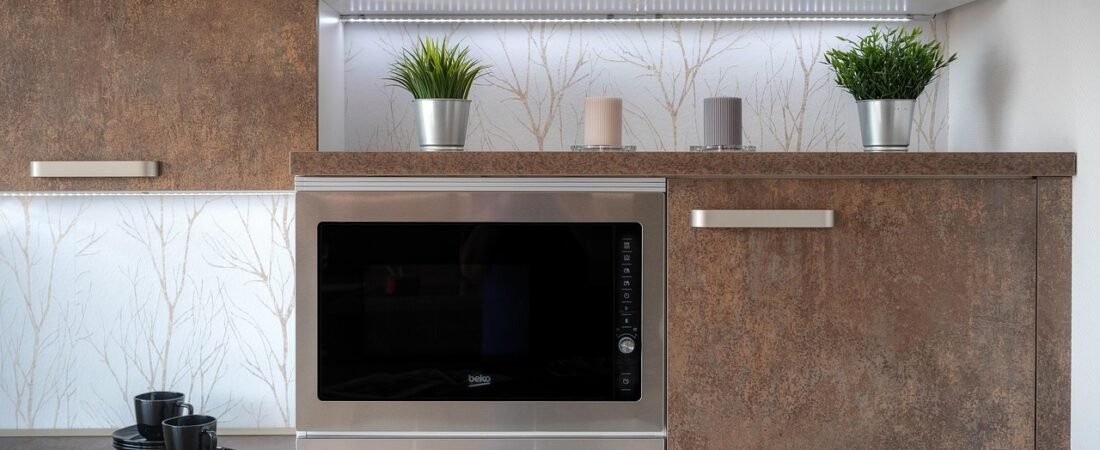
I’ve walked past the same flat, boring glass-front cabinet in my kitchen for three years without giving it a second thought — until this year, when reeded, rippled glass started showing up on nearly every design account and kitchen renovation I follow. As an Amazon Associate, I earn from qualifying purchases, and after a local glazier quoted me over $200 per door to swap in real fluted glass, I found a version of this exact look I could pull off myself in an afternoon, for a fraction of that price. This is the fluted glass cabinet trend that’s genuinely everywhere in 2026 kitchens right now — not a made-up “hack” — and here’s exactly how I brought it into mine.
Why Fluted Glass Is Suddenly Everywhere
Fluted, reeded, or ribbed glass — the vertical, undulating grooves that soften light and blur what’s behind them — has moved from high-end custom cabinetry into mainstream kitchen renovations, and designers are calling it out by name for 2026. Linda Hayslett, a designer with Serena & Lily, said of using it on cabinet doors: “It’s such a smart way to add texture and depth without closing things off.” Designer Claire Staszak put it this way: “I love using fluted or reeded glass in a cabinet panel to create movement, bounce light around.” And Joelle Kutner of Ome Dezin, speaking specifically about kitchens, said, “The ribbed surface allows us to strike the perfect balance between beauty and practicality.” What makes this project genuinely DIY-able, rather than a $200-a-door custom order, is that you don’t need a glazier at all — a textured window film applied over your existing glass panes gets you shockingly close to the real thing, and it’s fully reversible if you ever want your flat glass back.
What You’ll Need
- Existing glass-front cabinet doors (this project works on doors that already have a glass or acrylic pane, so measure yours first)
- Reeded/fluted glass window film — sized to your door panes, with a little extra for trimming
- Streak-free glass cleaner and a lint-free cloth
- A fine-mist spray bottle filled with water and a drop of dish soap
- A plastic squeegee or an old credit card for smoothing out bubbles
- A sharp utility knife for trimming edges
- Painter’s tape and a straightedge or ruler
- A screwdriver set for removing hinges and hardware
- Paper towels and a hair dryer (optional, for stubborn edge bubbles)
- Optional upgrade: fluted acrylic sheet, if you’d rather swap in a rigid textured panel instead of film on a door you’re willing to have custom-cut
Step 1: Pick Your Best Candidate Doors
This project is easiest on upper cabinets that already have a glass or acrylic pane set into a routed frame — a lot of shaker-style cabinets have this even if the current builder-grade glass is perfectly flat and forgettable. If your kitchen doesn’t have any glass-front doors, this is also a legitimate reason to convert one or two: many cabinet doors can have their center panel swapped for glass by a local cabinet shop for less than the cost of full fluted glass, and then you apply the film yourself. Start with one or two doors as a test run before committing to a whole run of uppers — it’s much less intimidating, and you’ll get faster and cleaner with each pane.
Step 2: Remove the Doors and Set Up a Clean Work Surface
Unscrew the hinges and take the doors down completely rather than trying to work around them while they’re still hanging — it’s slower to remove them, but you’ll get far fewer bubbles and dust specks working flat on a table than fighting gravity and an awkward angle in the kitchen. Lay down an old sheet or moving blanket on a table or the floor, and keep a small dish for screws so hardware doesn’t wander off mid-project. If your cabinets have knobs or pulls, now’s also the moment to decide if you want to upgrade those to match the softer, more organic look fluted glass brings — it’s a small addition that makes the finished cabinets look more intentional.
Step 3: Measure and Order Your Film
Measure the visible glass area of each pane precisely, then add about a quarter inch on each side — it’s much easier to trim excess film than to stretch a piece that’s too small. Fluted and reeded glass films come in a range of groove widths, from a subtle fine rib to a bold wide flute, so order a small sample first if you can; the wider grooves read as more dramatic and more clearly “2026 trend,” while a finer rib is more subtle and blends into an existing traditional kitchen. Cut your pieces slightly oversized using a straightedge and utility knife on a flat surface before you start applying anything to the glass.
Step 4: Deep-Clean the Glass
This step matters more than any other in the whole project. Any dust, grease, or fingerprint left on the glass will show up as a permanent bubble or cloudy spot trapped under the film, and there’s no fixing it once it’s dry. Clean each pane with glass cleaner and a lint-free cloth, then go over it a second time with just the water-and-soap spray from your bottle to catch anything the first pass missed. Work in a room with as little dust in the air as possible — if you just vacuumed or it’s a windy day with the windows open, give it twenty minutes to settle first.

Step 5: Apply the Film and Squeegee Out the Bubbles
Spray the clean glass generously with your soap-and-water solution — more than feels necessary, since the extra moisture is what lets you slide the film into position before it grips. Peel back a few inches of the backing, line up one edge and corner first, then slowly lay the rest of the film down while spraying the exposed adhesive side as you go. Once it’s roughly in place, use your squeegee or credit card to push outward from the center toward each edge in firm, overlapping strokes, forcing the water and any trapped air bubbles out from underneath. Small bubbles near the edges usually work themselves out within a day as the last of the water evaporates; a hair dryer on low heat can help coax out a stubborn one if it’s still there after 24 hours.
Step 6: Trim the Edges and Let It Fully Cure
Once the film is smooth and the excess water has been squeegeed out, use a sharp utility knife along the edge of the frame to trim away any overhang, holding the blade at a shallow angle so you’re cutting film and not scoring the glass or the wood frame underneath. Wipe the trimmed edges clean, then leave the door flat and undisturbed for a full 24 to 48 hours before rehanging it — moving it too soon is the most common way people end up with a lifted corner. This is also the point where you’ll really see the texture come alive: the grooves catch light differently depending on the angle, which is exactly the depth designers keep pointing to as the appeal of this trend.

Step 7: Rehang the Doors and Style What’s Behind the Glass
Screw the hinges back on and rehang each door, checking that it closes flush and doesn’t rub against the frame now that there’s a slightly thicker film layer on the glass. Because fluted glass diffuses and blurs whatever is behind it rather than hiding it completely, this is a good moment to edit what’s actually on those shelves — a few pieces with a consistent color story (all white ceramics, all glassware, a single collection) will read as intentional through the texture, while a jumble of mismatched mugs and cereal boxes will still look cluttered, just blurrier. Add a small puck light inside the cabinet if you really want the glow effect Lee Thornley and other designers have pointed to with fluted glass fixtures — it makes the texture glow from within after dark, which is a lot of the reason this look photographs so well.
Living With It
A few weeks in, the thing that’s surprised me most isn’t how the cabinets look during the day — it’s how different the kitchen feels at night, when the light behind the glass turns into soft, moving stripes instead of a flat glare off plain glass. It’s also held up better than I expected to daily use; wiping the outside with a damp cloth hasn’t lifted or scratched the film at all. If you’re on the fence about committing a whole kitchen’s worth of uppers to this look, start where I did — one or two doors, on the cabinets you actually look at the most — and give yourself permission to peel it off and try something else if it’s not for you. That’s the real advantage film has over a custom glazier order: it’s a trend you can test-drive for under $40 a door instead of betting a few hundred dollars on it sight unseen.