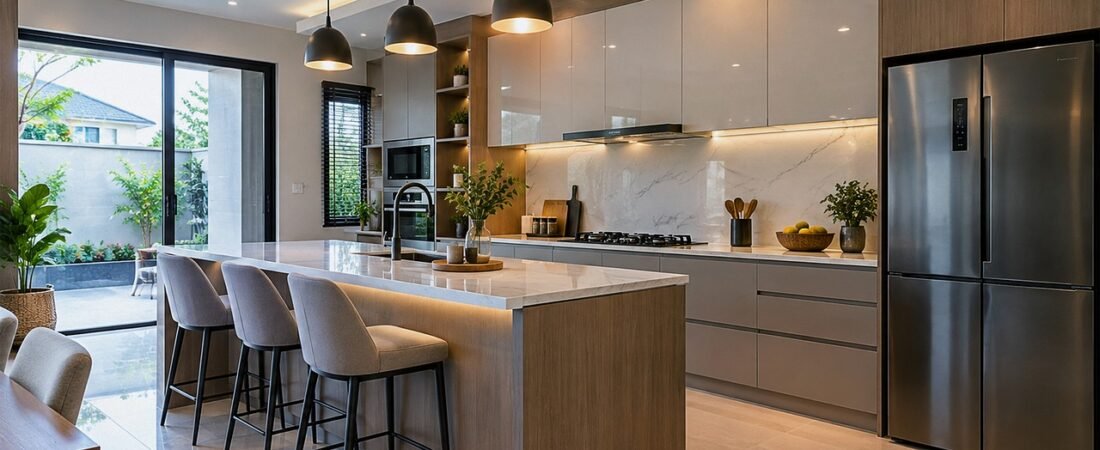
Last spring I stood in my kitchen at 6 a.m. holding a coffee mug that left a sticky ring on the door of a cabinet I had been meaning to fix for three years. The oak was fine, but the orange-tinted finish and the greasy film around the handles made the whole room feel tired. That morning I decided to learn how to paint kitchen cabinets properly instead of paying for a full replacement. This guide is everything I wish I had known before I started. As an Amazon Associate, I earn from qualifying purchases, so a few supply links below are search links I would use myself, but every step works with whatever brand you already trust.
Painting cabinets is one of the cheapest ways to change a kitchen, but it is also one of the easiest projects to do badly. The paint is rarely the problem. The prep is. Let us walk through it in the order that actually matters.
How Do You Paint Kitchen Cabinets So the Finish Lasts?
To paint kitchen cabinets that last, remove the doors and hardware, degrease every surface, sand lightly to scuff the old finish, apply a bonding primer, then brush or roll two thin coats of durable cabinet enamel. Let each coat dry fully, and treat the finish gently while it cures, which can take several weeks.
That is the whole project in one breath. The rest of this article fills in the details, including the materials you need, how long each stage really takes, and the mistakes that cause chipping and brush marks.
What Materials Do You Need to Paint Kitchen Cabinets?
Gather everything before you remove a single door. Stopping mid-project to run to the store is how dust settles into wet paint. Here is the full list I used:
- Screwdriver or drill, plus zip bags and masking tape for labeling
- Degreaser (or a trisodium phosphate cleaner) and clean rags
- Wood filler and a putty knife for dents and old hardware holes
- Sandpaper in 120 and 220 grit, plus a sanding block
- Tack cloth and a vacuum with a brush attachment
- Bonding primer (shellac-based or a high-adhesion water-based primer)
- Cabinet-grade enamel in satin or semi-gloss
- A 2 to 2.5 inch angled brush and a small high-density foam or mohair roller
- Painter’s tape, rosin paper and drop cloths
- Sawhorses or a table for a paint station
HGTV estimates a cabinet repaint at roughly $200 in paint and supplies, compared with replacement that can easily top $5,000 for a 10-by-12-foot kitchen. You can read their full breakdown on HGTV. That gap is why this project is worth doing carefully.
Step 1: Check What Your Cabinets Are Made Of
Wood, wood-laminate and metal cabinets can all be painted. Plastic laminate or thermofoil is the tricky one because standard primers may not stick, and peeling is the usual result. Before you commit, test a small hidden spot, such as the inside of a lower door, and see how the primer behaves after a day.
Flat-front doors are the easiest. Raised panels, routed profiles and deep grooves take much longer to sand, prime and paint, so budget extra time. If a few doors are warped or damaged, replacing only those with unfinished doors is often smarter than trying to rescue them.
Step 2: Set Up Your Space and a Paint Station
Empty the cabinets and clear the counters. Cover countertops, the backsplash and floors with rosin paper or drop cloths, and tape plastic over appliances. If your kitchen is small, take the doors to a garage or spare room, because a clean, dust-free space with steady light does more for your finish than any expensive brush.
Set up two zones: a dirty zone for cleaning and sanding, and a clean zone for priming and painting. Lay doors flat on sawhorses so paint can level without running. Drive a few small screws into the back of each door, or use painter’s pyramids, so you can paint one side and flip it without sticking.
Step 3: Remove, Label and Store Everything
Take off every door, drawer front, hinge and pull. Label each door with masking tape showing its number and location, and mark the matching cabinet frame in a spot that will be hidden. Doors that look identical are often slightly different, and HGTV warns that mixing them up leads to gaps and uneven edges.
Keep hinges and screws in a labeled bag per door group. While the hardware is off, this is the perfect time to decide whether you want new pulls. Our guide to upgrading cabinet hardware in a weekend pairs well with a fresh paint job, especially if you want to move from old bar pulls to a different hole spacing and need to fill the old holes first.
Step 4: Degrease Before You Sand
Kitchen cabinets collect invisible cooking grease, especially near the stove and around handles. If you sand over grease, you grind it into the wood, and paint will not bond over it. Clean first, every time.
HGTV suggests a solution of one part trisodium phosphate to four parts water, rinsed thoroughly without soaking the wood, then dried completely. A strong kitchen degreaser works too. Wear gloves, work in small sections and change your rag often so you are lifting grease away rather than smearing it around.
A good degreaser is the least glamorous item on the list and the one that most affects whether paint peels in a year. If you want a ready-made option, a heavy-duty kitchen cabinet degreaser is worth searching for, and you can check the current price and reviews before you buy.
Do You Have to Sand Kitchen Cabinets Before Painting?
Yes, in almost every case you should at least scuff-sand. Dan McRorie of Fitzwater Interiors told Domino, “I personally would never paint cabinets without sanding them first.” Read the full discussion on Domino, which also covers liquid deglosser as an alternative for people who want to avoid heavy sanding.
You do not need to strip the old finish. HGTV notes that if the existing paint is sound and well adhered, roughening it gives paint an adequate base. Sand flaking paint down to bare wood and spot-prime those areas, and feather the edges so the repair does not show as a ridge.
A simple sanding routine
- Fill dents and old hardware holes with wood filler and let it dry.
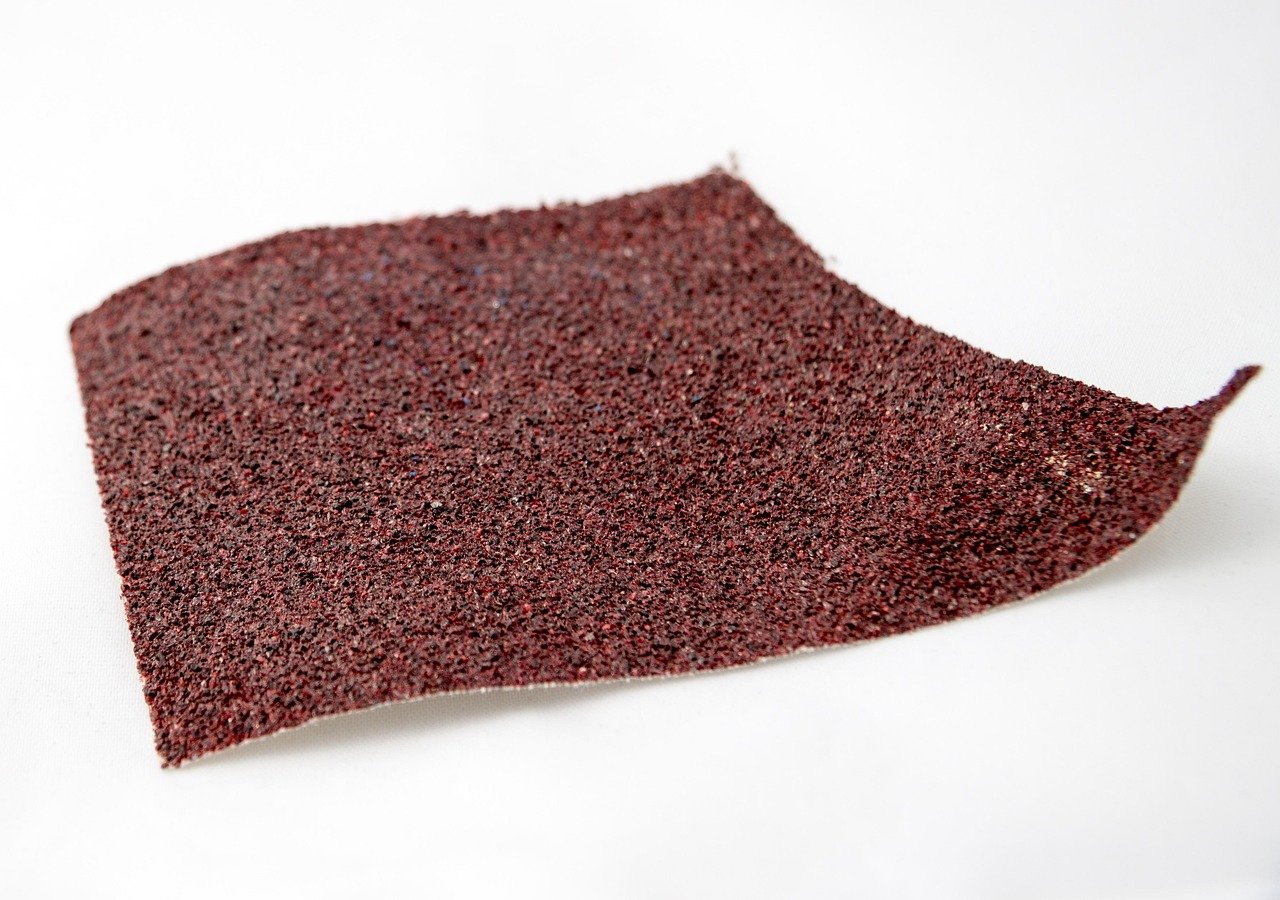
- Sand the whole surface with 120-grit paper on a sanding block, which prevents rounded edges.
- Vacuum, then wipe with a tack cloth until the cloth comes away clean.
- After priming, sand lightly again with 220-grit for a glassy base.
Dust is the enemy of a smooth finish, so use fresh sheets rather than a clogged one. Picking up a sanding block and a mixed pack of 120 and 220 grit sandpaper keeps the job quick and gives you the right grit for both rounds.
Step 5: Prime Every Surface
Primer is the glue of the system. It bonds to the old finish, blocks stains and gives the topcoat something uniform to grip. Skipping it is the single most common reason cabinet paint chips within months.
Oak, maple and other woods can bleed tannins, which show up as yellowish or pinkish blotches through white and light paint. Evolution of Style blogger Jenny recommends a shellac primer, specifically BIN Shellac or Sherwin-Williams Pigmented White Shellac, for adhesion and to prevent tannin bleed. Shellac smells strong and cleans up with denatured alcohol, so ventilate well and wear a respirator.
If you prefer a low-odor route, a high-adhesion water-based primer also works on many cabinets, provided you cleaned and scuffed properly. Either way, shopping for a bonding shellac-based primer is the smartest place to spend a little extra, because everything else sits on top of it.
Apply primer in a thin, even coat with a small roller on flat areas and a brush in grooves and edges. Do the back of each door first, then flip and do the front. Let it dry per the can, and then give it that light 220-grit scuff.
What Is the Best Paint for Kitchen Cabinets?
The best paint for kitchen cabinets is a hard-curing cabinet enamel, usually a urethane-modified acrylic, alkyd or oil-based formula, in satin or semi-gloss. These finishes resist scuffs and wipe clean. Plain wall paint is softer and tends to show fingerprints and chips.
HGTV lays out the basic tradeoff. Latex is quick-drying and cleans up with water but can take up to three weeks to fully cure. Oil-based paint is more durable and levels to a smoother finish, though it costs more and dries slower. A 100 percent acrylic latex formulation gives better adhesion and durability among water-based choices.
Self-leveling enamel versus fast-drying enamel
Two popular options show how different cabinet paints behave. According to Jenny at Evolution of Style, Benjamin Moore Advance has a 16-hour recoat time and takes 30 days to fully cure, and she says it levels out beautifully. PPG Breakthrough is dry to the touch in 15 to 20 minutes and can be recoated in two hours, but she notes it does not level as well when brushed or rolled. You can compare her experience in her Advance versus Breakthrough review.
The takeaway: slow-drying paint gives brush marks time to flatten, but it demands patience and a dust-free room. Fast-drying paint is quicker but is best sprayed or applied with a flocked foam roller.
Whichever you choose, finish matters as much as formula. Satin hides fingerprints better than gloss, while semi-gloss wipes clean most easily. When you shop for a durable cabinet and trim enamel in satin, read the label for recoat and cure times so you can plan your week.
Which Color Should You Choose?
Color is where the fun starts, but test it before you commit. Paint a sample board, tape it to a cabinet and look at it at morning, noon and night, because kitchen lighting changes undertones dramatically. If you are weighing warm neutrals against greens, our roundups on warm paint colors replacing greige and the 2027 color of the year choices that landed on green will help you narrow it down.
Lower cabinets can handle a deeper shade, while uppers in a lighter tone keep the room from feeling heavy. Remember that darker colors show dust and scuffs faster and need an extra gentle touch during curing.
Step 6: Paint in Thin Coats
This is the step where patience pays. HGTV recommends thin, light coats that cover all areas, and warns against overworking the brush because it creates air bubbles and drag marks. Thick paint sags, takes forever to dry and stays soft underneath.
The painting order
- Paint the inside edges and openings of the face frames first.
- Move to the cabinet sides, then the face frame fronts.
- Paint the backs of doors and drawer fronts, let them dry, then flip and paint the fronts.
- Flow paint into corners and crevices without letting it pool.
On flat panels, use a small foam or mohair roller and then tip off lightly with the brush in one direction. Jenny’s advice for Advance is blunt and useful: if you goof up, leave it alone, because the more you mess with it, the worse it gets. If you spot a drip or a hair, wait until it is dry and fix it with a quick sand and a touch-up coat.
Brush quality shows in the finish. A good angled brush holds more paint and leaves fewer streaks, so a quality angled sash brush and a smooth-finish mini roller set are the two tools I would not skimp on.

For coats, HGTV says two coats of quality paint are usually enough, with a third an option given the heavy use kitchens get. Wait the time on the can between coats. HGTV cites at least four hours for latex, but self-leveling enamels can need far longer, so follow your product rather than a general number.
How Long Does Cabinet Paint Take to Cure?
Dry and cured are not the same thing. Paint can feel dry within hours but stay soft for weeks. HGTV says latex can take up to three weeks to fully cure, and Jenny reports 30 days for Benjamin Moore Advance. During that window, the finish is vulnerable to chips, dents and sticky contact.
In practice: reinstall the doors once the paint is hard enough that you can press a fingernail gently into an inconspicuous edge without leaving a mark. Add small clear bumpers to door corners so painted surfaces do not stick together. Skip heavy scrubbing and harsh cleaners for the first month, and keep pets and children away from fresh edges.
Step 7: Reassemble and Finish the Details
Rehang the doors using your numbered labels. Install hardware last, using a template so every pull lines up. Adjust hinges so doors hang evenly and close without catching, since slightly thicker paint can make tight fits sticky.

A refreshed kitchen deserves a few more upgrades while you are at it. A peel-and-stick backsplash can finish the look in an afternoon, and smart organizers from our piece on small kitchen storage ideas help keep the freshly painted interiors tidy. If you love the glass-front look, see how to build fluted glass cabinet doors for a few upper cabinets.
Common Mistakes When Painting Kitchen Cabinets
- Skipping the degreaser. Paint fails fastest where grease lingers, around the stove and pulls.
- Painting too thickly. Heavy coats sag and stay soft for weeks.
- Rushing recoats. Painting over tacky enamel causes lifting and brush marks.
- Rehanging too soon. Doors stick to the frame and tear the finish.
- Not labeling doors. Reassembly becomes a puzzle.
- Ignoring dust. Vacuum and tack cloth between every stage.
If you want to practice before committing to the kitchen, our walkthrough on how to upcycle an old dresser with paint and new hardware uses many of the same prep and priming habits on a smaller piece.
Frequently Asked Questions
Can you paint kitchen cabinets without sanding?
Sometimes, but it is risky. Domino reports that experts like Dan McRorie recommend sanding first, while some homeowners use a liquid deglosser and a strong bonding primer instead. If your cabinets have a glossy factory finish or any wear, scuff-sanding is the safer path to avoid peeling.
How many coats of paint do kitchen cabinets need?
Plan on one coat of primer and two coats of enamel. HGTV says two coats of quality paint are usually sufficient, though a third coat may help on high-use areas. Thin coats with proper drying time between them always beat two heavy coats applied quickly.
How long does it take for painted cabinets to cure?
Expect weeks, not days. HGTV notes latex can take up to three weeks to fully cure, and a blogger who reviewed Benjamin Moore Advance reports 30 days. Treat the doors gently during that time and avoid harsh cleaning until the finish has hardened fully.
Is it better to brush, roll or spray cabinets?
Spraying gives the smoothest result but requires equipment and heavy masking, according to HGTV. Brushing offers more control, and a foam or mohair roller on flat panels reduces brush marks. For most first-timers, brush and roller with a self-leveling enamel is the practical choice.
Painting your cabinets is a weekend of prep and a few days of patient coating, followed by a month of gentle treatment. Degrease the grease zones near the stove first, scuff and prime with a bonding primer, and apply your enamel in thin coats. Do those three things and the result can look like a custom kitchen at a fraction of replacement cost.