That bookcase that came with the house, or the MDF shelving unit that’s outlasted three different tenants, is usually the first thing we overlook when we think about redecorating. It’s not ugly enough to justify replacing, but it doesn’t quite match the rest of the room anymore either — it just sits there, a little yellowed, scuffed from years of use, holding up books and vases without drawing any attention at all. The trouble is that tired shelving drags down the look of an entire room, even when everything else is in order. The good news is that this is one of the rare home projects where a weekend and a can of paint can fix what feels like it should require a full renovation. No swapping out furniture, no hiring a carpenter — a dated bookshelf can become a standout piece, and that’s exactly the process this guide walks through step by step, from prep work to final finish.
Why Paint Shelves Instead of Replacing Them
Replacing an entire shelving unit is expensive, and most of the time it’s wasteful — the structure underneath the old paint is usually still perfectly solid. What actually needs updating is just the surface. That’s why refreshing existing shelves has become one of the most popular projects for anyone who wants a visible result without a major renovation. As interior designer Daniel Kocur of InterRent REIT puts it: “Painting and refreshing existing shelves provides an affordable update, breathing new life into older storage areas or displays.” In other words, the visual payoff is out of proportion to the effort involved — a few hours of hands-on work can change how an entire room feels, without the cost or the mess of a renovation.
Materials You’ll Need
Before you start, gather everything you need — stopping partway through to run out and buy something is the number one cause of a sloppy finish, because rushing the last steps undoes all the careful prep work.
- 150-grit and 220-grit sandpaper (or an orbital sander, if the shelf unit is large)
- A cloth or sponge with an all-purpose degreaser (like TSP or similar) to clean before sanding
- Wood filler, to patch holes, cracks, or dents
- Painter’s tape and plastic sheeting or paper to protect the floor and walls
- Primer/sealer suited to the material (wood, MDF, or metal, depending on the shelf)
- Paint in your chosen color and finish — matte hides imperfections, semi-gloss is easier to clean
- A small foam roller (for flat surfaces) and an angled brush (for corners and edges)
- A screwdriver, to remove hinges, handles, or brackets before painting
- A mask and gloves, especially if you’re sanding old paint that may contain lead on very old furniture
Prep Work: The Step Nobody Wants to Do (But the One That Makes or Breaks the Result)
Empty the shelves completely. It sounds obvious, but it’s common to see people trying to paint “around” objects, leaving corners uncoated and drips everywhere. With the shelf empty, remove any hardware — handles, hinges, removable shelf brackets — and keep the screws in a separate bag.
Clean the entire surface with the degreaser before sanding. Kitchen or bathroom furniture builds up a film of grease and cleaning products that, if not removed, will make the new paint peel within a few weeks, even if it looked perfectly applied on day one. Once it’s dry, sand with 150-grit sandpaper until the shine comes off the old paint or varnish — you don’t need to get down to bare wood, just rough up the surface enough for the new paint to grip. Fill old screw holes or chips with wood filler, let it dry according to the package instructions, and sand again with 220-grit until it’s smooth to the touch. Wipe with a slightly damp cloth to remove all the dust before applying anything — leftover dust under the paint creates a grainy texture that shows up the moment light hits it at an angle.

Step by Step: How to Paint the Shelf
1. Protect the surrounding area. Cover the floor with plastic or paper and use painter’s tape along any edges that won’t be painted — the wall it’s resting against, the baseboard, hinges left in place. Work in a ventilated space, with a window open if possible.
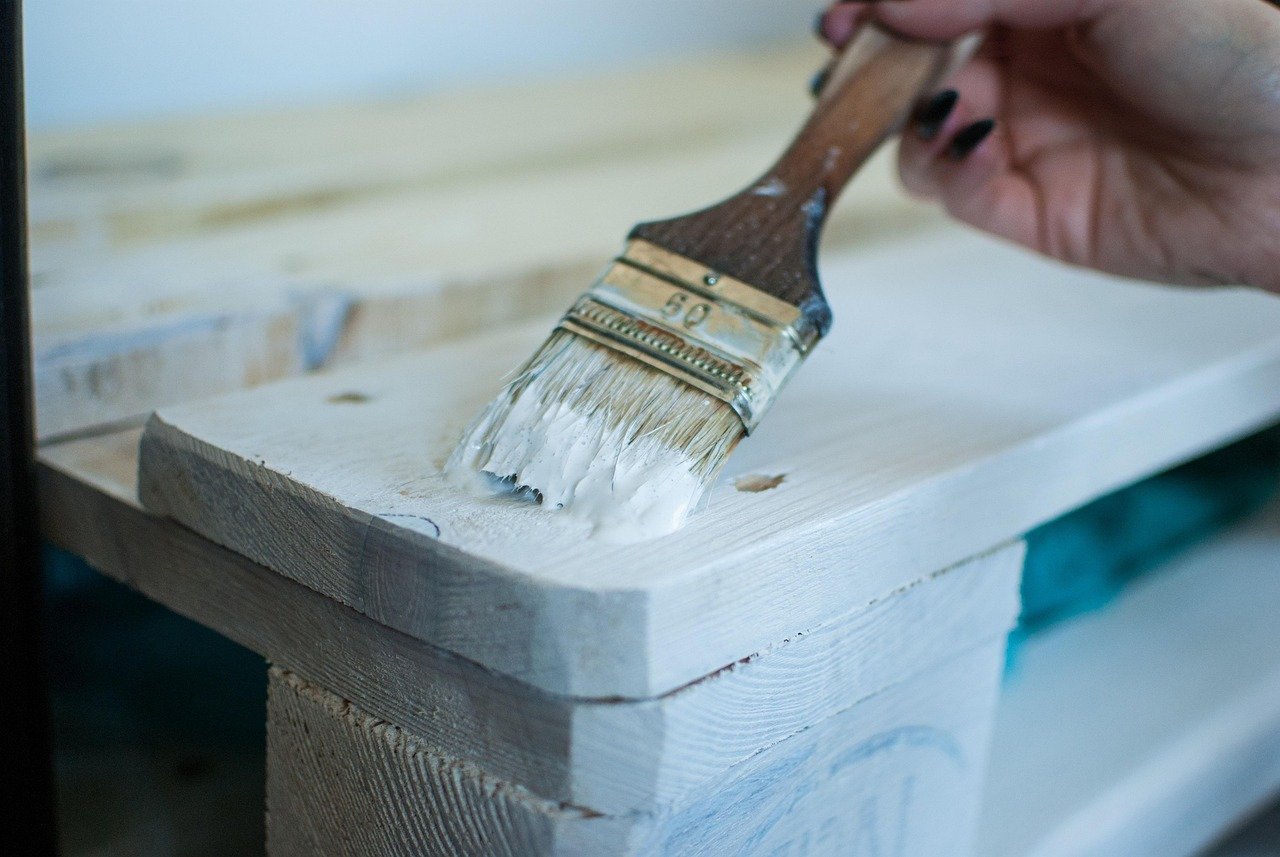
2. Apply the primer. Use a thin roller for flat areas and the angled brush for corners, always working in the direction of the wood grain. A thin, even coat goes further than a thick one — the primer doesn’t need to cover everything in a single pass, it just needs to create a base the paint will stick to well. Let it dry for the time listed on the can, typically one to four hours.
3. Lightly sand between coats. With 220-grit sandpaper, go lightly over the dry primer just to smooth out any brush or roller marks. Wipe away the dust with a damp cloth before continuing.
4. Paint the first coat. Start with the inside and back sections — if your hand slips, no one will see — before moving to the front and visible corners. Apply thin coats: three thin coats are always better than one thick one, because thick paint takes longer to dry evenly, drips, and shows roller marks on the surface.
5. Let it dry fully and sand again. Between the first and second coats, a light pass with 220-grit sandpaper smooths out any roughness and helps the second coat go on more evenly.
6. Apply the second (and, if needed, third) coat. Repeat the same single-direction motion, without going back over an area that’s already started to dry — that’s what causes visible streaks in the final finish.
7. Let it cure before putting anything back. Paint is dry to the touch within a few hours, but full cure — the point where the surface can handle weight and friction without marking — usually takes three to seven days, depending on the product. Only reattach the hardware after that period.
Common Mistakes That Ruin the Finish
Skipping the primer. It’s the step that’s most tempting to cut, and the one that shows up the most later: without primer, paint chips at friction points (edges, corners where books rub) much faster, sometimes within just weeks.
Painting over dust or grease. Any residue between the surface and the paint causes bubbling or premature peeling — cleaning before sanding and wiping with a damp cloth before painting are not optional steps.
Coats that are too thick. The rush to “finish it in one coat” is the most common mistake of all — the result is drips, deep roller marks, and a drying time much longer than expected.
Ignoring ventilation and cure time. Putting heavy books or rough-bottomed objects back before the paint has fully cured leaves permanent marks in the still-soft finish underneath.
Choosing the wrong finish for how the shelf is used. Matte looks more sophisticated, but it marks and shows dirt more easily on shelves that get daily use; semi-gloss or satin holds up better to cleaning and frequent contact.
How to Make It Look Finished, Not Like a “Weekend Project”
The difference between a shelf that looks professional and one that looks half-finished isn’t just about the paint — it’s about how it’s styled once the paint is done. Avoid filling every shelf edge to edge: leaving empty space between groups of objects is what makes the arrangement look intentional instead of just accumulated. Group items in odd numbers (three, five) and vary height and texture — a tall vase next to a low stack of books, a ceramic piece next to something in metal or glass. Mixing materials avoids the “everything matches” effect that makes a shelf look like a store display instead of a lived-in home.
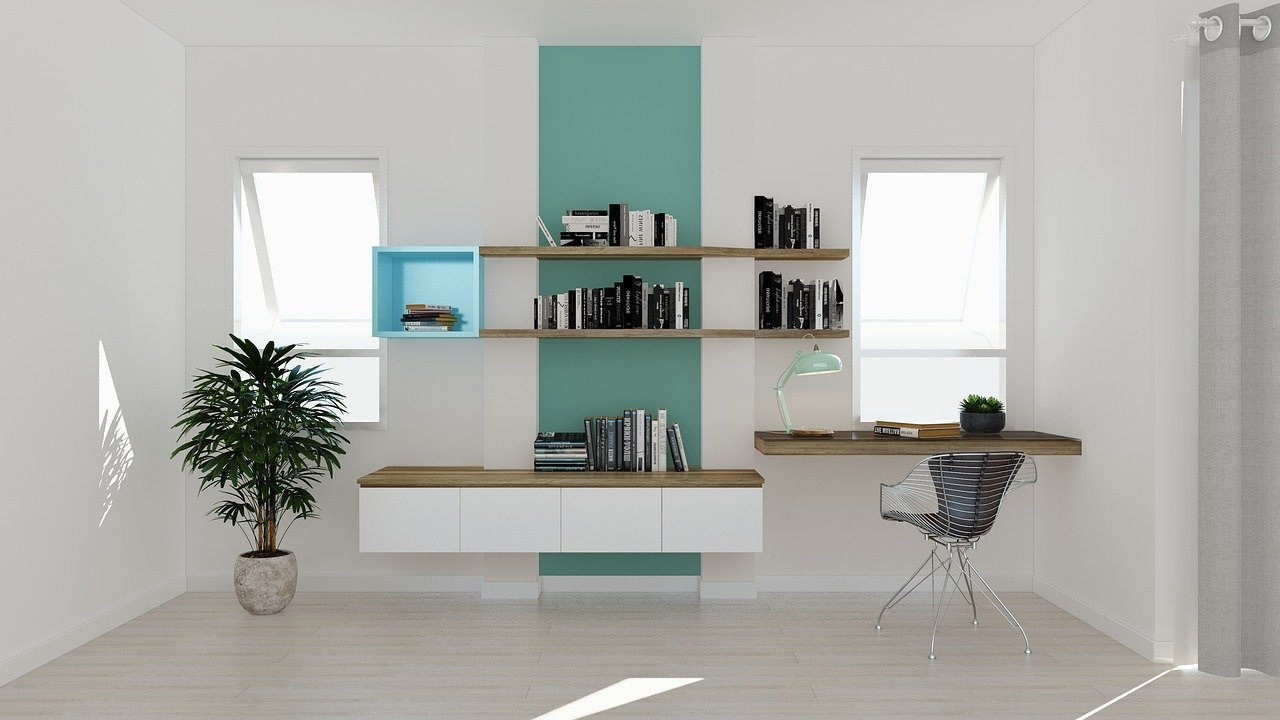
Use the books themselves as part of the styling: some upright, others stacked on their side with a small object on top, creating different heights in each section. And don’t underestimate the wall color behind the shelf — if the wall is too close to the new paint color, the piece visually disappears; a slight contrast between shelf and wall is what makes it stand out after all that work.
The Result Is Worth the Weekend
In the end, that shelf that used to sit there forgotten, holding up objects without drawing any attention, becomes the thing people comment on when they walk into the room — and the real cost was one can of paint, a bit of sandpaper, and two days of patience waiting for coats to dry between passes. It’s not about hiding the furniture’s age, it’s about no longer being reminded of it every time you look at the shelf. If you have paint left over, keep the can tightly sealed with the color label visible — it’s common to need a quick touch-up months later, and that’s the difference between a fast fix and having to repaint the whole thing because the color no longer matches.