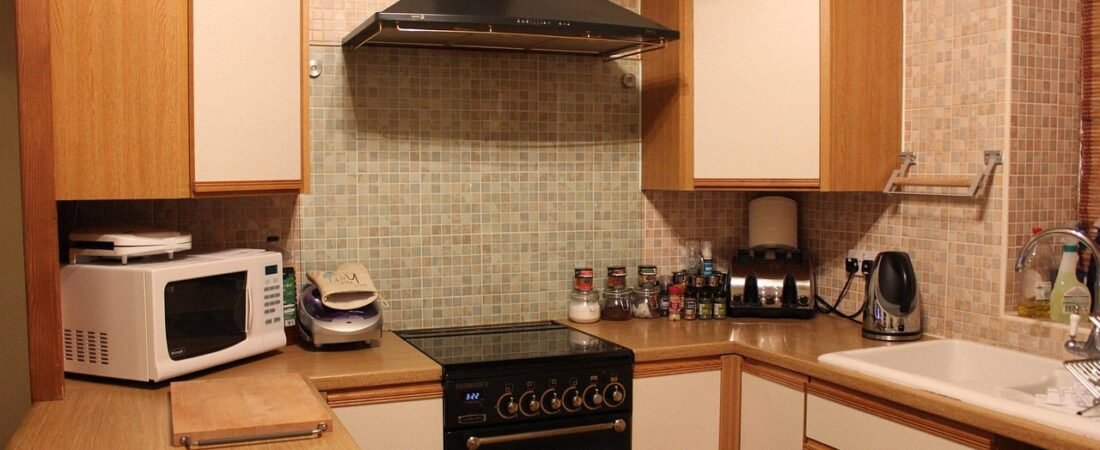
My kitchen backsplash was a strip of builder-grade white subway tile that had gone slightly yellow, and every quote I got for a proper retile came back somewhere between “no thanks” and “not this year.” Then a friend redid her rental kitchen with peel-and-stick tile in a single Saturday afternoon, and it looked good enough that I genuinely couldn’t tell it wasn’t grouted ceramic until she pointed out the seams. That sent me down a rabbit hole of installation guides, contractor warnings, and a stack of sample sheets ordered from three different brands before I found one I trusted. This post includes a few Amazon links to the exact tools and materials that got me through it without a single wasted tile — as an Amazon Associate, I earn from qualifying purchases at no extra cost to you. Everything below is the process that actually worked, including the mistakes I’d skip if I did it again.
Why Peel-and-Stick Backsplash Is Having a Moment
Peel-and-stick backsplash has been around for years, but the materials have gotten noticeably better. The current generation leans into textured 3D tiles, marble and stone-look finishes, and metallic accents instead of the flat, obviously-plastic vinyl sheets that gave the category a bad reputation. According to Burrini & Sons Contracting, a New Jersey-based remodeling firm, the appeal comes down to speed and flexibility: it “costs $1–$5 per square foot,” “installs in hours without professional help,” and is “removable for design experimentation,” which makes it a natural fit for renters, first-time homeowners on a budget, or anyone testing out a bold pattern before committing to real tile. The same firm is honest about the tradeoff, though, noting plainly that “peel-and-stick is a short-term solution” while “tile is a long-term investment” — so this is a project for a refresh, not a forever fix, and I’ve written the steps below with that honesty in mind.
That’s not a knock on the material. A backsplash you install in an afternoon for a few hundred dollars and can peel off cleanly in three to five years, when you’re ready for a real renovation, is a genuinely good deal — as long as you prep the wall correctly, which is the single biggest factor in how long it lasts and how good it looks.
Materials and Tools You’ll Need
Gather everything before you start so you’re not mid-project with adhesive drying and no utility knife in sight. For an average kitchen backsplash (roughly 25–35 square feet), plan on:
- Peel-and-stick tile sheets — enough to cover your square footage plus 10% extra for cuts and mistakes (peel-and-stick backsplash tile)
- A tape measure and a metal ruler for straight cuts (tape measure)
- A sharp utility knife with extra blades, since dull blades tear rather than cut
- Sturdy scissors for vinyl and composite sheets (heavy-duty scissors)
- A plastic smoothing tool or old smoothing squeegee — a credit card works in a pinch
- A degreasing cleaner and microfiber cloths (kitchen degreaser)
- Fine-grit sandpaper for smoothing rough patches (fine-grit sandpaper)
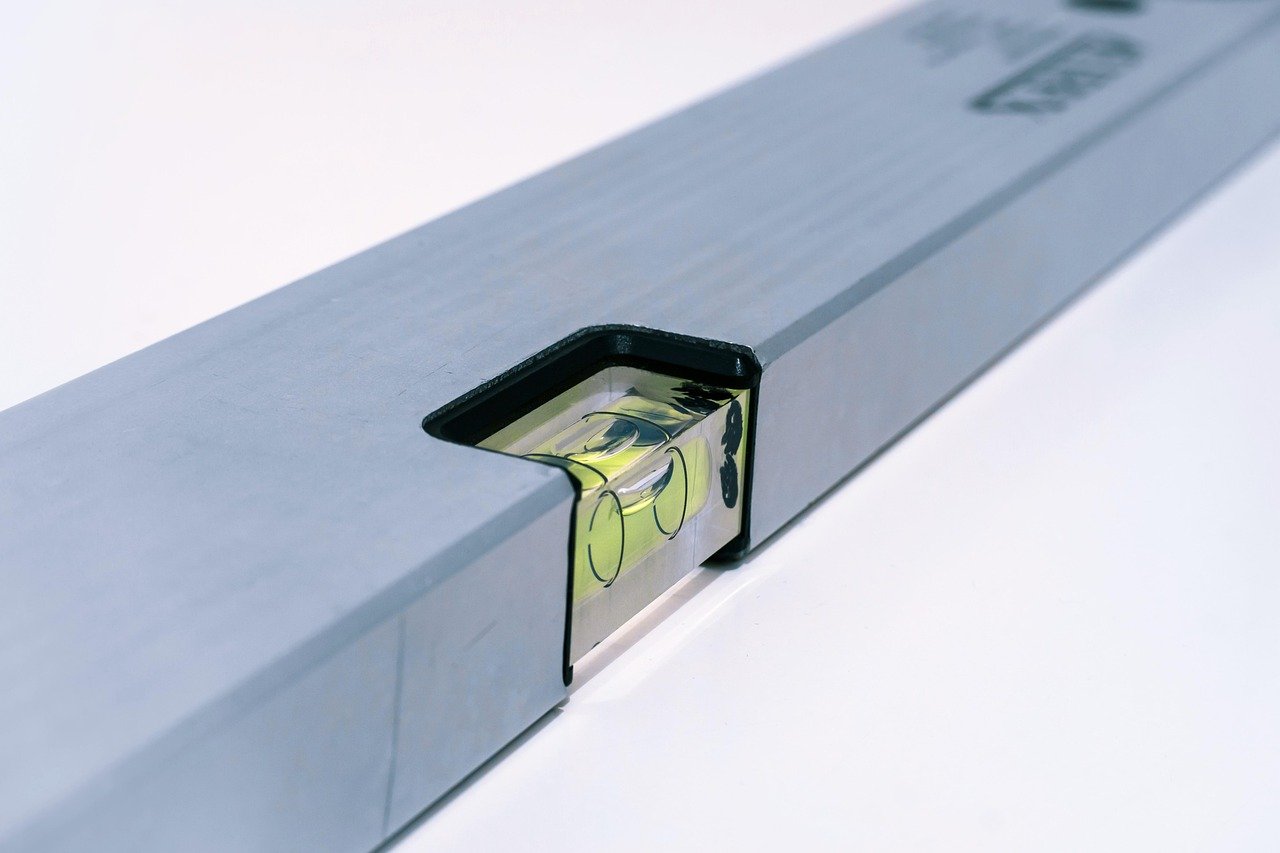
- A level and a pencil for marking your starting line (torpedo level)
- Clear silicone caulk and a caulking gun for the top and bottom edges (clear silicone caulk)
- Painter’s tape to protect your countertop and cabinets (painter’s tape)
- A screwdriver to remove outlet covers
If your walls are textured — which is common in older homes — you’ll also want lightweight drywall compound and a putty knife to skim-coat the surface flat before you begin. Skipping this step on textured walls is the number one reason peel-and-stick tile fails early.
Step 1: Prep the Wall Surface
This is the step everyone wants to skip, and it’s the one that determines whether your backsplash lasts one year or five. Start by shutting off power to any outlets in the work area at the breaker, then remove the outlet covers with a screwdriver. Wipe the entire wall down with a mix of warm water and dish soap or a dedicated degreaser to strip away cooking grease, which is nearly always present around a stove even if you can’t see it. Let the wall dry completely — overnight is safest.
Next, run your hand over the surface. Sand down any rough patches, bumps, or old adhesive residue with fine-grit sandpaper until the wall feels smooth. If you have textured walls (orange-peel or knockdown finishes are common culprits), apply a thin skim coat of lightweight drywall compound over the area, let it dry fully, then sand it smooth. Peel-and-stick adhesive needs full, flat contact with the wall to bond properly — texture creates air gaps that lead to lifting edges within months.
Step 2: Plan Your Layout Before You Peel Anything
Measure the full width and height of your backsplash area and dry-fit a sheet or two against the wall without removing the backing. Find your visual center — usually above the range or the sink, since that’s the focal point — and use your level to draw a straight, plumb vertical guideline in pencil. Work outward from that line rather than starting in a corner, so any uneven cuts at the ends are tucked into corners where they’re least noticeable.
If you’re mixing a patterned tile with plain sections, take a cue from tile pros on pattern placement. Grazzi Wilson, Head of Creative at UK tile brand Ca’Pietra, notes that “interspersing decorative tiles with plains” introduces “rhythm, surprise and personality” — the same principle applies at backsplash scale even with a single peel-and-stick pattern, where staggering seams and keeping grout lines (real or printed) consistent makes the difference between a finish that reads as intentional and one that reads as a sheet of stickers.
Step 3: Cut Tiles to Fit
Cutting method depends entirely on your material. Standard vinyl and composite sheets cut cleanly with sturdy scissors or a sharp utility knife against a metal ruler. If you’ve chosen a glass or ceramic-backed peel-and-stick product, you’ll need an angle grinder with a diamond wheel for clean cuts — check your product’s instructions before you buy your tools, since this changes your shopping list. Always measure twice, mark your cut line in pencil on the back of the tile (never the visible face), and cut on a protected surface like a cutting mat so you don’t score your countertop.
Dry-fit every cut piece against its intended spot before removing the adhesive backing. It’s a lot easier to trim an eighth of an inch off a piece that isn’t stuck to the wall yet.
Step 4: Apply the Tiles, Starting from the Bottom
Work from the bottom up and from your center guideline outward. Peel back a small section of the paper backing, align the tile against your pencil line, and press the exposed section firmly into place before peeling away the rest of the backing and smoothing the whole sheet. Use your smoothing tool or a credit card to push out air bubbles from the center of each tile toward the edges, working in overlapping strokes rather than one pass.
Handle tiles by the edges as much as possible — the adhesive is aggressive, and fingerprints or smudges on the face of a glossy or metallic finish are hard to fully remove later. For mosaic-style sheets, interlock the individual pieces so the pattern reads as continuous; for wallpaper-style rolls or large-format panels, align the printed pattern carefully at each seam so grout lines or stone veining match up rather than jumping.
Step 5: Work Carefully Around Outlets and Edges
Outlets are where most first-time installs go wrong. Hold the outlet cover up to your tile sheet and trace its outline in pencil, then cut the opening on a cutting mat before you stick that piece to the wall — trying to cut a hole after the tile is already stuck down risks tearing the sheet or gouging the wall. Once the tiled section is in place around the box, screw the outlet cover back on over it and restore power only after everything in that area is fully set.
At the top edge (typically where the backsplash meets upper cabinets) and along any exposed side edges, plan on a thin bead of clear silicone caulk once all the tiles are placed. This isn’t strictly required by every product, but it closes the gap where grease, steam, and cleaning sprays would otherwise work their way under the edge first — which is exactly where lifting tends to start.
Step 6: Seal and Let It Set
Most peel-and-stick backsplash tile needs roughly 24 hours to fully set before it’s wiped down or exposed to heavy moisture, so hold off on cooking anything greasy or splashing water around it right away. Check your specific product’s instructions, since sealing recommendations vary — some finishes (particularly natural stone-look composites) benefit from a clear sealant to protect against staining and moisture, while smooth vinyl or glass-look tiles typically don’t need one. When in doubt, research the sealer recommended for your specific tile material, or ask the retailer directly before you commit to a finish.
Run a bead of caulk along the top and bottom edges once everything is dry, smooth it with a wet fingertip or caulk tool, and wipe away any excess before it skins over.
Common Mistakes That Shorten the Lifespan
A few things separate an install that lasts years from one that starts peeling within months. Skipping the degreasing step is the most common failure point — even a wall that looks clean can have a thin film of cooking oil that keeps adhesive from bonding. Applying tile directly over texture without a skim coat is the second. And installing directly above or immediately behind a stovetop without checking your product’s heat rating can cause warping or bubbling over time, since not every peel-and-stick material is rated for direct heat exposure — this is worth confirming before you buy if your range sits close to the wall.
It’s also worth resisting the urge to rush the drying window. Wiping down a fresh install too soon, before the adhesive has fully cured, is a fast way to shift tiles out of alignment or lift a corner you just spent an hour smoothing flat.
What to Expect Long-Term
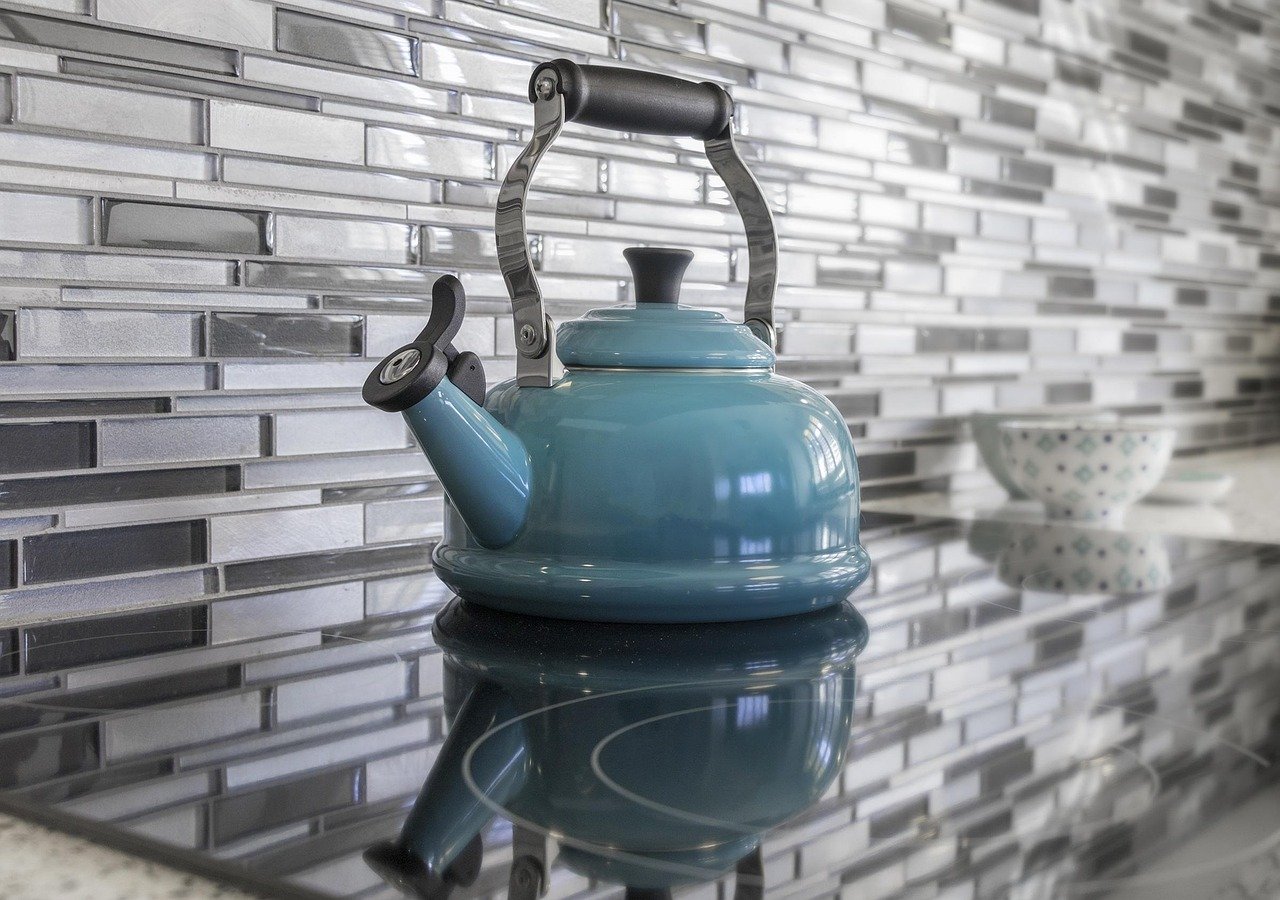
With proper prep, a peel-and-stick backsplash typically holds up for three to five years — plenty of time to enjoy the update, test out a bolder pattern than you’d commit to in permanent tile, or simply get a rental-friendly kitchen looking finished without asking a landlord for anything. When it’s time to remove it, peel from a bottom corner slowly and evenly; any leftover adhesive residue usually comes off with a plastic scraper and a bit of adhesive remover, without damaging drywall underneath, as long as the wall was properly sealed and primed beforehand.
Final Thoughts
My own backsplash took a little under four hours from the first swipe of degreaser to the last bead of caulk, spread across one Saturday with a lunch break in the middle. The tape measure and the patience during prep mattered far more than any special skill — the actual tiling went faster than I expected once the wall was properly flat and clean. It’s not a substitute for real tile if you’re planning to stay in your home for the next decade, but for the price of a nice dinner out, I got a kitchen that finally looks like I meant for it to look that way, and I know exactly how to take it down cleanly whenever I’m ready for the next version.