
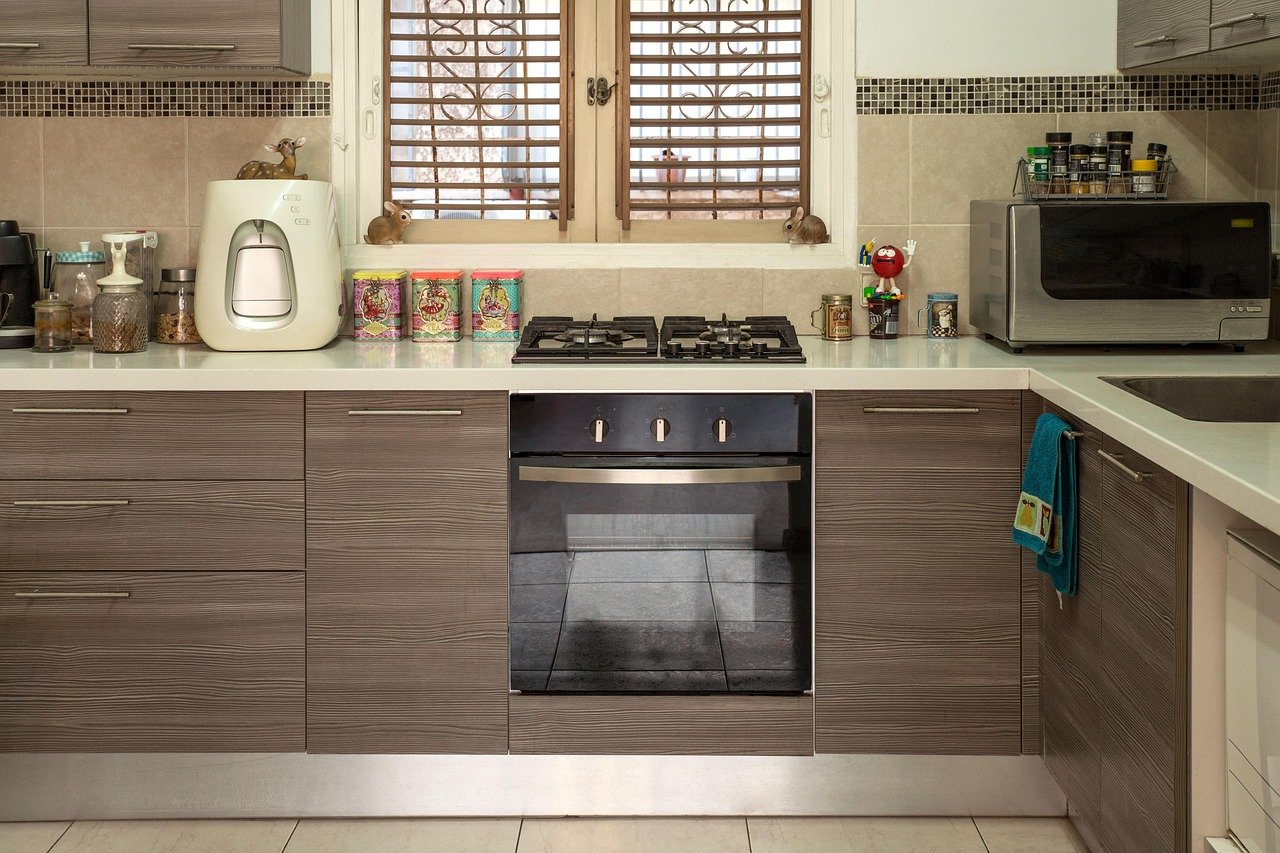
I didn’t realize how much my kitchen was dragging down the rest of the house until I stood in the doorway one Sunday morning with coffee in hand and really looked at it. The cabinets were fine. The paint was fine. But the hardware â those same builder-grade brushed nickel knobs from when we bought the place â made the whole room look tired. So I did the cheapest, highest-impact thing I could find: I swapped every knob and pull for warm, textured hardware in an afternoon, using a $20 jig instead of a tape measure and a prayer. It transformed the kitchen more than the backsplash project I did last year, and it cost a fraction of the price. As an Amazon Associate, Every Corner earns from qualifying purchases made through the Amazon links below, at no extra cost to you, and I only link tools I actually used for this project.
Cabinet hardware is one of those details that feels minor until you fix it, and then you can’t stop noticing every kitchen you walk into that hasn’t. For 2026, designers are moving away from the cold, flat-black and chrome pulls that dominated the last decade in favor of warmer, more tactile finishes â aged brass, champagne bronze, oil-rubbed bronze, and knurled or fluted textures that catch the light instead of just reflecting it. The good news is that unlike a full cabinet repaint or a backsplash tear-out, this project needs no contractor, no dust barrier, and no drying time. You can do an entire kitchen in a weekend, and most of it in one afternoon, for less than the cost of a single new appliance.
What You’ll Need
This is a short list on purpose â the whole appeal of this project is that it needs almost nothing beyond the hardware itself.
- New cabinet knobs and/or pulls in your chosen finish. Browse cabinet pulls and knobs on Amazon â measure your existing hole spacing (called the “center-to-center” measurement) before you buy so new pulls fit the holes you already have, unless you’re changing the number of holes entirely.
- A cabinet hardware jig. This is the tool that makes the whole project foolproof. Find a cabinet hardware installation jig on Amazon â it clamps onto each door or drawer and marks identical drill points every time, which is nearly impossible to eyeball consistently across a full kitchen.
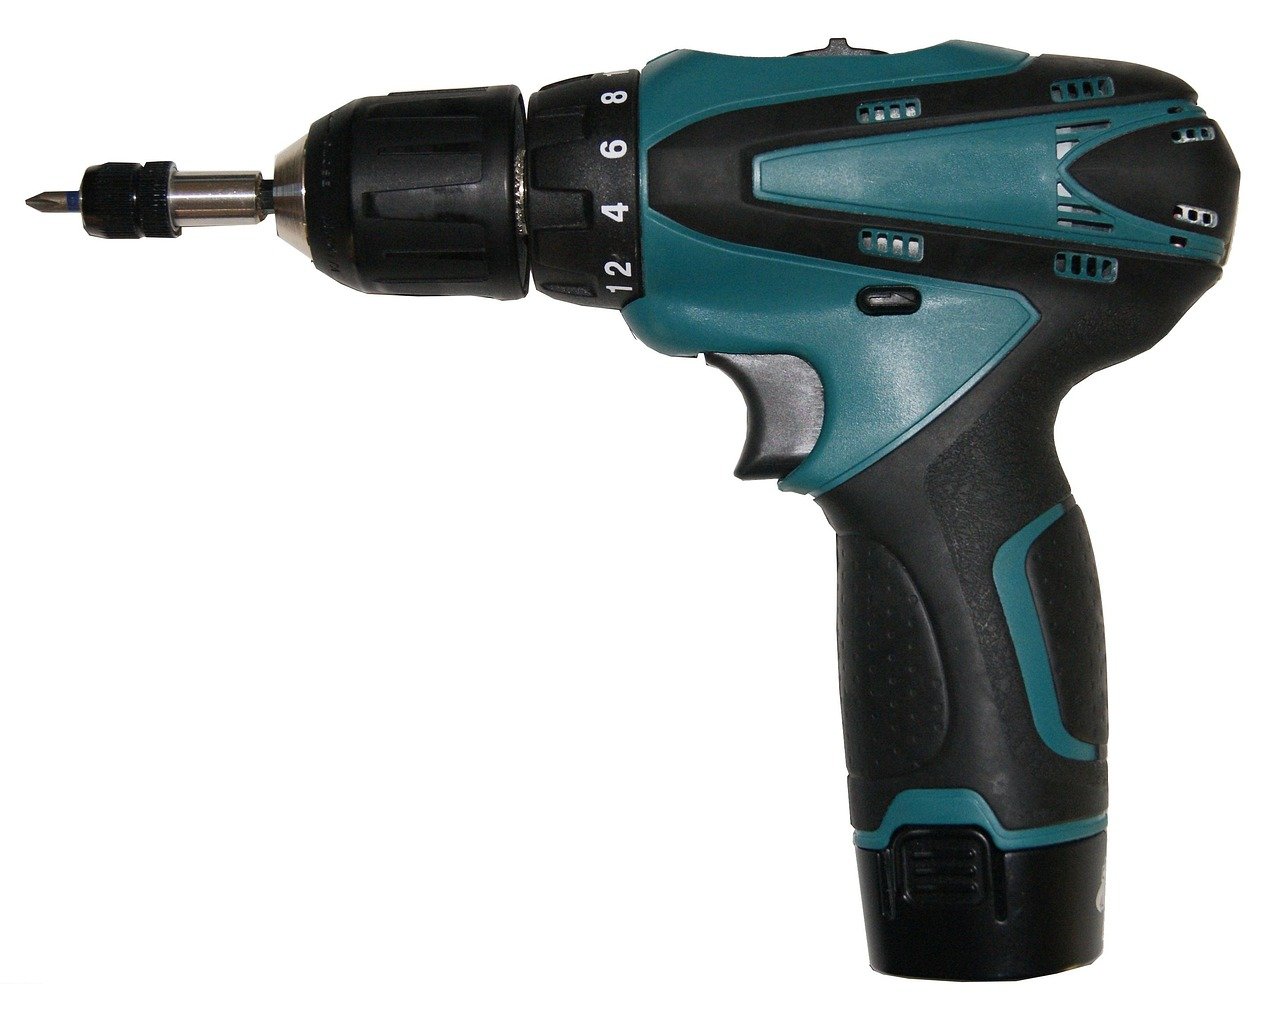
- A cordless drill with a stop collar or drill bits sized to your screws. A basic cordless drill driver on Amazon handles both the pilot holes and driving the mounting screws, so you don’t need a separate screwdriver for most of this.
- A pencil, painter’s tape, a tape measure, and a scrap piece of wood or cardboard to back doors while drilling (prevents splintering on the front face).
- Wood filler and a small paintbrush, only if your new hardware uses different screw spacing than the old holes.
- A soft cloth and mild cleaner for wiping down cabinet faces before and after.
Step 1: Choose Hardware That Matches Your Kitchen’s Scale
Before you order anything, walk your kitchen and count your doors and drawers, then decide whether you want knobs, pulls, or a mix of both â a very common approach for 2026 is knobs on doors and long, linear pulls on drawers, which reads as more current than knobs everywhere. Pay attention to the actual size of the piece, not just the finish. Design coverage of 2026 hardware trends stresses that oversized pulls look intentional on wide drawers, while a knob that’s too small on a large door reads as an afterthought â proportion is doing as much work as color right now. If you want a mixed-metal moment, most kitchen designers recommend sticking to two finishes maximum, for example an aged brass on the doors with a matte black or bronze on appliance-adjacent hardware, so the kitchen still feels cohesive rather than cluttered.
Also check your existing screw hole spacing now, with a tape measure, before you shop. If your current pulls are on a 3-inch or 96mm spacing, buying new pulls with the same spacing means zero new holes to drill and patch â just remove and reinstall. If you’re switching from knobs to pulls, or changing spacing, you’ll be drilling fresh holes, which is where the jig earns its keep.
Step 2: Remove Everything and Clean the Surfaces
Unscrew every existing knob and pull, keeping the screws in a labeled bag or cup in case you need to reuse any for the new hardware (some pulls come without screws, assuming you’ll reuse your old ones, especially if the spacing matches). Wipe down every door and drawer front with a mild cleaner to remove grease and dust â this matters more than it sounds like it would, because grime around old screw holes can telegraph through paint or stain if you’re patching and repainting later.
Step 3: Set Up the Jig and Mark Your Drill Points
This is the step that separates a professional-looking result from a slightly-off one, and it’s also the easiest to rush through. Cabinet installers who use jigs for a living are emphatic about this: carpenter Nathan Gilbert, writing for This Old House, recommends using a jig with a peephole for precise alignment on drawer fronts, noting that the same jig that sets the spacing for a pull can also mark the center point for a knob, and it works on drawers too. In other words, one tool handles your whole kitchen, doors and drawers alike, if you set it up correctly the first time.
Clamp or hold the jig against your first door, aligning it to the edge and to your chosen height (a common placement is about 2.5 to 3 inches from the top corner for pulls, or centered for knobs, though this is entirely a style preference â just pick a measurement and stay consistent). Mark your drill points with a pencil through the jig’s guide holes, or use a center punch if your jig has one. As Apartment Therapy contributor Cat Meschia put it after testing one, placing hardware in exactly the right spot on every single door and drawer is basically impossible to do consistently without a template, since even small variations become obvious once the whole kitchen is done. Do one door, drill it, and hang the hardware before moving to the rest â confirming your setup on a single door saves you from repeating a mistake twenty times.

Step 4: Drill the Pilot Holes
Back each door or drawer front with a scrap piece of wood before drilling all the way through â this keeps the drill bit from blowing out splinters on the front face as it exits. Drill straight and steady at your marked points, using a bit sized just slightly larger than your mounting screw’s shaft. For drawers, remember the front is usually thicker than a door, so you may need longer screws than what came in the box, especially on drawers with a false front and a separate drawer box behind it; double-check by dry-fitting a screw before you commit to drilling the whole kitchen.
Step 5: Install the New Hardware, Doors First
Thread the mounting screws through the back of the door or drawer front and into the new knob or pull, tightening by hand first to check alignment before fully driving it home with the drill on a low torque setting â overtightening can strip the soft wood around the hole, especially on painted MDF doors. Work through all your doors first, then move to drawers, since drawers often need a slightly different screw length. Step back every few doors and look at the kitchen as a whole from across the room; hardware that looks perfectly level up close can look slightly off from a distance if a few doors are hung unevenly, which is worth catching now rather than after you’ve done all thirty pieces.
Step 6: Handle the Awkward Spots
Every kitchen has a few doors that don’t play along â an end panel, a lazy Susan door, an appliance panel, or a cabinet with mismatched original hole spacing. For these, you have two honest options: buy hardware that matches your new pulls’ old holes exactly (some brands sell the same style in multiple hole spacings for this reason), or fill and sand the old holes with wood filler, let it dry fully, sand smooth, and touch up with matching paint before drilling fresh holes in the new spot. Don’t rush this on a painted door â wood filler needs to be fully cured before you sand and drill through it, or it can crumble.
Final Tips for a Flawless Finish
- Buy two or three extra pieces of hardware beyond your exact count. Drill bits slip, screws strip, and having a spare knob on hand saves a second trip to the store mid-project.
- If your kitchen has an island, treat it as its own zone â it’s often the first thing people see, so it’s worth extra care on alignment and finish choice, even if it means a slightly different pull style than the perimeter cabinets.
- Keep a shop rag nearby. Aged brass and bronze finishes can show fingerprints more than chrome or nickel did, and wiping hardware down as you go keeps the final result looking as clean as day one.
- Photograph your finished layout and screw spacing before you toss the box. If a pull ever needs replacing years from now, you’ll want that reference.
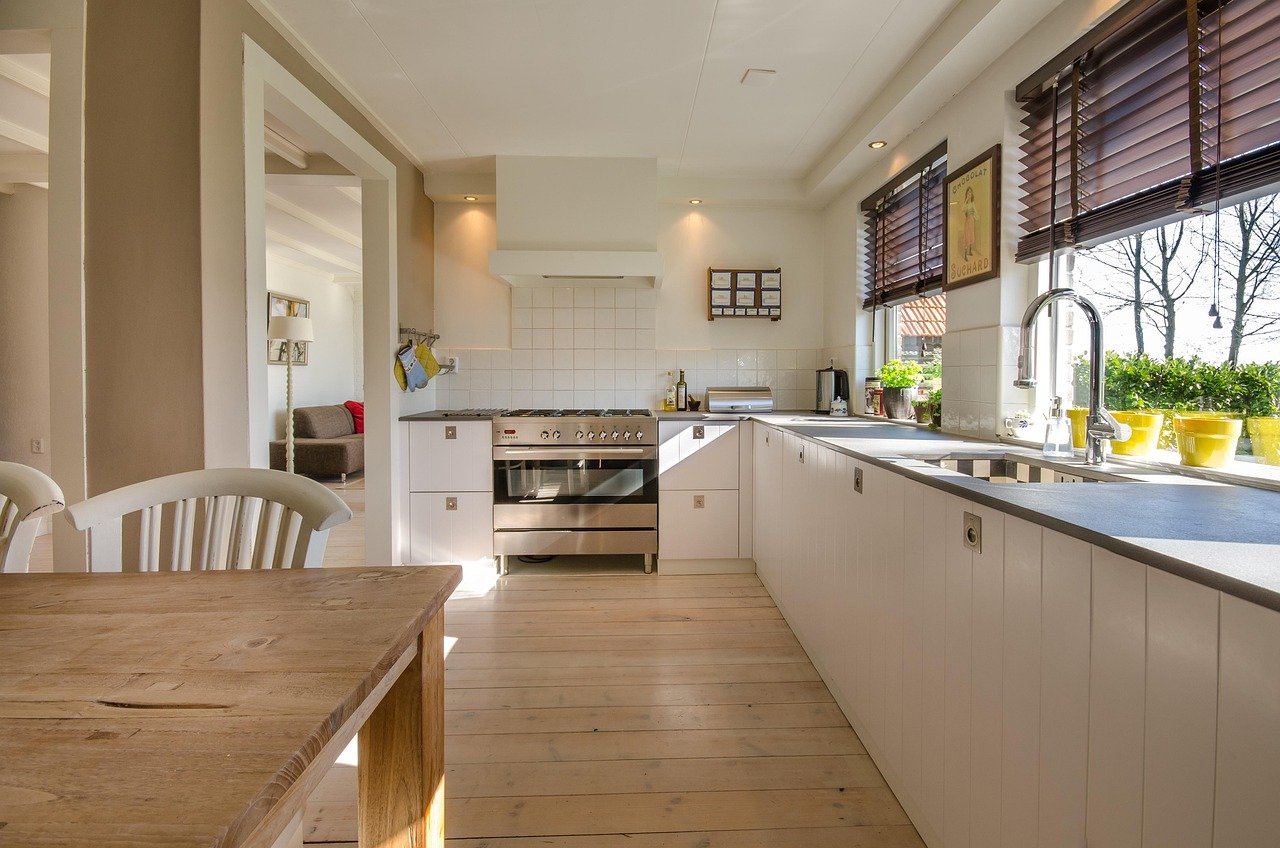
What surprised me most about this project wasn’t how easy it was â plenty of blogs promise that about plenty of projects â it was how much the rest of the kitchen suddenly looked intentional once the hardware matched. The same cabinets, the same counters, the same layout, but the whole room read as a place someone had actually designed instead of a place that came with the house. If you only have one weekend to spend on your kitchen before the holidays, this is the project that gives you the most visible return for the least amount of risk: no plumbing, no demolition, no wet paint to avoid touching for a week. Just a jig, a drill, and an afternoon.