
As an Amazon Associate, I earn from qualifying purchases — and after spending less than $150 on lumber, paint, and a couple of tools I didn’t already own, I’m convinced board and batten is one of the best returns on effort in home DIY. My dining room had that builder-grade blank-wall problem: not ugly, just forgettable. A flat-screen and a console table weren’t fixing it. What actually changed the room was three feet of vertical trim boards running around the lower half of the wall, painted a shade darker than the ceiling above it. It reads like a $3,000 carpentry job. It isn’t.
Board and batten — a grid of vertical boards (battens) attached over a horizontal top rail — has stuck around as a go-to accent wall treatment because it doesn’t depend on trends in color or furniture to look intentional. It works in a 1920s bungalow and a 2010s builder-grade house equally well, and unlike wallpaper or a stencil pattern, it’s forgiving of small mistakes because paint and caulk hide almost everything. This guide walks through the exact planning and installation process, based on real builds and technique documented by DIY bloggers who’ve done this more than once.
What You’ll Need
- Pre-primed 1×4 boards (for the top rail and outer verticals)
- Pre-primed 1×3 boards (for the vertical battens, sized to your spacing)
- 2-inch brad nails and a brad nailer or nail gun
- Stud finder
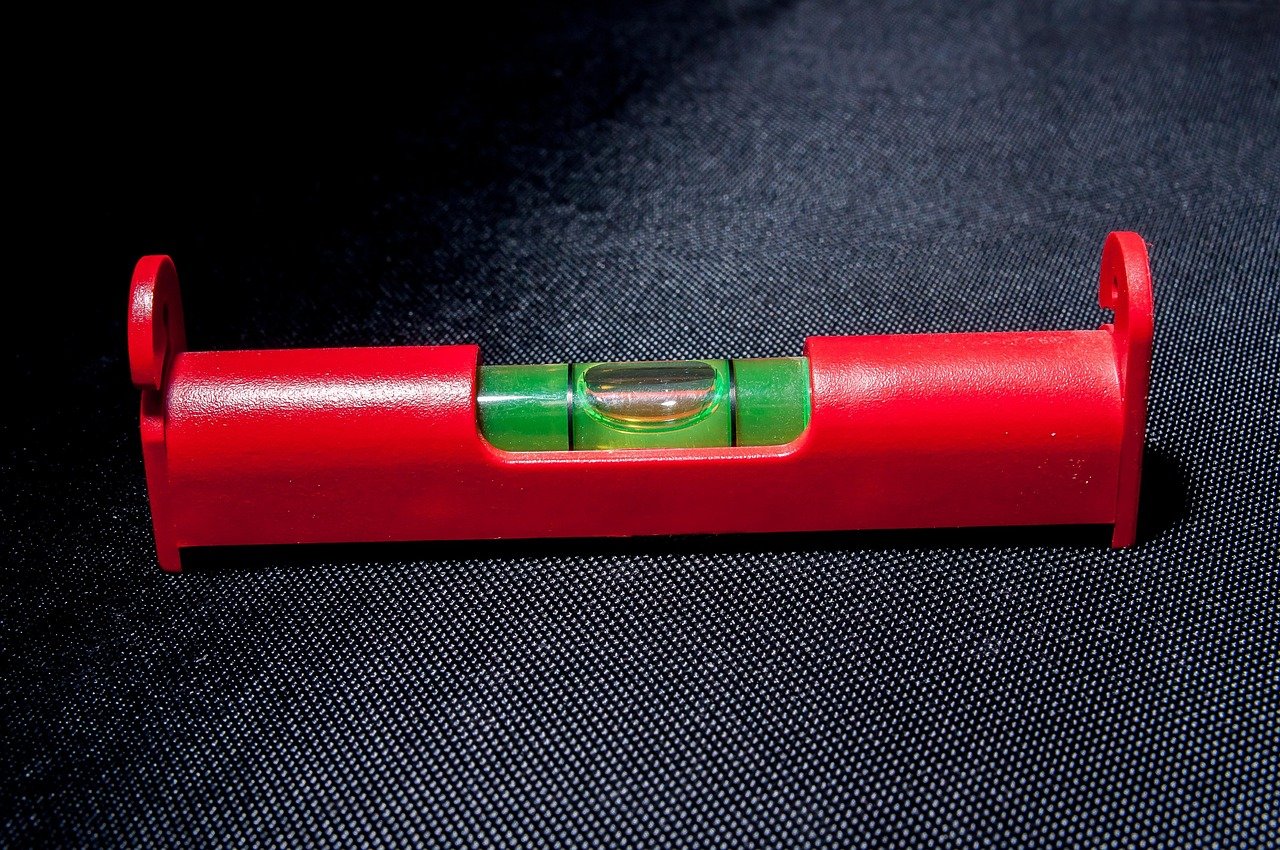
- A level at least 24 inches long (a torpedo level works for shorter checks, a longer box-beam level for the top rail)
- Miter saw or a hand saw with a miter box, plus a jigsaw for cutting around outlets
- Paintable caulk and a caulk gun
- Wood filler and a fine sanding sponge
- Painter’s tape, primer (if boards aren’t pre-primed), and your paint of choice
- Construction adhesive, for any batten that won’t land on a stud
Budget-wise, this is one of the cheaper accent wall upgrades you can do — most single-wall projects run somewhere between $60 and a few hundred dollars depending on wall size and board quality, well under what a contractor would charge for the same look.
On material choice: pre-primed pine boards from a home center are the easiest option for a first attempt, since they’re already sanded and sealed and just need caulk and paint. MDF trim boards are another common choice — they’re cheaper and won’t warp, but they’re heavier to cut and more prone to swelling if the room gets humid, so they’re better suited to living rooms and hallways than bathrooms or laundry rooms.
Step 1: Plan Your Layout Before You Cut Anything
This is the step people skip and regret. Measure your wall’s total width and mark where your studs are with a stud finder — you’ll want as many battens as possible to land on a stud so you can nail directly into framing instead of relying on adhesive. Decide on your rail height first: a common approach is to run the top rail about a third of the way up the wall for a classic look, though anywhere from knee-height to roughly 20 inches below the ceiling both work depending on the room.
Before you commit, mock the spacing up with painter’s tape directly on the wall. Wider spacing (10–18 inches edge-to-edge) reads more traditional or farmhouse; tighter spacing feels more modern and formal. Whatever number you land on, do the math so your corner battens land as full boards rather than an awkward sliver — you may need to nudge your spacing by an inch or two to make the math work out evenly across the wall.
Step 2: Install the Horizontal Rails
Cut your top rail (and a baseboard-level bottom piece if your wall doesn’t already have one) to length. Attach these first, nailing directly into studs with 2-inch brad nails wherever possible. Use your level constantly here — a rail that’s even a quarter-inch off will throw every vertical batten out of plumb by the time you reach the far end of the wall.
Step 3: Attach the Outer Vertical Boards First
Rather than working left to right, measure and cut the two outermost vertical boards for each end of the wall (or each corner, if you’re wrapping an inside corner) and install those before anything in between. This locks in your overall frame and gives you a fixed reference for spacing everything else. Measure the exact height needed at each end individually — walls are rarely perfectly plumb, and a board cut to fit one end may be a hair too long or short for the other.
Step 4: Mark and Install the Remaining Battens
Working from your layout plan, mark the center-to-center spacing for each remaining vertical board directly onto the top rail and bottom rail. For each batten, check it for level with a torpedo level before nailing — don’t assume that because the two outer boards are plumb, everything in between will automatically line up. A good habit borrowed from experienced installers: cut boards slightly longer than your measurement, then hold the piece in place, mark the exact cut line, and trim to fit. It’s slower than pre-cutting a whole stack at once, but it accounts for the small variations every real wall has.
Where a batten doesn’t land on a stud, add a thin bead of construction adhesive to the back before nailing — the nails alone will hold it temporarily, but adhesive keeps it from working loose over time.
Step 5: Handle Corners and Outlets
At an inside corner, avoid overlapping one batten over another — it makes one board look narrower than the rest. Instead, plan your spacing so a full board sits on each side of the corner, meeting cleanly. For outlets or switches in the field of the wall, hold the board in position exactly as you plan to install it, level it, then trace the opening directly onto the back with a pencil before cutting it out with a jigsaw. Test-fit before nailing permanently.
Step 6: Fill, Caulk, and Sand
Once every board is nailed in place, fill all nail holes with wood filler and let it dry fully. Run a bead of paintable caulk along every seam — where battens meet the rail, where boards meet the wall, and along any gaps at the corners. This step does more visual work than almost anything else in the project; caulk is what turns a grid of boards into what looks like built-in millwork instead of trim nailed to drywall. After the filler and caulk cure, sand everything smooth with a fine sanding sponge, focusing on filled nail holes and any rough seams, then wipe the whole wall down with a clean rag to remove dust before painting.
Step 7: Prime and Paint
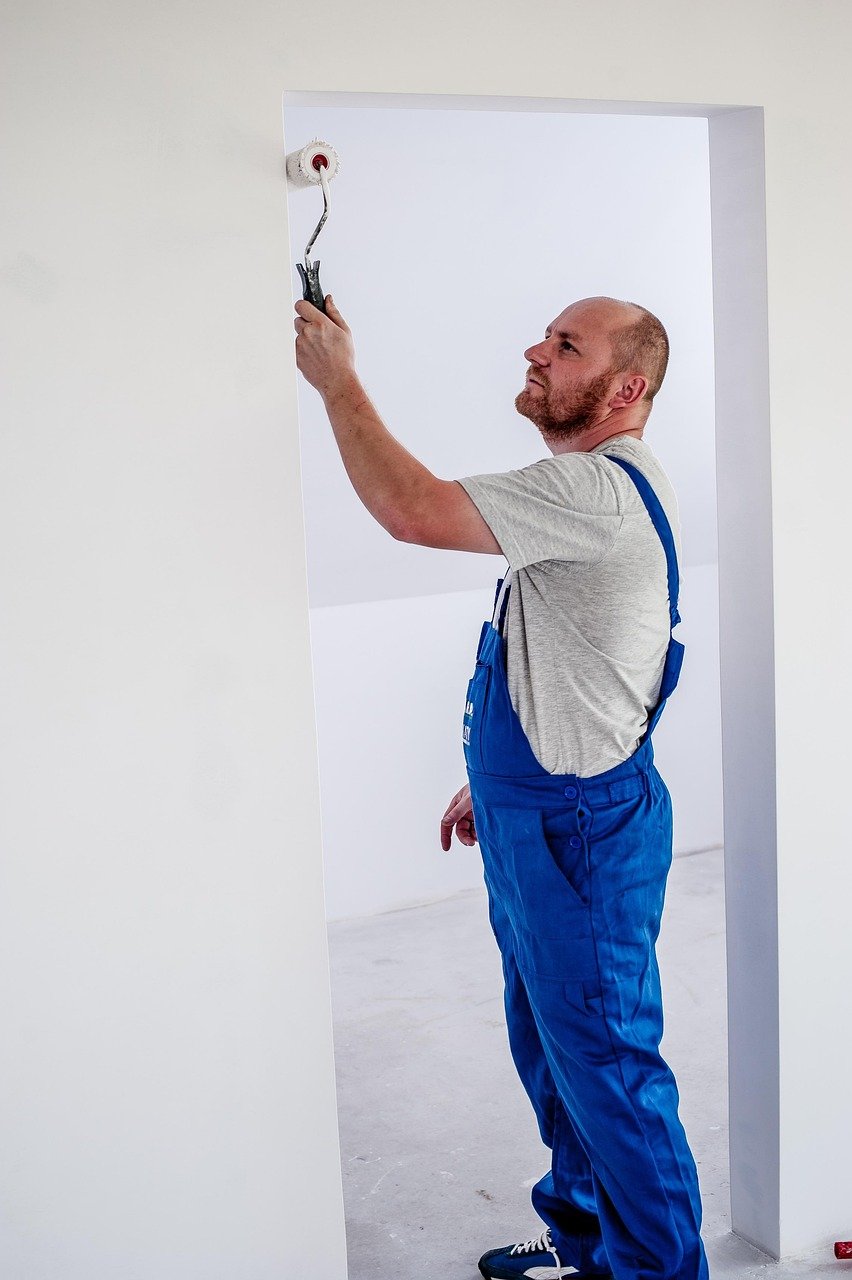
If your boards weren’t pre-primed, prime the entire wall first, including the drywall in between the battens — an uneven primer coat is one of the most common reasons a finished board and batten wall looks patchy. For the top coat, a low-VOC interior paint in a durable finish (satin or eggshell holds up better to bumps and cleaning than flat) is the standard choice; a paintable caulk and matching trim paint from the same visit keeps sheens consistent. Cut in around every edge with a brush before rolling the open field areas, and plan on two coats for full, even coverage — especially over wood filler, which tends to absorb paint differently than the surrounding boards until it’s sealed.
Step 8: Style the Finished Wall
Board and batten reads best when it’s treated as architecture, not decoration — resist the urge to hang a big gallery wall or a giant piece of art directly over it. A single well-scaled mirror, a runner of simple frames inside the top panel, or leaving it bare above furniture all let the trim itself be the visual anchor. If you want to push the look further, paint the wall above the rail a contrasting shade — a deeper tone above a white lower half is one of the more common ways homeowners are dressing up this treatment, since it draws a clean line the eye reads instantly, even from across the room.
Final Thoughts
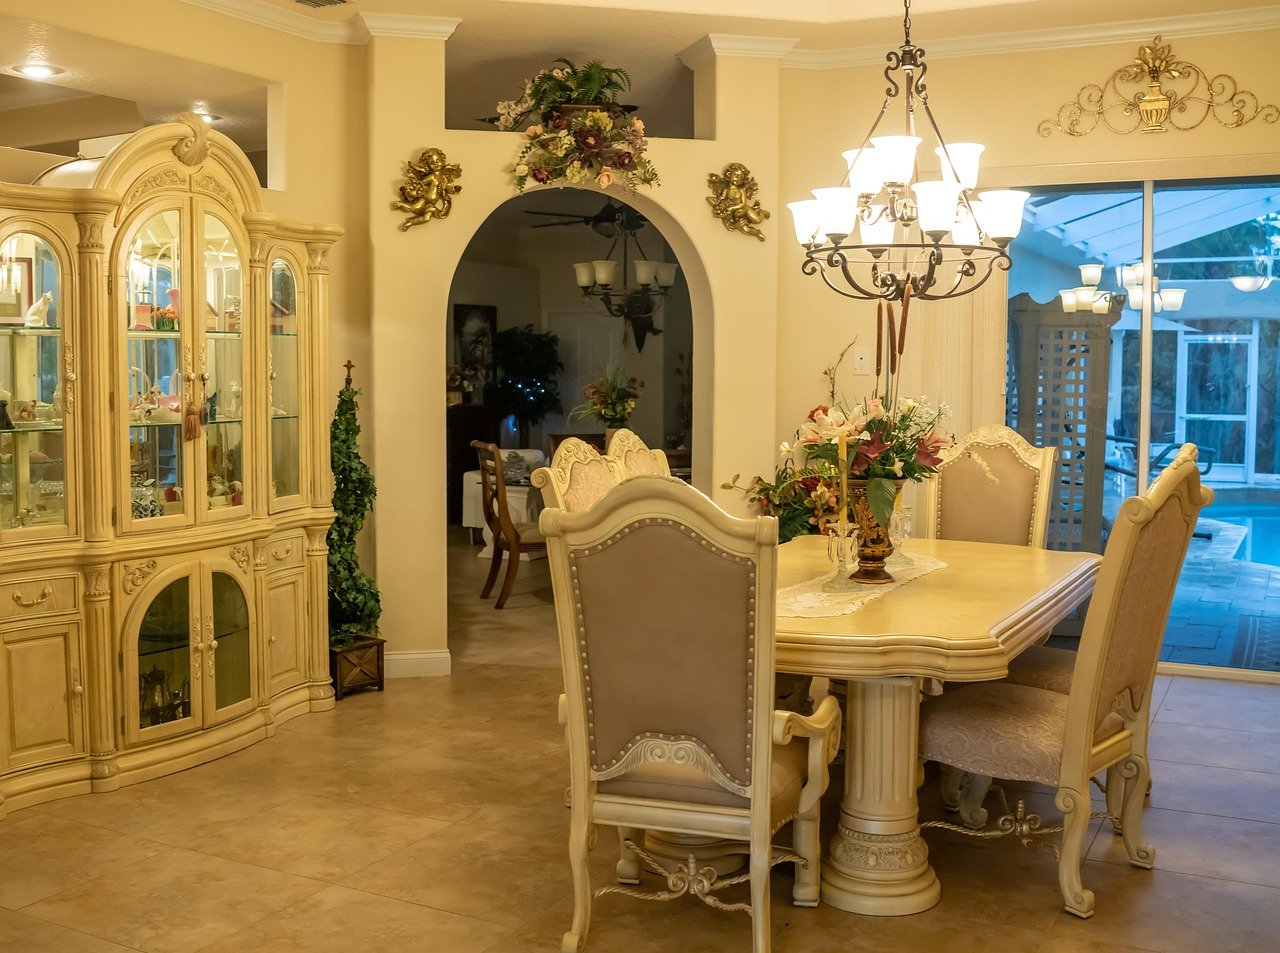
The part of this project nobody warns you about is how much the caulking step matters — it’s tempting to rush past it to get to painting, but a wall with tight, filled seams is the entire difference between “DIY” and “built-in.” If you’re doing this for the first time, do one wall, live with it for a week before you paint the trim above it a contrast color, and only then decide whether to carry the same treatment into a hallway or a second room. It’s a project that rewards patience at the caulk gun far more than speed with the miter saw.