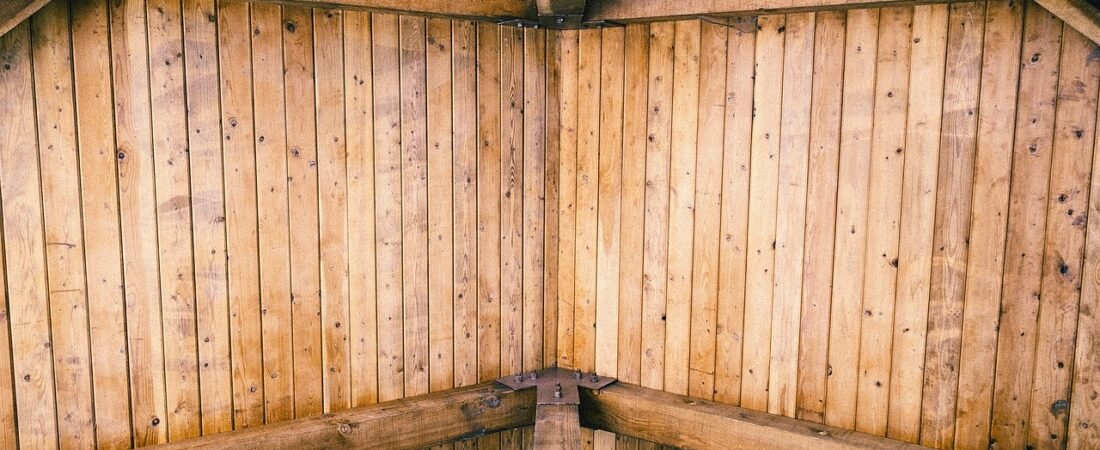
Our living room ceiling was the one surface I never thought about until a contractor friend pointed out, mid-visit, that it was “doing nothing” — a flat, builder-grade expanse of drywall over a room I’d otherwise spent two years decorating. I’d always assumed exposed beams were a feature you either inherited with an old farmhouse or paid a framing crew thousands of dollars to fake with real structural lumber. Neither was true. The beams on our ceiling now are hollow wood boxes I built myself over a weekend, screwed into cleats, and stained to look decades older than they are. Before we get into exactly how: as an Amazon Associate, I earn a commission from qualifying purchases made through the links below, which doesn’t cost you anything extra but helps fund the lumber for whatever I build next.
Why Faux Beams Are Everywhere in 2026
Ceilings have become the design world’s favorite “fifth wall” this year, and beams are a big part of why. Krystal Reinhard, founder of Old Soul Design Studio, put it plainly when she told AOL: “For the rest of 2026, ceilings will continue to reign through color drenching, artisan wallpaper, exposed wood beams, and custom millwork.” It’s a shift away from the all-white, all-flat ceilings that dominated the last decade, toward ceilings that actually do something for a room.
What makes beams specifically appealing is that they read as architecture, not decoration — even when, like mine, they’re hollow. Designers Barbara Purdy and Olivia Botrie, discussing a beamed kitchen renovation with House & Home, said their goal with the beams was “to make the kitchen look like it had evolved naturally and gracefully over time” — which is exactly the effect a flat ceiling can’t produce on its own, no matter how good the paint color is. That’s the appeal in one sentence: beams make a newer or more generic room look like it’s always had history.
What You’ll Need
This project builds hollow three-sided beam “boxes” out of regular boards, then mounts them to the ceiling over cleats screwed into the joists — no real structural lumber, no engineer, no permit in most areas since nothing is load-bearing. Plan for a full weekend for one average-sized room (longer if your ceiling has a lot of obstructions like recessed lights or vents to work around).
- 1×8 and 1×6 pine or poplar boards for the beam faces — two 1x8s and one 1×6 per beam, ripped with a 45-degree bevel so they fold into a clean three-sided box. Any home center sells these by the foot; poplar takes stain more evenly than pine if you want a richer, less blotchy finish.
- 2×6 boards to build the cleats that get screwed directly into the ceiling joists — this is what the finished beam actually hangs on, so don’t skip or undersize it.
- A stud finder to locate your ceiling joists accurately before you drill a single hole. A basic wall and joist scanner like this one is inexpensive and saves you from guessing.
- Wood glue rated for a strong, gap-filling bond along the beveled seams — this is what actually holds each beam box together, with the screws mostly there for the ceiling connection. A heavy-duty wood glue like Titebond is the standard choice for this kind of joint.
- 3-inch construction screws to fasten the cleats to the joists, plus shorter trim screws to attach the finished beam box up over the cleat.
- A cordless drill/driver for pilot holes and driving screws overhead — you’ll be using it one-handed on a ladder for most of this project, so a lightweight one matters more than usual. A compact cordless drill kit works well for this.
- A miter saw or table saw to cut your boards to length and bevel the long edges. If you don’t own one, most home centers will make straight cuts for you, but you’ll still need a saw on-site for the bevels.
- A brad or finish nailer to tack the beveled faces together while the glue sets, instead of holding three boards in place by hand for twenty minutes. A cordless finish nailer made this step dramatically faster for me.
- Wood stain in your color of choice — I mixed two shades to avoid the “freshly cut” look that a single can of stain almost always gives new lumber. A warm, weathered-tone stain like this is a good starting point for an aged beam look.
- Wood filler for screw holes and seams, plus sandpaper, a chalk line or laser level for marking straight beam lines across the ceiling, a ladder, and a basic distressing kit (an old chisel, a screwdriver, even a length of chain) if you want a genuinely weathered finish instead of a smooth painted one.
Step 1: Plan Your Beam Layout and Spacing
Measure the full length and width of your ceiling and decide how many beams you want and how far apart. Most rooms look best with beams spaced somewhere between 24 and 48 inches apart, running perpendicular to your longest ceiling joists if possible (beams running parallel to the joists are harder to anchor securely). Mark your intended centerlines on the ceiling in pencil first, and stand back to look at the spacing in person — what looks right on a tape measure doesn’t always look right in the room, especially around light fixtures, ceiling fans, or vents you’ll need to beam around rather than through.
Step 2: Install the Ceiling Cleats
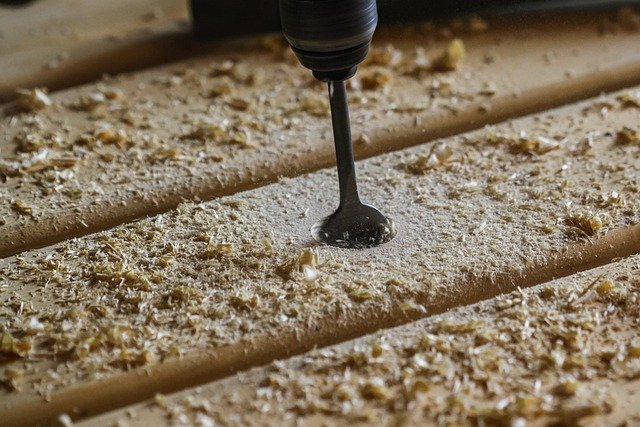
Using your stud finder, locate every joist that crosses each marked beam line and mark them clearly. Cut your 2×6 cleats to the same length as each planned beam, then screw each cleat directly into the joists with 3-inch construction screws, driving a screw into every joist the cleat crosses — this connection is what the entire finished beam will hang from, so it needs to be solid, not just a couple of screws at each end. Double-check that every cleat is level before moving on; a cleat that’s even slightly off will throw the whole beam out of level once the box is mounted over it.
Step 3: Build the Three-Sided Beam Boxes
This is the step that actually turns flat boards into something that reads as a solid beam. Rip a 45-degree bevel along both long edges of your 1×8 boards and one long edge of your 1×6 board on the table or miter saw, so the three boards fold together into a hollow, three-sided box with mitered corners instead of visible butt joints. Run a bead of wood glue along each beveled edge, fold the boards up into position, and tack the seams with your finish nailer while the glue sets. Running a screwdriver shaft firmly along each corner seam afterward helps close any tiny gap in the miter before the glue fully cures. Build all your beam boxes this way before moving to staining — it’s much easier to stain and distress them flat on sawhorses than overhead on a ladder.

Step 4: Stain and Distress the Wood
New lumber reads as new lumber no matter how good your stain color is, unless you rough it up first. Before staining, go over each board with a chisel, the claw of a hammer, or even a length of chain to add small dents, gouges, and worn edges — concentrate on the corners and ends, which take the most visible wear on a real old beam. Test your stain mix on a scrap piece first; blending two or three shades (I used a combination of warm oak tones) gets you a more convincing, less uniform color than a single can straight from the shelf. Apply the stain, wipe back the excess, and let it dry fully before handling the beams again.

Step 5: Mount the Beams to the Ceiling
With a helper if at all possible, lift each finished beam box up and over its cleat, checking that it sits flush and centered before fastening. Drive trim screws up through the inside faces of the beam into the cleat at a slight angle, spacing them every 16 inches or so along the length — these screws stay hidden once the beam is in place, since they’re driven from inside the hollow box rather than through the visible face. Work one beam at a time, confirming level before you move to the next, rather than hanging all of them and discovering a problem at the end.
Step 6: Fill, Touch Up, and Finish
Fill any visible screw holes or seam gaps with wood filler, let it dry, then sand lightly and touch up the stain over the filled spots so they blend in rather than standing out as obvious patches. Step back under the finished ceiling and check the whole thing together in natural light — this is usually where I find one or two small touch-up spots that were invisible up close on the ladder but obvious from across the room.
Mistakes I’d Avoid Next Time
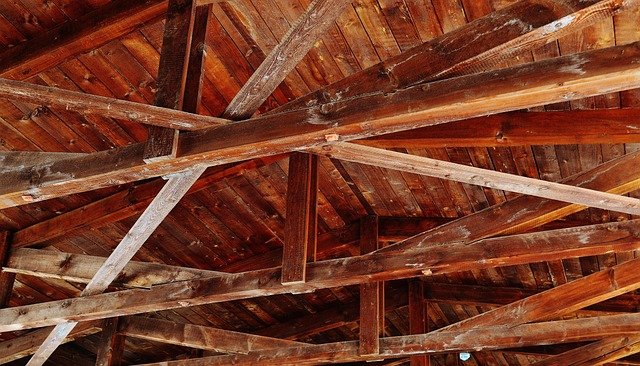
I under-planned my light fixture clearance on the first beam and ended up with one beam running about two inches from a pendant light, which looked accidental rather than intentional once it was up. If a fixture is anywhere near your planned beam line, measure its full swing or shade width before you commit to that spacing, not just the mounting point. I’d also recommend doing a full dry run of one beam box — build it, stain it, and hold it up to the ceiling — before building all of them, since it’s much easier to adjust your spacing or finish after one trial piece than after you’ve already built five identical boxes the same way.
The whole ceiling took me a weekend and change, and it’s the single change that’s made the most people ask what we “renovated” in that room — nobody guesses it’s hollow boxes over cleats until I tell them. If your ceiling has felt like the one surface in your house doing nothing, this is a genuinely approachable way to give it a job.