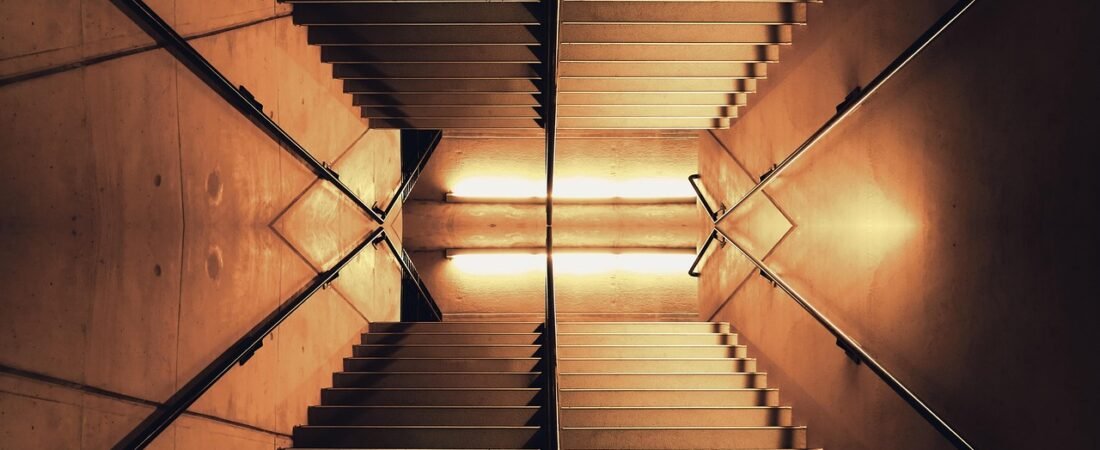
Our staircase sat there for three years looking like nothing. Fourteen plain white risers, scuffed at the edges from moving boxes and a dog who never learned to slow down on the landing. I kept telling myself I’d get around to a runner, or maybe paint, but every plan felt either too expensive or too permanent for a staircase we might redo when we finally replace the carpet on the treads. Then I started seeing wallpapered risers everywhere — on design accounts, in a neighbor’s foyer, in the “before you repaint, try this” corner of my algorithm — and realized it was the rare project that’s both bold and reversible. I ordered three rolls of peel-and-stick wallpaper through my usual Amazon cart (As an Amazon Associate, I earn from qualifying purchases, which is the only reason I let myself buy a fourth roll after botching two panels on the first attempt) and spent a Saturday afternoon turning a boring staircase into the first thing people notice when they walk in the door.
This isn’t a trend that showed up out of nowhere. Yelp’s 2026 home trend report found searches for stair runner installation up 402% and stair refinishing up 26%, and Dallas-based realtor Julie Provenzano told House Digest that “stair runners have become really popular in design lately because they combine style, safety, and comfort.” Wallpapered and painted risers are riding the same wave — homeowners are done with the blank, builder-grade staircase and want it to actually look like part of the house’s design, not an afterthought between floors.
Why Risers (Not the Whole Staircase) Are the Easy Entry Point
Wallpapering an entire stairwell wall is a multi-day, drop-cloth, extra-set-of-hands kind of project. Risers are different. Each one is a small, flat, rectangular panel — usually somewhere between 7 and 8 inches tall and as wide as your staircase — so a single roll of wallpaper realistically covers five to seven risers depending on the pattern repeat. You’re not fighting gravity with a full sheet over your head, you’re working at a comfortable kneeling height, and if you mess one up, you’re only out one small panel, not an entire wall’s worth of paper. It’s also genuinely reversible if you use a removable, peel-and-stick product, which matters if you’re renting or just not ready to commit to something permanent. Yelp’s own trend expert, Tara Lewis, pointed out that these kinds of options are “perfect for renters or anyone wanting a quick change with flexibility,” and that’s really the whole appeal in one sentence.
What You’ll Need
You don’t need a huge tool kit for this one, but a few specific items make the difference between crisp edges and a frustrating afternoon. The wallpaper itself is the main event — go with a genuinely removable, peel-and-stick vinyl wallpaper roll rather than traditional paste-the-wall paper, since you’re applying it to a vertical surface that gets kicked and bumped constantly. A proper smoothing squeegee is worth the few dollars; a credit card works in a pinch but tends to scratch matte finishes. For cutting, a fresh, sharp utility knife with replaceable blades matters more than almost anything else on this list — a dull blade drags and tears instead of slicing clean. You’ll also want a metal ruler or straight edge to cut against, a tape measure, low-tack painter’s tape to hold panels in place while you check alignment, fine-grit sandpaper, and a damp microfiber cloth for cleaning. If your staircase gets heavy foot traffic (kids, dogs, a lot of shoe-on-the-riser contact), a can of clear protective sealant spray at the end will noticeably extend how long the paper looks good.
Step 1: Choose a Pattern and Order Enough Wallpaper
Measure the height and width of one riser first, then multiply by however many risers you’re covering, and add at least 20% extra for pattern matching, mistakes, and repeats — this is not a place to cut it close. If your staircase has a slight variation from step to step (mine did, by almost half an inch in two spots), measure every single riser individually rather than assuming they’re identical; builder-grade stairs are rarely as consistent as they look. On pattern: a busy, high-contrast print reads as more intentional from a distance than a subtle tone-on-tone, since you’re viewing each riser at an angle and from a few feet away, not up close. Directional patterns (stripes, scallops, geometric repeats) tend to look more deliberate than large florals when applied riser by riser, because there’s less room for a flower to get awkwardly cut in half at the edge.
Step 2: Clean, Sand, and Prep Every Riser
Peel-and-stick wallpaper is forgiving, but it still needs a clean, smooth surface to actually stick to. Wipe down every riser with a damp cloth and a little dish soap to remove dust, grime, and any furniture polish residue, then let it dry completely. If your risers have glossy paint (very common on staircases, since gloss holds up better to scuffs), lightly scuff the surface with fine-grit sandpaper so the adhesive has something to grip — you’re not trying to strip the paint, just knock down the shine. Fill any nail holes, dents, or chips with a dab of spackle, let it dry, and sand it flush; wallpaper will telegraph every bump and dent underneath it once it’s applied, so this step is not optional if you want a clean finish.
Step 3: Measure and Cut Your Panels
Measure each riser again right before cutting, and add about half an inch to both the height and width of your cut piece — this buffer accounts for small measuring errors and gives you excess to trim away cleanly rather than coming up short. Lay the wallpaper pattern-side down on a flat surface (a cutting mat helps but a clean floor works), mark your cut lines lightly, and cut against a metal ruler with your sharp utility knife rather than scissors for a straighter edge. If your pattern has an obvious repeat or directional element, cut a few panels ahead of time and lay them out on the floor in order so you can confirm the pattern flows the way you want it before anything is stuck down permanently.
Step 4: Apply the Wallpaper Riser by Riser
Start at the top or bottom of the staircase, whichever feels more natural for your workflow, and work one riser at a time. Peel back about an inch of the backing paper and press that top edge into place first, using a level or the tread above as your guide to keep it straight. From there, slowly peel the backing away while smoothing the wallpaper down with your squeegee in one direction — working from the center outward toward each edge prevents air bubbles from getting trapped in the middle. Go slowly here; peeling and smoothing in small sections (a few inches at a time) gives you far more control than trying to pull the whole backing off at once and hoping it lands straight. If you notice the paper going on crooked, you can usually lift it back up gently and reposition within the first minute or two before the adhesive fully grabs.
Step 5: Trim, Smooth, and Check Every Edge
Once a panel is smoothed down, trim the excess along every edge with your utility knife, keeping the blade angled slightly into the corner rather than straight down so you don’t nick the tread or stringer on either side. Change your blade often — a dull one is the single biggest cause of ragged, torn edges on this kind of project, and a fresh blade costs almost nothing compared to redoing a panel. After each riser, step back and check it from a few feet away and from the angle someone would actually see it walking up the stairs, not just from directly in front of it kneeling down; a slightly crooked line is much more obvious from that natural viewing angle than it looks up close. Work your way down (or up) the whole staircase this way, one riser at a time, checking pattern alignment against the riser before it as you go.
Step 6: Protect High-Traffic Risers (Optional but Worth It)
Risers technically don’t get walked on directly the way treads do, but they take a beating anyway — kicked by shoes, scraped by moving furniture, nudged by a vacuum cleaner. If your household includes kids, pets, or you just move a lot of stuff up and down, a light coat of clear protective sealant spray over the finished wallpaper adds a surprising amount of durability and makes future scuffs wipeable instead of permanent. Test it on a scrap piece of the same wallpaper first, since some sealants can slightly change the sheen or tone of certain finishes, and let each coat dry fully before adding a second if the can recommends it.

Step 7: Style the Rest of the Staircase
Once the risers are done, the rest of the staircase tends to look a little unfinished by comparison — which is part of why this project pulls people further into a full staircase refresh. Toronto interior designer Phoenix Grey told House Digest that when layering in other stair updates, the goal is “complementing the finishes around the staircase” rather than competing with them, so a patterned riser generally pairs best with a simple runner or a solid stain on the treads rather than another bold pattern underfoot. A single coat of paint on the handrail or balusters in a color pulled from the wallpaper, or a set of simple stair rods at the base of each tread if you add a runner later, both read as intentional finishing touches without turning into a second big project.
Mistakes I Made So You Don’t Have To
My two ruined panels both happened the same way: I got impatient on the trim step and dragged a dull blade instead of stopping to swap it, and the wallpaper tore right at the corner where the riser meets the stringer. The fix was easy (cut a new panel, five extra minutes), but it taught me to keep a spare blade within reach the whole time instead of “finishing this one riser first.” My other mistake was measuring all fourteen risers once at the start and assuming they’d be identical — two of them were about three-eighths of an inch narrower than the rest, which I only caught after a panel wouldn’t sit flush. Measuring each riser again right before cutting its specific panel, even though it felt redundant, would have saved me that reprint.
The Result
The whole project took me one long Saturday afternoon, start to finish, for fourteen risers — call it four to five hours once you factor in prep and cleanup, though a shorter staircase could easily be a two-hour job. What used to be the most forgettable part of our entryway is now the first thing people comment on, and because I used a removable peel-and-stick wallpaper, I know I’m not locked into this pattern forever; if I get tired of it in a couple of years, or when we finally do replace the carpet on the treads, it comes off cleanly and I start over. For a project that costs less than most single pieces of furniture and doesn’t require a contractor, a weekend, or any real construction skill, wallpapered risers gave our staircase more personality than three years of “I’ll get to it eventually” ever did.