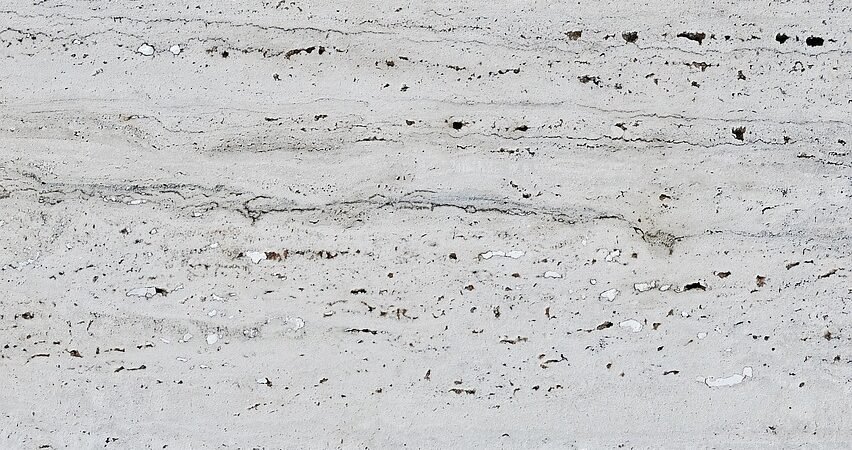
I spent three weekends last fall staring at the same flat, builder-beige wall in my dining room, trying to figure out why it looked so lifeless even after two coats of a nice warm paint color. Then a friend sent me a video of her sister’s kitchen nook, and I stopped scrolling. The wall wasn’t painted at all — it was trowelled, with these soft, cloudy variations of light and shadow that caught the afternoon sun like polished stone. That was my introduction to Venetian plaster, and I have been mildly obsessed ever since. I ended up doing it myself, over a single weekend, with a rental-friendly budget and a stack of YouTube tutorials open on my phone the entire time. Below is everything I wish someone had told me before I started, including the tools that actually mattered and the ones I never touched again. A quick note: this guide includes a few Amazon links for the plaster, trowels, and sealer I’d actually recommend, and as an Amazon Associate, Every Corner earns from qualifying purchases made through the Amazon links below, at no extra cost to you.
Why Venetian Plaster Is Suddenly Everywhere
If you’ve been anywhere near a home décor account in the past few months, you’ve probably noticed the shift away from flat paint toward walls with actual depth and movement. Designer Georgia Zikas told Apartment Therapy that Venetian plaster “is a beautiful, luxury material and can elevate and enhance even the smallest of spaces. The texture is like butter!” — and that’s really the appeal in one sentence. Unlike a solid paint color, plaster catches light differently depending on the time of day and where you’re standing, which is why it keeps showing up in kitchens, powder rooms, and behind range hoods as the go-to alternative to another shiplap accent wall.
It’s also part of a bigger 2026 move toward tactile, mineral-based wall finishes — plaster, limewash, and Roman clay are all having a moment as homeowners look for something with more soul than a roller and a paint swatch. The catch, and it’s worth knowing before you commit a whole wall to it, is that real plaster is not easy to undo. Chuck Khiel, senior vice president of Fred Home Improvement, explained to Apartment Therapy that “Venetian plaster comes in the form of putty and is made from fired limestone and marble dust,” and that removing or even smoothing it back out later typically means sanding, priming, skim-coating, or in some cases replacing the drywall entirely. That’s not a reason to skip it — it’s a reason to pick your wall carefully. This is a project for a wall you’re genuinely excited to commit to, in a home you plan to be in for a while, not a rental you might leave in a year.
What You’ll Need
The good news is that Venetian plaster doesn’t require a huge tool investment, and most of what you need works for future plaster projects too. Here’s what I’d actually put in your cart:
Pre-mixed Venetian plaster in your chosen tone (plan on roughly one gallon per 100–125 square feet for two coats).
A gripping/bonding primer made for plaster, not a standard wall primer.
A stainless steel Venetian plaster trowel — get one with rounded corners so you don’t gouge lines into the finish.
A taping knife set in 3-inch, 6-inch, and 10-inch sizes for prep work.
Joint compound and a lightweight surfacing compound for patching dents and seams.
A mud pan to hold your plaster while you work.
A fine-grit sanding sponge for smoothing patched areas.
A finishing wax or sealer made for plaster, to protect and deepen the sheen.
Painter’s tape and canvas drop cloths, plus a clean, damp sponge and a drill with a mixing paddle if your plaster needs stirring.
Budget for a mid-size accent wall lands around $300–$400 in materials if you’re buying quality tools you’ll keep, which tracks with what other DIY plaster guides report for a similar-sized project. Set aside a full weekend: one day for prep and the first coat, one day for the second coat, burnishing, and sealing.
Step 1: Prep the Wall Like Your Finish Depends On It
This is the step people rush, and it’s the one that determines whether your finished wall looks intentional or just uneven. Clear the wall completely — outlet covers, hooks, everything — and use your taping knife and joint compound to fill any dents, nail holes, or seams. Let it dry fully, then sand it smooth with your sponge. Plaster is thin enough that it will telegraph every bump and divot underneath it, so a wall that looks “good enough” under paint is not necessarily good enough here. Wipe down the whole surface with a damp cloth to pull off dust before you move on.
Step 2: Prime for a Bond, Not Just Coverage
Skip your leftover wall paint and use an actual plaster-bonding primer. A gripping primer dries with a slightly rough, toothy surface, which is exactly what gives the plaster something to hold onto — a slick, standard primer will make your first coat slide and drag instead of gliding on smoothly. Roll it on evenly with a 9-inch roller and give it three to four hours to dry completely before you touch the wall again. Don’t rush this part just because it looks dry to the eye; plaster applied over a tacky primer will lift and streak.
Step 3: Apply the First Coat
Load a small amount of plaster onto your 3-inch knife or trowel and apply it in thin, random passes, holding the trowel at a slight angle so you’re skimming, not scraping. Vary your stroke direction across the wall instead of working in neat, uniform rows — that’s actually what creates the organic, cloud-like movement Venetian plaster is known for. If you want a more textured finish, use short, choppy strokes; for a smoother, more subtle look, use longer sweeping passes. Work in manageable three-foot sections so you can keep the edges wet and blend as you go, and don’t stress about full, even coverage yet. Let this coat dry completely, which typically takes a few hours depending on your humidity.
Step 4: Apply the Skip-Trowel Second Coat
This is where the depth really shows up. Load a lighter amount of plaster this time and apply your second coat working from the opposite direction of your first pass, deliberately skipping over some spots so bits of the first coat peek through. That contrast between the two layers is what gives you the marbled, dimensional look instead of a flat, single-tone finish. Resist the urge to cover every inch evenly — the imperfection is the point.
Step 5: Burnish for the Signature Marble Sheen
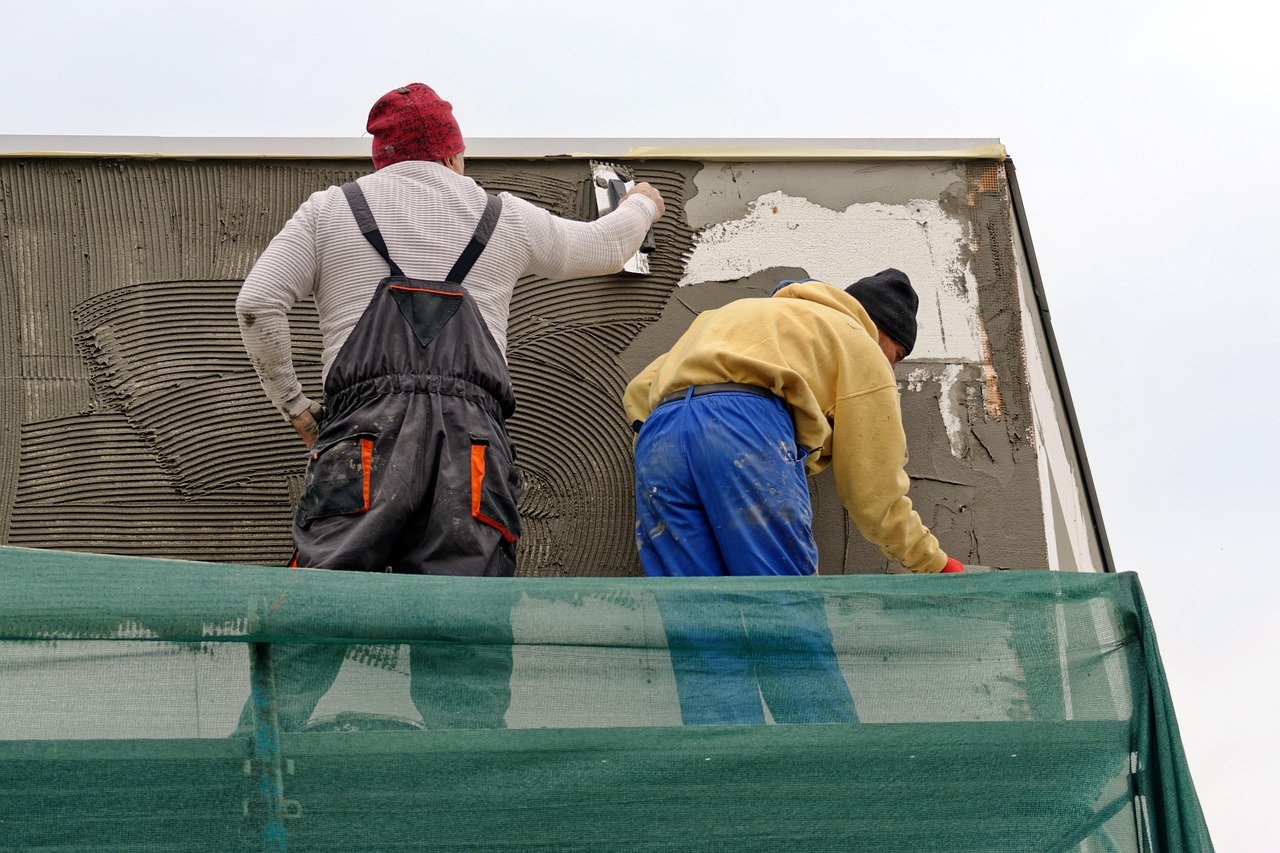
Burnishing is the step that separates a textured paint job from an actual Venetian plaster finish, and it’s genuinely satisfying once you get the hang of it. Before the second coat has fully dried, take a clean trowel, hold it flat at a low angle, and press it against the wall with firm, steady pressure in smooth passes. This action compresses and closes the pores of the plaster, which is what creates that glassy, stone-like shine and also makes the surface more water- and stain-resistant. You’ll feel the wall start to warm up and shine under the trowel — that’s how you know it’s working. Go over the whole surface, paying extra attention to any rougher patches.
Step 6: Seal and Protect
Let the wall cure for a full 48 hours before sealing — this isn’t a step to shortcut, since sealing over plaster that hasn’t fully dried can trap moisture and dull the finish. Once it’s cured, apply a plaster finishing wax with a clean, damp sponge in small circular motions, working in thin layers. Two to three light coats will deepen the color, add a soft sheen, and give you real protection in a space that gets touched or bumped often. Buff lightly with a dry cloth after the final coat sets.
Should You Actually DIY This? A Few Honest Things to Know First
Before you commit an entire room, it’s worth being upfront about what you’re signing up for. Real plaster is not a weekend fling you can undo with a coat of primer — as Khiel noted, taking it down to a paintable, smooth surface again usually means sanding, skim-coating, or replacing drywall outright. If you’re renting, or you’re the type who repaints every year or two, a Venetian-plaster-style wallpaper or a limewash paint finish will get you a similar tactile look without the commitment. But if you own your place and you’ve got a wall you’re ready to fall in love with for years, this is exactly the kind of project worth the extra effort — it photographs beautifully, it ages well, and unlike paint, it only gets more interesting as light moves across it throughout the day.
The Finished Result: Styling Around Your New Wall
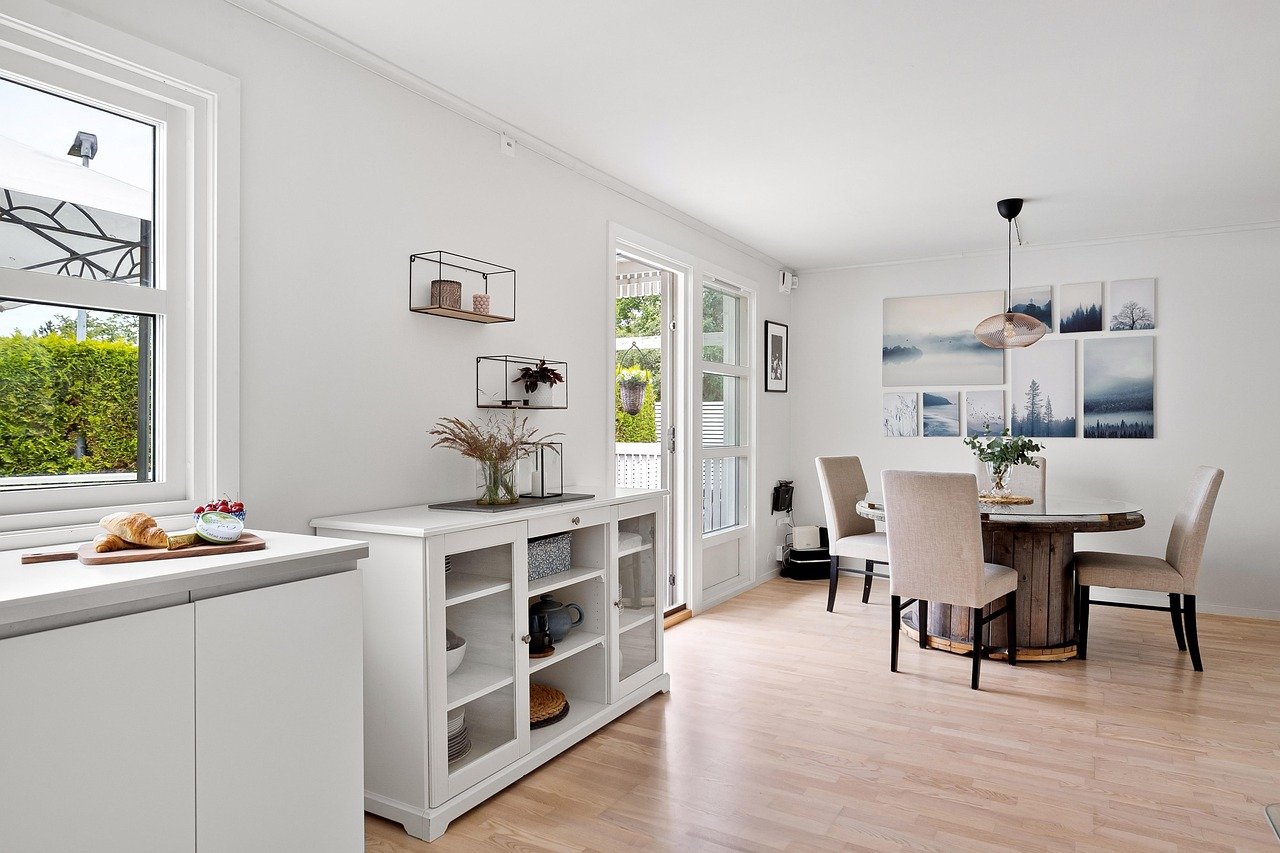
Once your wall is cured and sealed, resist the urge to compete with it. Venetian plaster does the visual heavy lifting on its own, so I’d keep everything else in the room a little quieter — think warm wood tones, a single statement light fixture, and soft, layered lighting rather than one harsh overhead. In a dining room or entryway, it works beautifully as a backdrop for a mirror or a small gallery of framed art, since the texture reads almost like stone behind whatever you hang on it. In a kitchen, it’s a stunning stand-in for tile behind a range or sink. Either way, live with it under a few different lighting conditions before you finalize your furniture and decor around it — that’s really where this finish earns its keep, shifting from moody and warm in the evening to soft and marbled in daylight.
What I love most about this project, now that it’s done, is that it doesn’t look like a DIY at all. Guests genuinely ask if we hired someone, and there’s something deeply satisfying about pointing at a wall in your own dining room and saying, “I did that with a trowel and a weekend.” If you’ve been eyeing this trend on your feed for months the way I was, this is your sign to tape off one wall and just start — the technique forgives more than you’d expect, and the payoff is a finish that looks nothing like anything you could get out of a paint can.