
Last spring I inherited a box of my grandmother’s mismatched china after a move, and for months it just sat in my garage, too pretty to donate and too impractical to actually eat off of. I kept scrolling past plate walls on Pinterest, telling myself they looked like something only a professional stylist could pull off without the whole thing reading as cluttered or, worse, falling off the wall. Turns out I was wrong on both counts. Plate walls are having a real moment again in 2026, and interior designers keep pointing to the same thing I eventually discovered myself: they turn a drawer full of orphaned dishware into the kind of layered, “collected” wall that usually takes years to build. This guide walks through exactly how I planned, prepped, and hung mine, mistakes and all, so you can skip the trial and error.
As an Amazon Associate, I earn from qualifying purchases.
Why Plate Walls Are Back for 2026
Designers surveyed for Homes & Gardens’ 2026 trend report named plate walls as one of the interiors ideas they expect to see everywhere this year, and the reasoning is worth sitting with before you pick up a single plate. Interior designer Kathy Kuo said plate walls are “one of those trends I’ve always had a soft spot for because they can be so deeply personal,” while designer Sean Symington called the look “a display that works hard and looks good.” Designer Amy Peltier put it another way, noting that plate walls “bring such a charming, collected English feel to a space” and “add personality and nostalgia in a way that feels layered rather than overly styled.”
That distinction matters for anyone starting from scratch: a plate wall isn’t about buying a matching set and mounting it in a grid. It’s about using pieces that already have some history, whether that’s inherited china, thrifted finds, or a few new pieces mixed in, and letting the imperfection be the point.
Materials and Tools You’ll Need
Before you touch a hammer, gather everything up front so the actual hanging step goes quickly. None of this requires specialty tools, and most of it is inexpensive. If you’re working with plates you already own, your biggest expense will likely be the hanging hardware, since the right choice depends on your wall type and whether you’re renting.
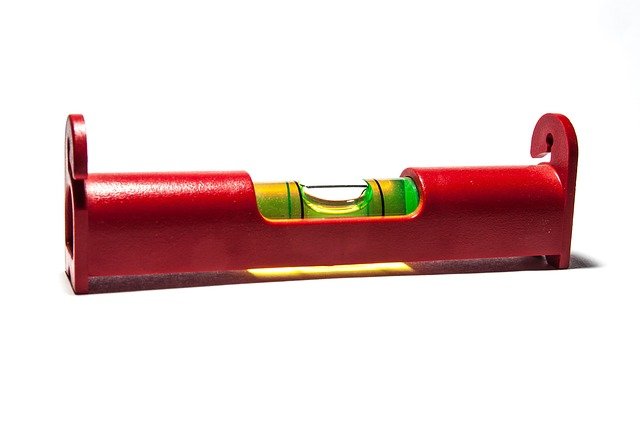
Start with adhesive plate hanger discs, which are the easiest option for most plates because they stick directly to the back of the dish with no glue gun or drilling into the plate itself. If you’d rather use a traditional wire-style holder, look for a set of spring-loaded plate hangers in a few sizes, since plates rarely come in one uniform diameter. For the actual wall attachment, pick up picture hanging hooks rated for at least a few pounds, or, if you’re renting or nervous about commitment, a box of damage-free adhesive hanging strips built for plates and frames. You’ll also want a roll of painter’s tape, a small level, a tape measure, a pencil, and enough brown craft paper or newsprint to trace every plate you plan to hang.
Step 1: Source and Sort Your Plates
If you don’t already have a stash of plates, thrift stores, estate sales, flea markets, and online marketplaces like Etsy and eBay are the best places to build a collection without spending much, since individual vintage plates commonly run just a few dollars each. Look past chips on the back or minor gilding wear, since those flaws won’t be visible once the plate is hung and angled slightly outward from the wall.
Pick a loose unifying thread rather than matching every plate exactly. That could be a shared color family, a common motif like florals or transferware blue-and-white, or simply a mix of textures, ironstone, painted china, the occasional decorative platter, that reads as coordinated from across the room even though no two pieces are identical. Lay everything out on a bed or table first and pull out any plates that feel out of place before you move to planning the layout.
Step 2: Plan Your Layout Before You Commit
This is the step people skip and regret. Working with a large empty wall and a dozen circular objects is genuinely hard to eyeball, so plan the composition somewhere forgiving first, either by laying plates out on the floor in the shape of your intended wall arrangement, or by sketching the space digitally. A common approach among DIY bloggers is to start with your largest plate or a focal piece near the center, then work outward with progressively smaller plates, balancing color and pattern as you go rather than forcing strict symmetry.
Once you’re happy with the rough shape, trace each plate onto craft paper, cut out the circles, and label each one with the plate it belongs to. This paper mockup is what actually goes on the wall next, not the fragile dishware, which means you can rearrange, re-tape, and second-guess yourself for days without any risk.
Step 3: Tape Up Paper Templates and Live With It
Use painter’s tape to stick your labeled paper circles directly onto the wall in your planned arrangement. Check that the overall shape is level and centered using your tape measure and level, but don’t obsess over even spacing between every single template, since a plate wall reads better with some organic variation in the gaps.
Leave the templates up for a few days if you can stand it. Walking past the arrangement at different times of day, in different light, is the best way to catch a layout that looked fine on the floor but feels lopsided once it’s vertical. This is also the point where it’s easiest to add or remove a plate, since nothing is permanently mounted yet.

Step 4: Attach Hangers to Each Plate
With your layout finalized, it’s time to prep each plate for hanging. If you’re using adhesive hanger discs, follow the product’s specific water-activation or peel-and-stick instructions, since most need a short waiting period for the adhesive to fully bond before you hang any weight on them, plus overnight drying before the plate goes on the wall. If you’re using spring-style wire hangers instead, select the size that grips your plate’s diameter snugly. Loose or undersized hangers are the most common reason a plate wall fails, quite literally, so test the grip on a table before trusting it to the wall.
A budget-friendly DIY alternative, if you’d rather not buy hangers at all, is a simple paperclip hack: unfold a large paperclip partway, hot-glue the folded end flat against the back rim of the plate so only a small loop protrudes over the edge, then reinforce it with a strip of duct tape once the glue sets. It’s sturdier than it sounds for lightweight and mid-weight plates, though heavier stoneware or platters do better with a purpose-made hanger.
Step 5: Mark, Anchor, and Hang
Go back to your taped paper templates and mark the exact hanging point through the paper with your pencil, right where each hanger’s hook will need to sit. Remove the templates, then install your hardware at each marked point, picture hooks and wall anchors for drywall, or adhesive strips if you’re avoiding holes altogether. For anything heavier than a small saucer, a proper picture-hanging hook rated for the plate’s weight is worth the extra few cents over a bare nail, since the built-in hook shape keeps fragile dishware from sliding off if it gets bumped.
Hang the plates one at a time, working from your focal point outward the same way you planned the layout, and step back periodically to compare the real thing against your paper mockup. It’s normal for a couple of plates to need a small angle adjustment once they’re actually up, since wire hangers don’t always sit perfectly plumb on the first try.
Step 6: Step Back and Finish the Styling
Once every plate is up, walk to the far side of the room and squint at the whole wall as one shape rather than individual pieces, a trick some DIY decorators call the “blurry eyes” test. Gaps that looked fine up close sometimes read as awkward holes from a distance, and that’s the moment to shift a plate over or swap in a different size from your spare stash.
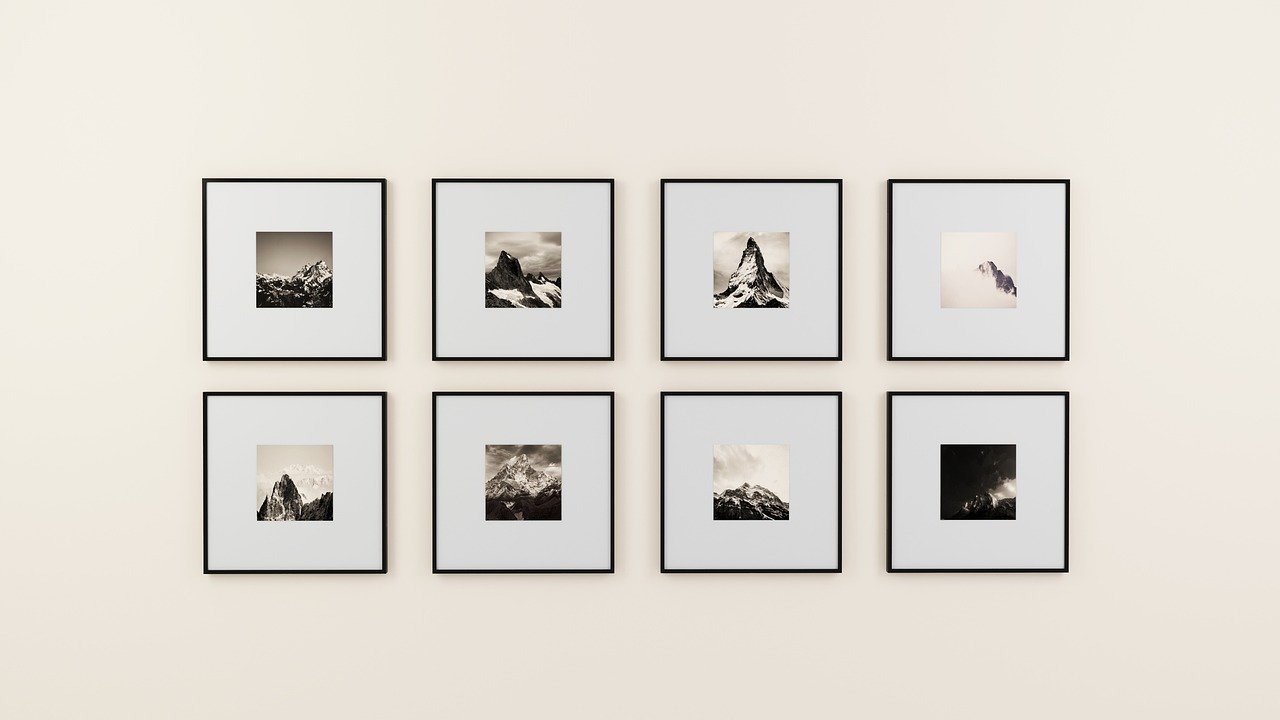
This is also where you can lean into the “collected, not styled” feeling Amy Peltier described. Instead of keeping the wall purely plates, consider tucking in a small framed print, a vintage mirror, or a decorative platter at an angle to break up the repetition and make the whole arrangement feel like it was assembled over years rather than in one weekend.
Final Thoughts
What surprised me most about finally hanging my grandmother’s china wasn’t how it looked when I finished, it was how forgiving the process turned out to be. Every “mistake,” an odd gap here, a plate hung a little crooked there, ended up reading as character rather than error once the whole wall came together. If you’ve got a box of plates you can’t quite part with, a blank wall, and a free weekend, this is one of the few home projects where using what you already have genuinely beats buying something new. Start with the paper templates, take your time with the layout, and don’t rush past the part where you just live with it for a few days before committing to a single hole in the wall.