
The first weekend after we finally hung the curtains and arranged the furniture in the dining room, I sat down at the table, looked around, and felt strangely deflated. Nothing was wrong, exactly. The paint color was right, the light fixture was nice, the rug worked. But the wall behind the buffet was just… flat. A big, blank rectangle of drywall with nothing to catch the eye but a mirror hung dead center out of options. It looked like a hotel conference room that had been decorated in a hurry. A friend came over a week later, glanced at that same wall, and said the quiet part out loud: “It just needs some architecture.” She was right, and it turned out the fix was a lot more affordable than I expected.
Why Picture Frame Wall Molding Is Worth the Weekend
Older homes come with trim built in: chair rails, picture rails, deep baseboards, sometimes full wainscoting. Most homes built from the 1990s onward skipped almost all of it, which is a big part of why newer construction and rental units can feel strangely characterless even when everything is technically finished and up to code. Picture frame wall molding, sometimes called applied moulding, faux wainscoting, or DIY boiserie, solves that problem without a contractor, a demo crew, or a real carpentry background. You are essentially gluing and nailing thin strips of trim directly onto an existing flat wall in a grid of rectangles, caulking the seams, and painting the whole thing so it reads as one continuous, built-in architectural feature.
It has become one of the most talked-about accessible DIY upgrades headed into 2026, showing up constantly across home renovation content precisely because it delivers a custom, high-end look for the price of some trim boards and a tube of caulk. As Havenly designer Brady Burke put it, “Often called trim or millwork, wall moulding elevates a space and adds far more character and charm than paint.” That is really the whole appeal in one sentence: paint changes a wall’s color, but molding changes its shape, its shadow lines, the way light falls across it in the evening. It is the difference between a wall that is merely painted and a wall that looks designed.
The other reason this project has caught on is how forgiving it is for a first-timer. You do not need to be handy with a miter saw to get a clean result, because the lines are straight, the pieces are small, and mistakes are easy to patch with wood filler and caulk before anyone ever sees them. It also scales to fit almost any budget or ambition, from a single accent wall behind a bed to a full dining room treatment that wraps three walls, so you can start small, see how it goes, and expand later.
What You Will Need
- Primed MDF or pine flat trim / lattice strips (typically 3/4 to 1 1/2 inches wide, roughly 1/4 inch thick)
- Tape measure and a long level (a 4-foot level or laser level makes this much easier)
- Pencil and painter’s tape
- Miter saw or a miter box with a hand saw
- Construction adhesive (a paintable, low-odor formula made for trim)
- Brad nailer with 18-gauge or 23-gauge nails and a compressor (or a hand-held cordless brad nailer)
- Paintable caulk and a caulking gun
- Wood filler and fine-grit sandpaper (150 to 220 grit)
- Stud finder
- Primer and paint (matching your wall color, or a contrasting shade for a bolder look)
- Angled paintbrush and a small foam roller
- Safety glasses and hearing protection if using power tools
How to Install Picture Frame Wall Molding
This is the same basic method used for accent walls, hallways, stairwells, and full-room wainscoting treatments; only the scale of the layout changes.
1. Plan your layout on paper first. Measure the full width and height of the wall you are working with, then sketch a grid of rectangles to scale on paper before you touch the wall itself. A common approach is to leave a baseboard-height gap at the bottom, a consistent border around the whole wall, and evenly spaced vertical dividers so the rectangles read as intentional, not random. Odd numbers of panels (three or five across, for example) tend to look more balanced than an even split. Take your time here; the layout is the part that is hardest to fix once trim is glued down.
2. Find your studs and mark your lines. Run a stud finder across the wall and note the stud locations in pencil near the ceiling line, where they will be covered later, so you have a reference for where you can anchor into framing versus drywall alone. Then transfer your paper layout onto the wall using a level and painter’s tape, snapping or drawing light pencil lines for every horizontal and vertical piece of trim. Step back and look at the taped-out grid from across the room before cutting a single piece of wood; it is far easier to shift a line now than after everything is glued in place.

3. Cut your outer frame pieces first. Start with the horizontal top and bottom rails and the vertical side rails that will form the outer border of your design, mitering the corners at 45 degrees where they meet so the joints look seamless once painted. Dry-fit every piece against the wall before gluing anything, checking that corners sit flush and lines stay level. It is worth cutting one test corner and holding it up to the wall to confirm your saw angle is accurate before committing to the whole project.
4. Attach the outer frame with adhesive and nails. Apply a thin, wavy bead of construction adhesive to the back of each trim piece, press it firmly into place along your pencil lines, and secure it with brad nails driven into studs where possible, spacing extra nails every 12 to 16 inches along the length. Wipe away any adhesive that squeezes out immediately with a damp cloth so it does not dry into a visible ridge under the paint.
5. Add the interior rectangles. Working from your layout, cut and install the vertical and horizontal pieces that divide the space inside the frame into individual panels, mitering each corner the same way you did for the border. Work in one small section at a time rather than cutting every piece in the whole room up front, so you can adjust as you go if a wall is even slightly out of square, which almost every wall is to some degree.
6. Fill, caulk, and sand. Once all the trim is attached and the adhesive has cured according to the label, fill every nail hole with wood filler and run a bead of paintable caulk along every seam where the trim meets the wall and where pieces meet each other at the corners. Smooth the caulk with a wet fingertip for a clean, almost invisible line, let everything dry fully, then lightly sand the filled nail holes flush.
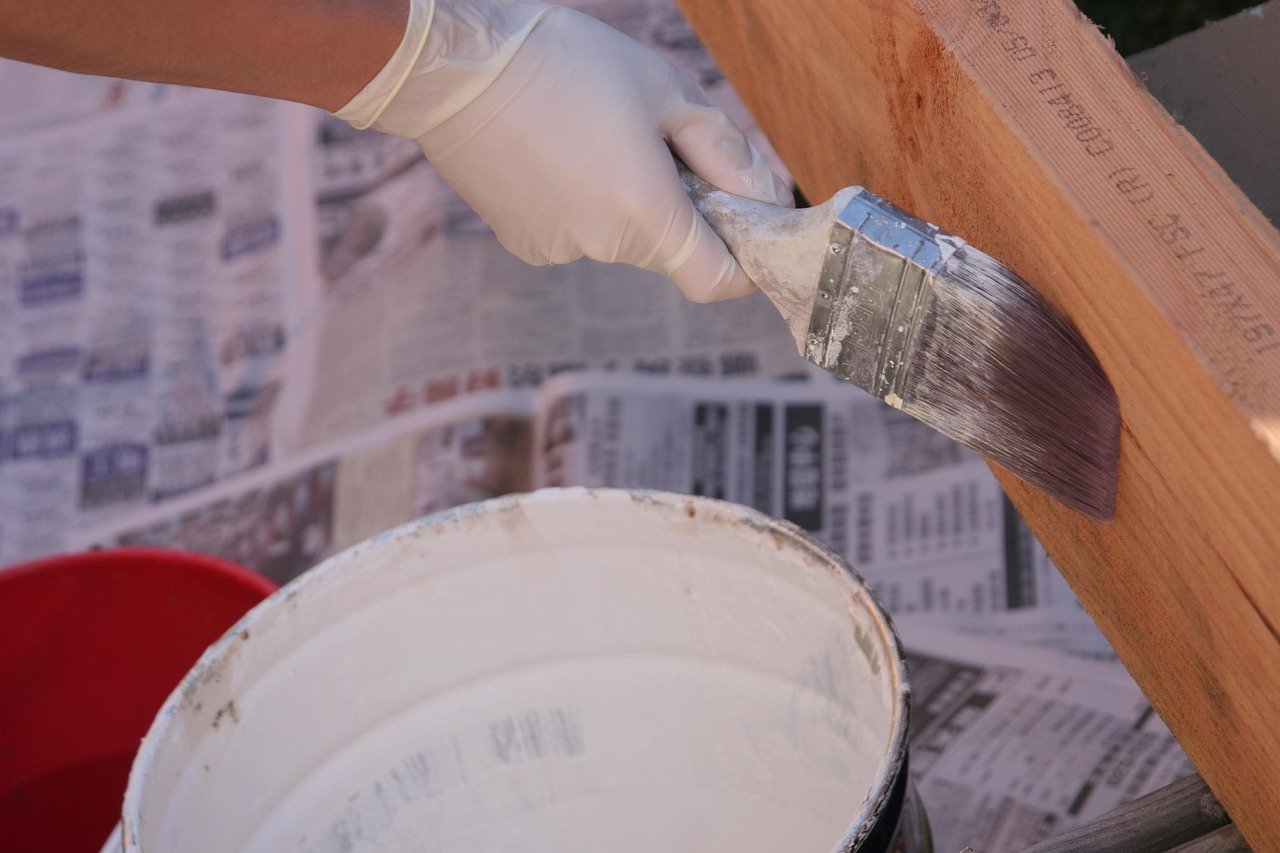
7. Prime and paint the whole wall as one surface. Prime any exposed MDF or raw wood, then paint the trim and the wall in the same color using an angled brush for the edges and corners and a small foam roller for the flat panel interiors. Painting everything the same shade, trim included, is what makes it read as intentional, built-in architecture rather than trim stuck onto a different-colored wall. Let it dry fully and apply a second coat if needed for even coverage.
Common Mistakes to Avoid
- Skipping the paper layout. Jumping straight to the wall with a tape measure almost always leads to uneven spacing that becomes obvious once the room is finished, especially around windows, outlets, and doorways.
- Ignoring studs entirely. Construction adhesive holds well, but combining it with brad nails into studs wherever possible keeps larger pieces secure over time, particularly on taller walls or in rooms with temperature swings.
- Rushing the caulk lines. Thin, uneven, or skipped caulk lines are the single biggest giveaway of a DIY molding job from across the room; take the extra ten minutes per wall to get them smooth.
- Painting the trim a different sheen than the wall. Mismatched sheens between trim paint and wall paint create visible seams even when the color matches perfectly, so keep both surfaces in the same finish for a seamless look.
- Cutting every piece before test-fitting one section. Walls are rarely perfectly square, so committing to every measurement before checking your first panel against the actual wall can waste material and time.
Styling and Finishing Touches
Once the paint has fully cured, resist the urge to fill every panel with art right away. Part of what makes picture frame molding look expensive is the negative space itself, so consider leaving a few panels bare or dressing them with something subtle, like a single small print or a wall sconce centered inside one rectangle. If you want more drama, paint the molding and the interior of each panel in a slightly deeper or glossier version of the wall color rather than pure white trim against a colored wall; the tonal, monochrome look is what most current interior design coverage points to as the more current, less dated version of this trend. A picture light mounted above the top rail, or café curtains hung just inside the molding on a nearby window, can also tie the whole wall together without adding clutter.
For rentals or anyone hesitant to commit to nailed-in trim, lightweight foam or PVC picture frame molding kits with adhesive backing exist and can achieve a similar look with far less commitment, though they will not hold up quite as well to bumps and years of wear as real wood trim glued and nailed in place.
By the time I stood back from that dining room wall with the last coat of paint drying, it did not look like a weekend project anymore. It looked like something that had always been there, the kind of detail you assume a previous owner paid a carpenter for. That is the real payoff of this project: it is not really about the trim itself, it is about how differently a room reads once it has somewhere for the light to catch and a shape for the eye to follow. If you have a wall in your house that has been bothering you in a way you could not quite name, there is a decent chance this is the fix, and there is nothing stopping you from starting this weekend.