
The wall next to our stairwell had been bare for almost a year—too narrow for a bookcase, too awkward for a gallery wall, but exactly the kind of spot that begs for something. I finally bought a pair of store-bought floating shelf brackets from a home center, the kind with a visible metal lip along the bottom edge, and the second I set the shelf on top, I hated it. The hardware caught the light every time you walked past, and it made a $40 pine board look like an afterthought. So I returned them, bought a length of steel rod and a hollow-core drill bit instead, and built shelves with brackets you genuinely cannot see—just a clean plank that appears to hover on the wall. That project turned into the method below, and it’s become my go-to whenever a room needs storage that doesn’t look like storage. If you’ve ever wanted that seamless, floating-in-air look without paying $150 a shelf for a prefab version, this guide walks through the entire build, from picking the board to getting it dead level on the wall.
How a Hidden-Bracket Floating Shelf Actually Works
Before buying wood, it helps to understand what makes these shelves stay up with zero visible hardware. Unlike a standard bracket shelf, where an L-shaped support is screwed to the wall and the board sits on top of it, a hidden-bracket (or “blind”) shelf works because the support is buried entirely inside the board. The most common version uses solid steel rods that are anchored into the wall studs and protrude horizontally out from the wall. The shelf itself has matching holes drilled into its back edge, sized and spaced to slide directly over those rods. Once the shelf is pushed into place, the rods are completely hidden inside the wood, and the board appears to float because the only thing touching the wall is the flat back edge of the shelf—no lip, no triangle bracket, no visible screws.
The trade-off is that this method takes more precision than a standard shelf. The holes in the wall and the holes in the shelf have to line up almost perfectly, and the rods need real anchoring into framing to hold any meaningful weight. But once you’ve done it once, the technique is very repeatable, and the payoff—a shelf that genuinely looks like it’s floating—is worth the extra care.
Materials and Tools You’ll Need
Materials
- Solid wood board, at least 1½” thick (glue two 3/4” boards face to face if you can’t find thick stock—poplar or pine for a painted finish, oak, walnut, or maple for a stained one)
- Concealed/hidden floating shelf bracket kit—steel rods (also sold as “blind shelf supports”), sized to your shelf’s depth and expected load
- Wood glue and clamps (if laminating two boards for extra thickness)
- Two-part epoxy rated for wood and metal
- Wood filler that matches your finish
- Sandpaper, 120 and 220 grit
- Stain and polyurethane, or primer and paint, depending on the look you want
- Drywall anchors (for extra support between stud points, if needed)
Tools
- Stud finder
- Drill with a long spade or Forstner bit matching your rod diameter, plus a standard drill bit for pilot holes
- Doweling jig or drill guide (keeps holes straight and level—this is the part that makes or breaks the project)
- Circular saw or miter saw for cutting the board to length
- Router with a straight bit (optional, only needed for a routed-channel bracket style)
- Torpedo level and a longer 24” level
- Tape measure and pencil
- Rubber mallet
- Safety glasses and a dust mask
Step-by-Step Instructions
Step 1: Choose and Prepare Your Lumber
Skip anything thinner than 1½”. Thin shelves (the standard 3/4” board you’d find pre-cut at a hardware store) don’t leave enough depth for the drilled holes to run far enough into the wood, which means less rod contact and a weaker hold. If you can’t find 8/4 (two-inch nominal) hardwood, buy two matching 3/4” boards, run wood glue along one face, and clamp them together overnight. Once dry, this laminated blank behaves exactly like a solid piece and gives you the extra depth the hidden bracket needs. Pick boards with straight grain and no visible warp—sight down the length of the board at the store before you buy it.
Step 2: Cut the Shelf to Size
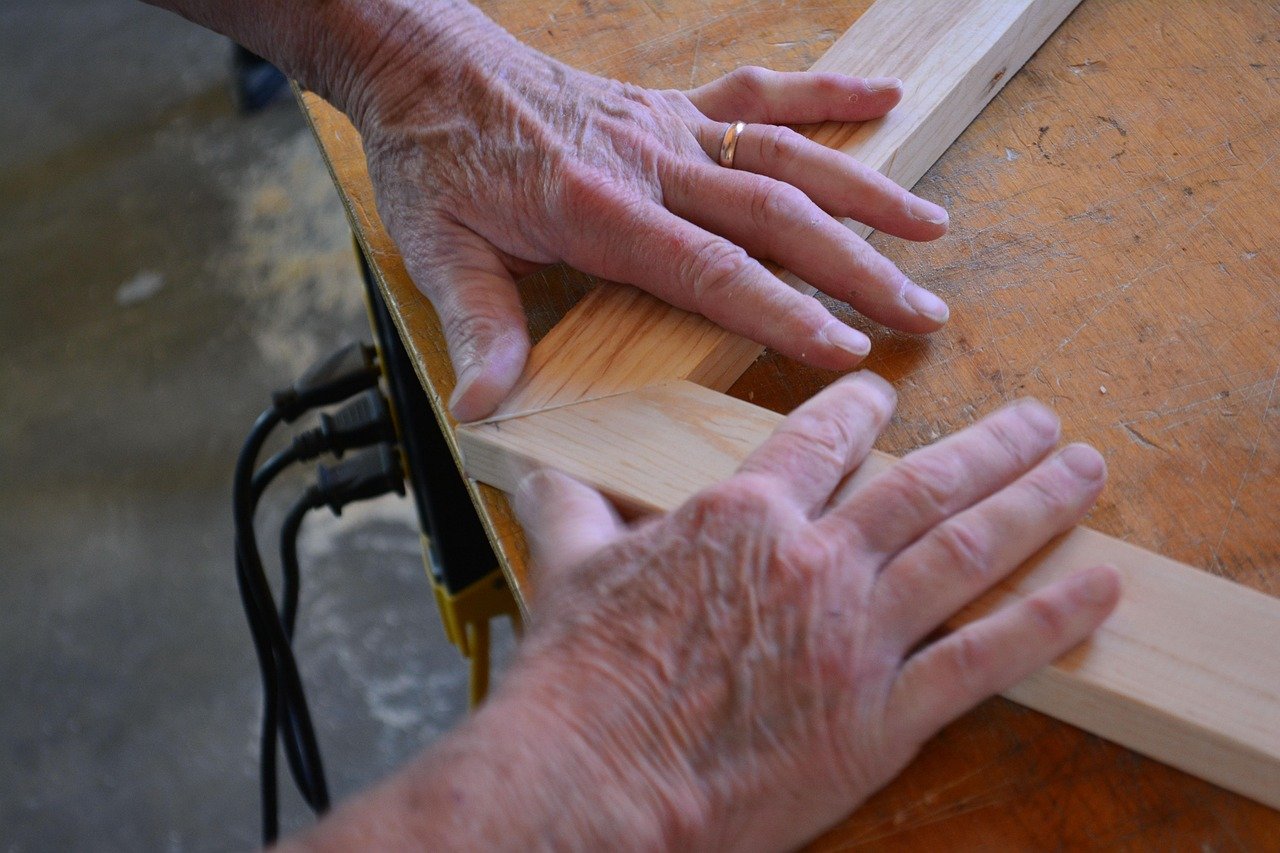
Measure the wall space and subtract about 1/8” from your target length so the shelf isn’t a tight squeeze against any trim or adjacent walls. Set your saw’s fence or clamp a straight-edge guide so the cut is perfectly square—an off-square end will show as a visible gap once the shelf is against the wall. Cut the depth (how far it sticks out from the wall) to whatever fits the room; 8” to 10” is typical for a display shelf, deeper if it needs to hold books.
Step 3: Drill the Hidden Cavity for the Bracket
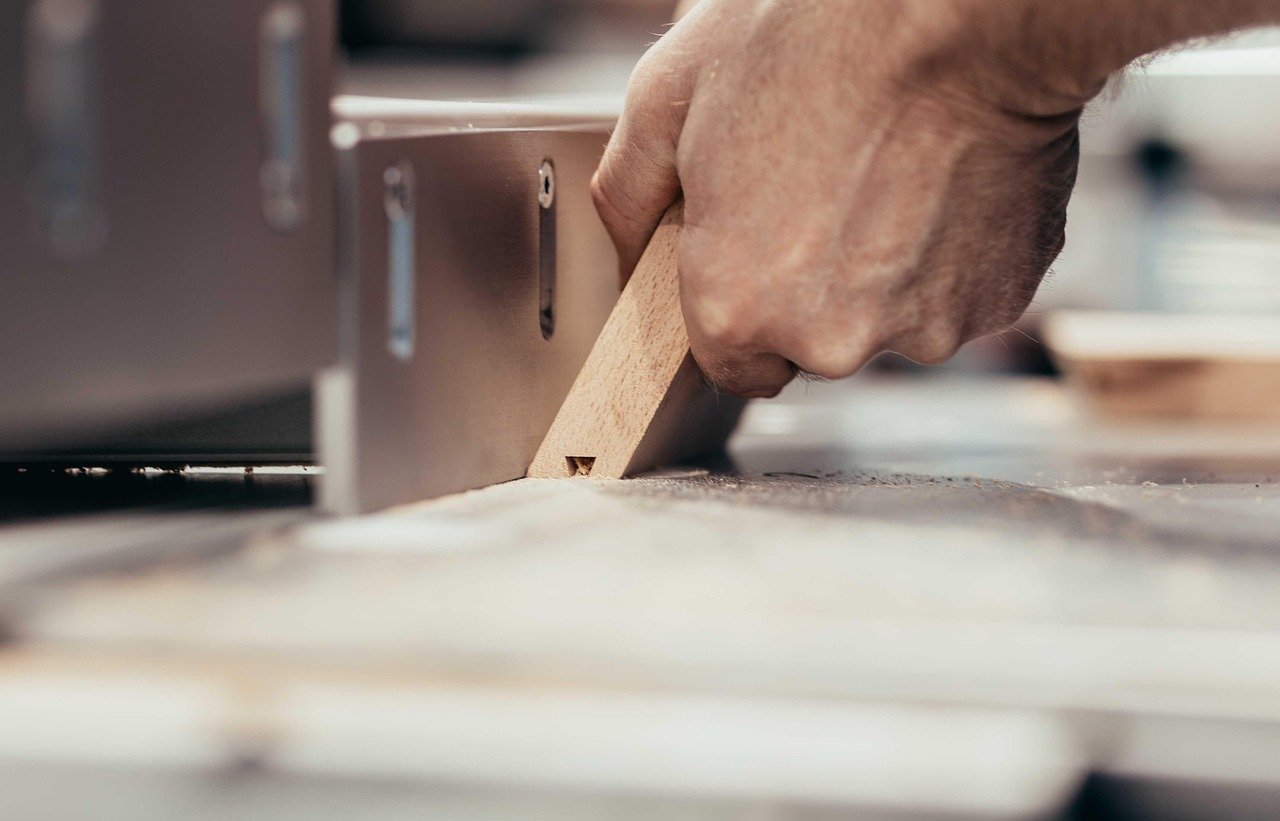
This is the step that makes the whole project work, so go slowly. Mark the centerline along the back edge of the shelf, then mark drilling points spaced to match your bracket kit—usually one hole about 2” from each end and one in the center for anything over 24” long. Chuck a bit matching your rod’s diameter (most kits use 3/8” or 1/2” steel rod) into your drill, and use a doweling jig clamped to the back edge to keep the bit perfectly level and perpendicular as it bores in. Drill each hole to the depth specified by your bracket kit, typically 3” to 4” deep, stopping periodically to clear sawdust so the bit doesn’t wander off-center. If your kit uses a flat mounting plate instead of round rods, you’ll route a shallow rectangular channel into the back edge with a straight bit instead of drilling round holes—test-fit the plate as you go until it slides in flush.
Step 4: Sand and Finish the Shelf
Work through 120-grit and then 220-grit sandpaper on all visible faces and edges, and ease the sharp corners slightly with a few passes of the sandpaper for a more finished feel. Wipe away all dust with a tack cloth before finishing. For a painted look, apply a stain-blocking primer, let it dry fully, then two thin coats of your paint color, sanding lightly between coats. For a stained look, apply wood conditioner first if you’re using a softer wood like pine (it prevents blotching), then your stain, followed by two to three coats of polyurethane for durability, since shelves take daily wear. Let the finish cure for the full time listed on the can—usually 24 to 48 hours—before you handle the shelf again. Finishing before mounting, rather than after, means you won’t be trying to cut in paint or stain around a wall, and it protects the wood inside the drilled holes from moisture.
Step 5: Find and Mark the Wall Studs
Run a stud finder across the wall where the shelf will hang and mark both edges of each stud with light pencil ticks so you know the exact center. Confirm with a small pilot-hole test in an inconspicuous spot if you’re not fully sure the stud finder is reading correctly. Use a level to draw a faint horizontal line at the exact height where you want the bottom of the shelf to sit—this line is your reference for everything that follows.
Step 6: Install the Bracket into the Wall
Transfer the same hole spacing from the back of your shelf onto the wall, centered on your marked studs wherever possible. Drill into the studs at the diameter specified by your bracket kit, angling the bit very slightly upward—about 1 to 2 degrees—as it goes in. This small upward pitch is a trick professional installers use: it means the shelf will naturally want to slide down and back against the wall under its own weight and gravity, keeping it snug and level rather than drifting forward over time. Mix your two-part epoxy according to the package directions, coat the rods, and drive them into the wall holes until the exposed length matches exactly what your shelf’s drilled holes will need to receive. Let the epoxy set fully before moving to the next step—rushing this cure is one of the most common ways this project fails.
Step 7: Mount and Level the Shelf
Once the wall-side epoxy has fully cured, add a small amount of epoxy or wood glue just inside the mouth of each hole on the back of the shelf—this locks the shelf permanently in place once it’s slid on, so only do this when you’re confident about the fit and finish. With a helper if the shelf is long or heavy, align the drilled holes with the protruding rods and slide the shelf on slowly and evenly, tapping gently with a rubber mallet against a wood block if it needs encouragement to seat all the way against the wall. Check the shelf with your level immediately, adjusting while the adhesive is still workable, then wipe away any glue that squeezes out at the seam with a damp cloth before it sets.
Step 8: Let It Cure Before Loading It
Leave the shelf completely empty for at least 24 hours while the adhesive fully cures. It’s tempting to style it immediately, but adding weight before the bond sets can shift the shelf out of level or stress the joint before it’s had a chance to grab. Once the cure time has passed, the shelf should feel completely solid with no wobble when you press down gently on the front edge.
Common Mistakes to Avoid
Skipping the stud finder and relying on drywall anchors alone
Drywall anchors can hold light decorative items, but a floating shelf with hidden hardware needs to grip something solid, especially since all the weight transfers through just one or two narrow rods instead of a wide bracket. Anchor into studs whenever you can, and treat anchors as backup support only.
Letting the drilled holes go off-level
A hole that drifts even slightly as it’s drilled will pull the shelf crooked or leave a visible gap where the board meets the wall. This is exactly why a doweling jig or drill guide matters—free-handing a 4”-deep hole with a hand drill almost never comes out straight.
Finishing after mounting instead of before
Trying to paint or stain a shelf once it’s already on the wall means taping off the wall, working at an awkward angle, and risking drips onto your floor or baseboard. Always finish the wood fully before it ever touches the bracket.
Undersizing the bracket for the shelf’s length
A single thin rod at each end might hold a short 18” shelf, but a 4-foot shelf loaded with books needs a third support point in the middle and a thicker rod diameter. Check the weight rating on your bracket kit against what you actually plan to display, not just what looks nice in the store.
Loading the shelf before the adhesive cures
Even fast-curing epoxy needs its full stated time to reach maximum strength. Stacking books or heavy decor on a shelf within the first few hours is the single most common reason these projects come loose later.
Styling Your New Floating Shelves
Once the shelf is fully cured and solid, resist the urge to fill every inch of it. The appeal of a hidden-bracket shelf is the clean line of the board itself, so leave visible negative space rather than crowding it edge to edge. Group items in odd numbers—three is almost always more visually interesting than two or four—and vary the heights so the eye has somewhere to travel, mixing a taller object like a vase or a stack of books with something low and horizontal. If you’re installing more than one shelf on the same wall, staggering them at slightly different lengths or offsetting them left and right, rather than lining them up in a rigid grid, tends to look more intentional and less like a shelving unit. A thin strip of battery-powered LED tape tucked just under the front lip is an easy way to add a soft glow along the wall at night without any additional wiring.
What I like most about this method, now that I’ve built a handful of these shelves in different rooms, is that nobody ever asks how they’re attached—they just assume the board is floating, which is exactly the point. It takes more patience than grabbing a $12 bracket kit off a shelf at the hardware store, mostly in getting those drilled holes lined up straight, but the result reads as a custom, built-in feature rather than something bolted on afterward. Once you’ve drilled one set of holes correctly, every shelf after that goes faster, and you’ll likely find yourself looking for more bare walls in the house that could use one.