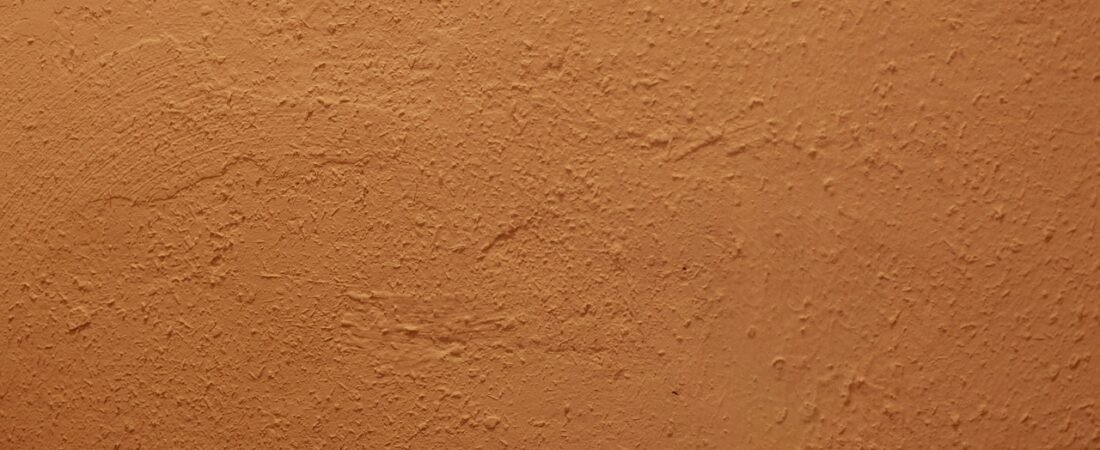
I’d walked past the same flat, builder-beige accent wall in my dining room for three years before I finally admitted it to myself: the room never looked finished, no matter how much art I hung on it or how many times I rearranged the furniture. It wasn’t until I spent a weekend at my sister’s newly renovated bungalow, running my hand across her bedroom wall and realizing it wasn’t actually flat at all, that I understood what my own wall had been missing the whole time. Her wall had depth — cloudy patches of lighter and darker color drifting across the surface like it had aged there for a hundred years, not been painted three weekends earlier. That’s limewash, and once you start noticing it, you see it everywhere in 2026, from moody navy dining rooms to sun-washed terracotta entryways all over Pinterest and Instagram. I went home, ordered a gallon of mineral-based limewash and the handful of tools listed below (as an Amazon Associate, I earn from qualifying purchases on the links in this post), and spent one Saturday turning that flat beige wall into the first thing people notice when they walk into my house.
What Is Limewash, and Why Is Everyone Suddenly Doing It?
Limewash is a mineral-based paint made from slaked lime, water, and pigment, and it’s about as far from a standard latex wall paint as you can get. Instead of drying into a smooth, uniform film like regular paint, limewash reacts with the air and the wall surface as it cures, leaving behind a soft, chalky texture with visible brush strokes and natural variation from one patch of wall to the next. No two limewashed walls look exactly alike, which is precisely the point.
Designers have been talking about this shift away from flat, predictable walls all year. Interior designer Lauren Saab of Saab Studios put it bluntly: “Flat paint feels too predictable for 2026,” adding that “people want walls that look alive, with depth, movement, and a handmade feel.” Fellow designer Kelley Kolettis described the broader move toward textured, old-world finishes as “taking a sophisticated turn from the shiplap days,” noting that “it’s all about layering old-world character into modern spaces.” And when it comes to color choice specifically for limewash, designer Hadley Wiggins has pointed to a move toward richer, more grounded pigments: “Color with roots is trending. Think botanical greens, ironstone whites, ochres and oxbloods — earthy, not saccharine.”
That combination — texture that reads as handmade, plus pigments that feel like they came from the earth instead of a paint chip — is why limewash has become one of the most-searched wall finishes of the year. And the good news for anyone who isn’t a professional plasterer is that it’s genuinely doable as a weekend DIY project. It just rewards patience over speed.
What You’ll Need
- Mineral-based limewash paint in your chosen color (one gallon typically covers 150–200 square feet per coat) — shop limewash paint on Amazon
- Mineral bonding primer, made specifically for limewash and plaster finishes — shop mineral primer
- A natural bristle masonry or limewash brush, 4–6 inches wide — shop natural bristle brushes
- A smaller angled trim brush for corners and edges
- A natural sea sponge, for softening and blending — shop natural sea sponges
- A clean spray bottle filled with water
- Painter’s tape and canvas drop cloths — shop painter’s tape and drop cloths
- 220-grit sanding sponge and spackle, for wall prep
- A mineral sealer or densifier, optional but recommended for kitchens, bathrooms, or high-traffic walls — shop mineral sealer
- A bucket, a stir stick, and rubber gloves
- An extension pole, if you’re tackling a ceiling or a tall stairwell wall — shop extension poles
Step 1: Pick the Right Wall and Test Your Color First
Limewash works best on a wall with some visual weight to it — a dining room accent wall, a powder room, a stairwell, or a headboard wall in a bedroom. Avoid your very first project being a giant open-concept living room; the learning curve is real, and a smaller wall lets you get a feel for how the paint moves before you commit to something huge.
Before you buy a full gallon, order a sample and paint a two-foot square directly on your wall (not on a scrap board — lighting and wall texture change everything). Look at it in the morning, at midday, and again at night under your actual light bulbs. Limewash colors shift dramatically depending on how much natural versus artificial light hits them, and a color that looked perfect on your phone screen can read completely differently once it’s on your actual wall.
Step 2: Prep the Wall Like It Actually Matters
This is the step people rush, and it’s the one that determines whether your finished wall looks intentional or just messy. Fill any nail holes or dings with spackle, let it dry fully, and sand it smooth with the 220-grit sponge. Wipe the entire wall down with a damp cloth to remove dust — limewash is thin enough that it will show every bit of grit trapped underneath it. Tape off your baseboards, window and door trim, and any outlets, and lay drop cloths along the floor. Limewash drips are thin and watery, not thick like regular paint, so they travel farther than you’d expect if you skip this.
Once the wall is clean and dry, apply your mineral bonding primer according to the product’s instructions and let it cure for a full 24 hours. This step is non-negotiable — limewash needs a mineral surface to bond to chemically, and skipping the primer (or using a standard latex primer instead) is the single most common reason a DIY limewash job peels or looks patchy within a few months.
Step 3: Apply a Thin “Ghost Coat” First
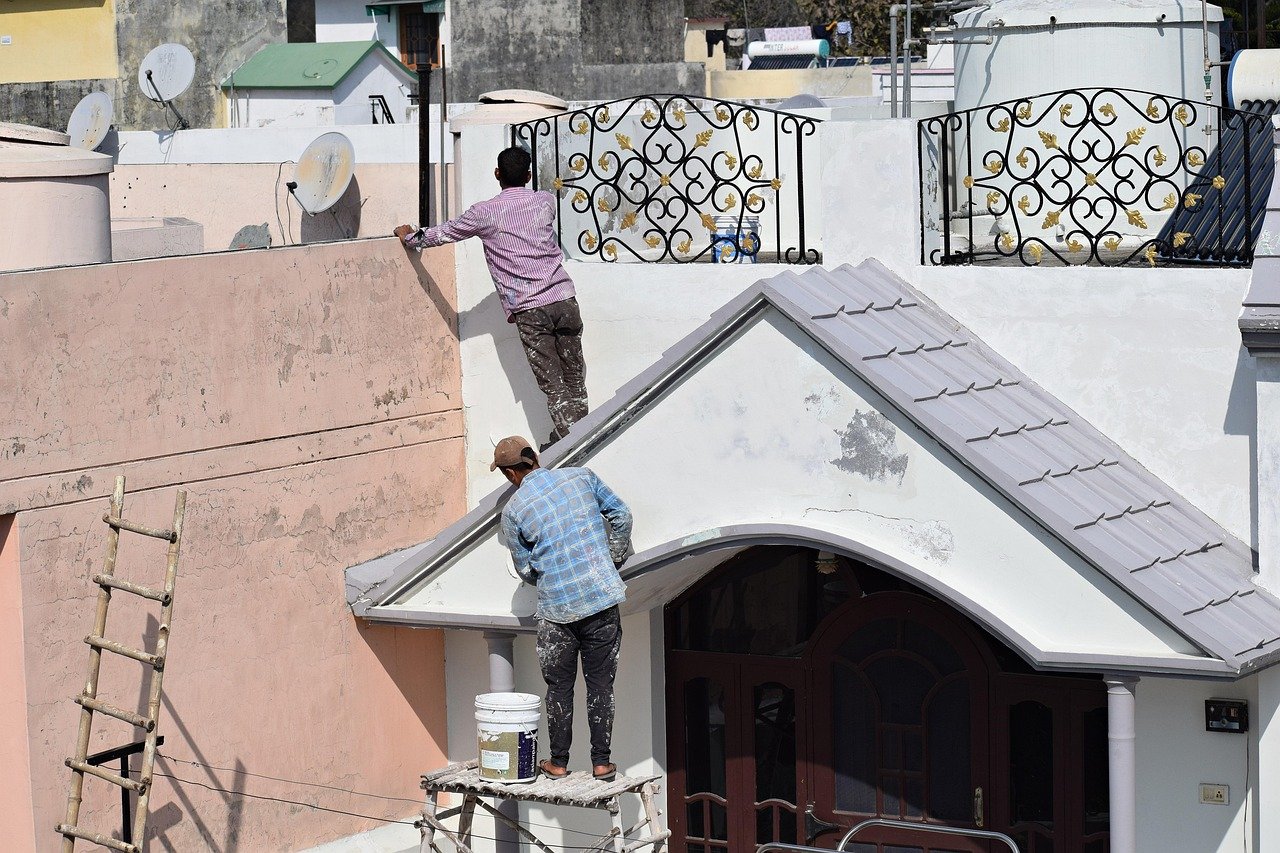
Don’t go straight for full coverage. Thin your first coat of limewash with water to a roughly 70/30 ratio of paint to water, and apply it in loose, overlapping crosshatch strokes — think of making big, sweeping “X” shapes across the wall rather than rolling in straight up-and-down lines the way you would with regular paint. This first coat is meant to look uneven and streaky. That’s correct, not a mistake. It’s building the base layer that later coats will sit on top of, and it’s what creates the cloudy variation that makes limewash look grown rather than painted. Let it dry for at least an hour before moving on.
Step 4: Build Up Coverage With a Second Coat
Mix your second coat closer to full strength — you want good coverage now, not the sheer, patchy look of the first pass. Apply it the same way, in crosshatch strokes, but this time work to keep a “wet edge” as you move across the wall, meaning you don’t let one section dry completely before blending the next section into it. If you do get a hard line where two dry sections meet, go over it with a lightly dampened brush to soften the transition. Most walls look genuinely good after this second coat, but the real character comes in the next step.
Step 5: Add Depth With a Diluted Patina Wash
This is the step that separates a flat-looking DIY attempt from the kind of wall that makes people stop and ask what it’s made of. Mix a small batch of limewash diluted heavily with water — roughly one part paint to five parts water — and apply it selectively, not evenly, focusing on lower corners, areas near baseboards, and spots where shadow would naturally fall. Use a natural sea sponge instead of a brush for this pass, dabbing rather than stroking, to build soft, cloud-like variation instead of a uniform layer. Step back frequently. This part is genuinely more art than science, and it’s easy to overdo it if you’re not checking your progress from across the room every few minutes.
Step 6: Soften While It’s Still Tacky
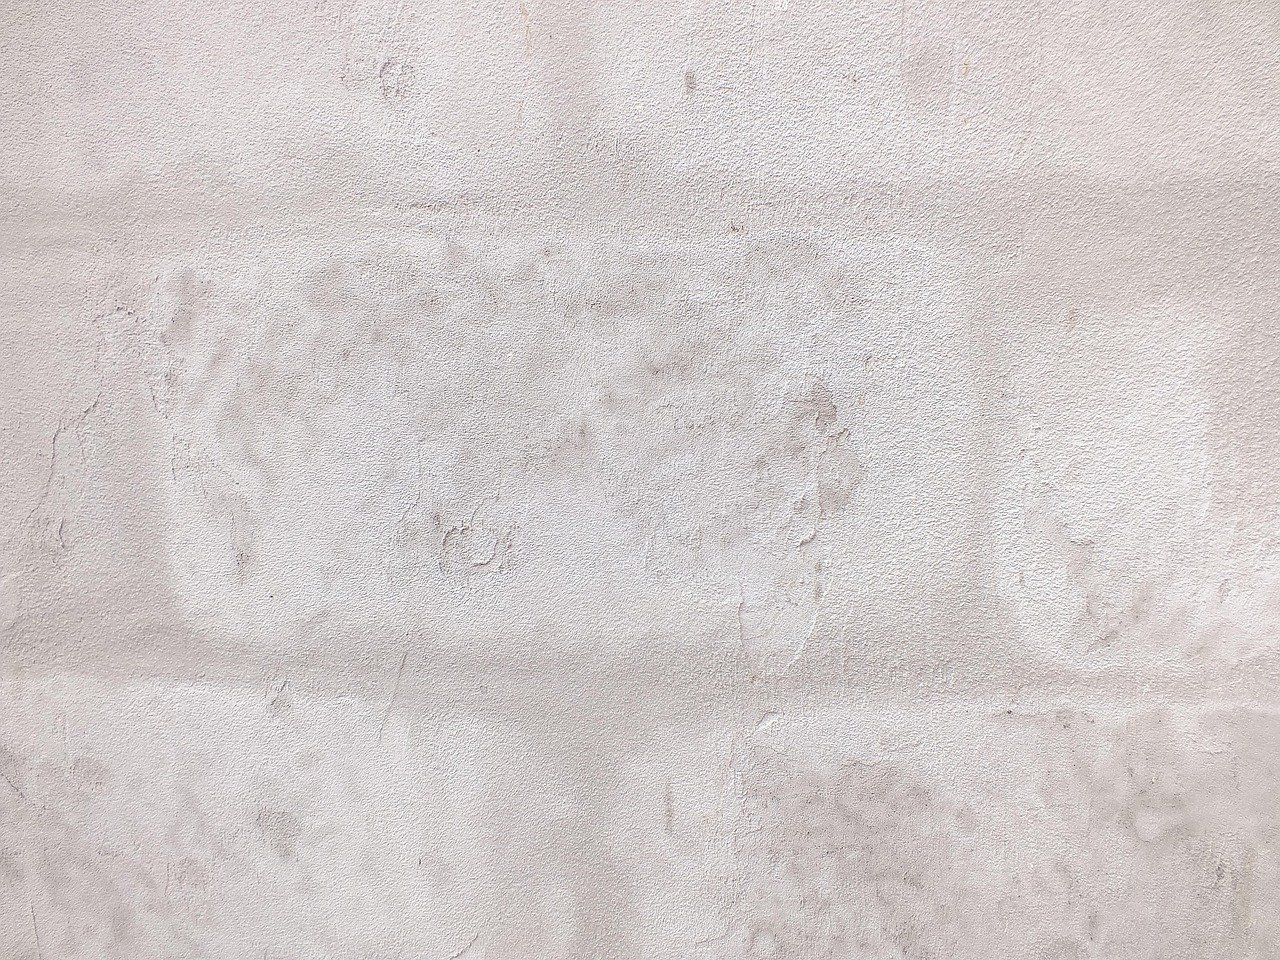
While your final coat is still slightly wet — not soaking, but tacky to the touch — go back over any spots that feel too heavy or too dark with a barely damp sponge, using a light circular motion. This is your last chance to soften harsh lines or overly saturated patches before everything sets permanently. Limewash forgives a lot at this stage; once it’s fully cured, it forgives almost nothing, so don’t be shy about working the surface now.
Step 7: Let It Cure, Then Decide on Sealing
Limewash needs a full 24 to 48 hours to cure before you touch it, and up to two weeks before it reaches its final, most durable state as it continues to carbonate and harden. For a low-traffic wall like a dining room accent wall or a bedroom headboard wall, you likely don’t need to seal it at all — the chalky texture is part of the look. For anywhere with more contact, like a kitchen backsplash-adjacent wall, a mudroom, or a bathroom, apply a mineral sealer or densifier once the limewash has cured, which locks in the texture while making the surface more resistant to scuffs and moisture.
Common Mistakes to Avoid
- Painting in direct sun or a hot, dry room. Limewash dries fast under heat, which doesn’t give you time to blend and work the surface. Aim for a mild day with windows cracked for airflow, not blasting sun or a running space heater.
- Skipping the mineral primer. Regular latex primer won’t let the limewash bond correctly and is the top cause of peeling.
- Overworking one spot. If an area isn’t blending the way you want, walk away and let it dry rather than scrubbing at it repeatedly — limewash gets muddy-looking fast when it’s overworked wet.
- Rolling it on like regular paint. A roller flattens out the texture that makes limewash worth doing in the first place. Stick with a natural bristle brush and a sponge.
- Skipping the test swatch. Colors read very differently once they’re diluted and layered on an actual wall versus how they look on a paint chip or a screen.
Living With It
My dining room wall has been finished for a few weeks now, and the thing I didn’t expect is how much it changes throughout the day. In the morning it reads almost sandy and pale, by late afternoon the terracotta tone deepens and the darker patches near the corners become more obvious, and under lamplight at night it looks warmer still, almost like it’s glowing faintly instead of just reflecting light the way flat paint does. It’s not a perfect, magazine-flat finish, and that’s exactly why it works — every brush stroke and every soft cloudy patch is visible if you look closely, and that imperfection is what makes the wall feel like it’s actually part of the house instead of something painted onto it last month. If you’ve got a plain wall you’ve been avoiding for years the way I avoided mine, this is the weekend project that finally fixes it.