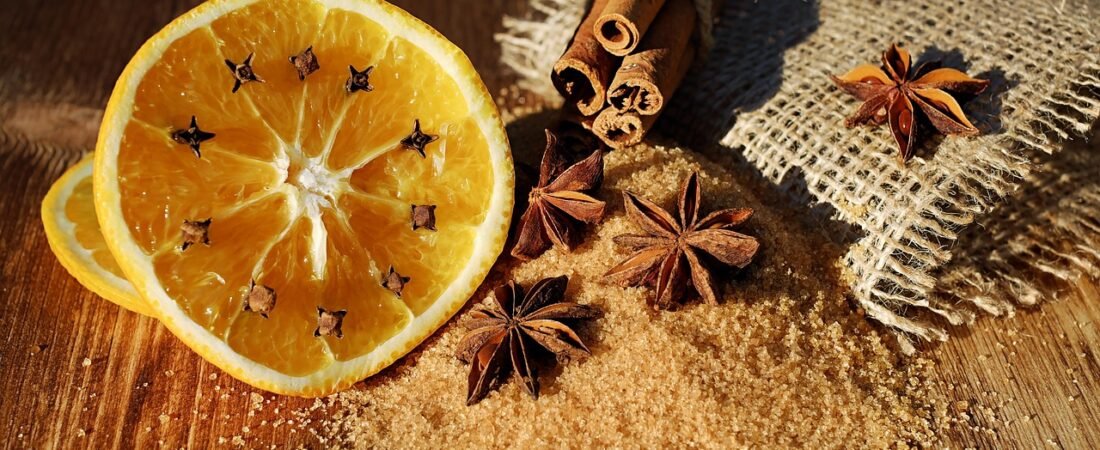
Every December I tell myself I will buy a fancy garland for the mantel, and every December I end up in the kitchen with a bag of navel oranges and a sharp knife instead. Learning how to make dried orange garland was the best cheap decorating lesson I picked up: the slices glow like stained glass, the whole house smells like a bakery while they dry, and the finished strand costs a fraction of anything in a store. It also happens to fit the fruit-and-greenery look that keeps showing up in holiday decorating this year. I link a few of the tools I actually use below, and my honest note to you is this: As an Amazon Associate, I earn from qualifying purchases, at no extra cost to you. Here is the whole process, from slicing to storing.
How Do You Make a Dried Orange Garland?
To make dried orange garland, slice oranges one-eighth to one-quarter inch thick, pat them dry, and bake them on a rack at roughly 200°F for three to four hours, flipping every hour. Let the slices cool until stiff, poke a hole through each one, then thread them onto twine, alternating with cinnamon sticks or greenery if you like.
That is the short version. The longer version matters, because the difference between a garland that lasts for years and one that goes soft and musty comes down to a few details: slice thickness, how completely the fruit dries, and how you store it afterward. Let’s walk through each one.
What You Need for a DIY Dried Orange Garland
The list is short, and most of it is already in your kitchen. Plan ahead on quantity: Reviewed notes that “one and a half oranges should be enough for about two feet of garland, so plan accordingly.” For a six-foot mantel garland, that means roughly nine to ten oranges, and a few extra for slices that crack or scorch.
- Navel oranges (firm, bright and unblemished)
- A sharp knife or a mandoline
- Paper towels
- A baking sheet and a wire cooling rack
- Parchment paper
- Jute or cotton twine
- A large-eye needle, skewer or toothpick for the holes
- Optional: cinnamon sticks, bay leaves, holly or other greenery
- Optional: adhesive hooks for hanging
A sharp knife or mandoline for even slices
Uniform slices are the single biggest factor in even drying. If one slice is twice as thick as its neighbor, the thin one scorches while the thick one stays damp in the middle, and that damp center is where mold starts. A mandoline slicer or a very sharp serrated slicing knife gives you consistent rounds without squashing the fruit. If you use a mandoline, use the hand guard every time, because oranges are slippery. Check the current price on the one you pick.
A wire cooling rack so air reaches both sides
Drying slices directly on a pan traps moisture underneath. A rack lets hot air move around each slice, which means fewer flips and a flatter, prettier result. HGTV recommends a metal cooling rack and warns that “not all metal cooling racks are oven-safe,” so check yours before you use it at low heat. An oven-safe stainless steel cooling rack that fits a half-sheet pan is a kitchen workhorse you will use for far more than oranges.

Step-by-Step: How to Make Dried Orange Garland
Step 1: Slice the oranges thin and even
Wash and dry the fruit, then cut it into rounds. Most tutorials agree on a thin slice: Reviewed says to cut them “ideally to about an eighth of an inch in thickness but no larger than a quarter of” an inch. Thinner slices dry faster, and the Love & Renovations blog puts it simply: the thinner you slice, the faster they dry. Discard the end pieces, which are mostly peel and will not look like the classic wheel.
Step 2: Blot every slice
Lay the slices between paper towels and press gently on both sides. Removing surface juice shortens drying time and gives you a cleaner, brighter finish. Do not skip this step; it is cheap insurance against sticky spots later.
Step 3: Bake low and slow
Set the slices on a rack over a parchment-lined baking sheet, in a single layer with a little breathing room. Exact oven settings vary by source, and that is normal because every oven runs differently:
- HGTV: 175°F for three to four hours, flipping every hour.
- Reviewed, Farmers’ Almanac and Blesser House: 200°F, with checks and flips every hour (Blesser House flips at 45 minutes) and about three hours total.
- Merry Thought: 225°F, with the slices pulled out as they brown at the edges, then finished on a rack for another day.
My rule: start at the lower end of that range, flip on schedule, and pull slices as they finish rather than waiting for the whole tray. The target, per Reviewed, is “fully dried and not sticky to the touch.” Expect the color to mute a bit. HGTV points out that “the fruits will lose some color once dried, so, the brighter they are beforehand, the better,” which is why I choose the most vivid oranges at the store.
Step 4: Cool and cure for a day
Do not string warm slices. Leave them on the rack at room temperature so any hidden moisture can escape. The Farmers’ Almanac advises letting slices cure on the wire rack for a day or two before storing or stringing them, and a good slice should feel “stiff and leathery” with no soft, cool spot in the center. Setting the rack near a heat vent, as Merry Thought suggests, speeds things along.
Step 5: Make holes and thread the garland
Poke a hole near the top of each slice with a large-eye sewing needle, skewer or toothpick; the Eden Project suggests a chopstick for a larger hole that is easier to thread. Handle them gently, since dried slices can crumble. Thread jute or cotton twine through each hole, tie a knot below each slice so it stays put, and leave a gap between slices so the strand looks airy instead of crowded.
Natural twine looks right with citrus. A roll of natural jute twine has the rustic texture that makes the garland look intentional, and it is strong enough to carry a dozen slices without sagging. If you prefer a softer look, cotton baker’s twine works too.
Step 6: Add cinnamon sticks and greenery
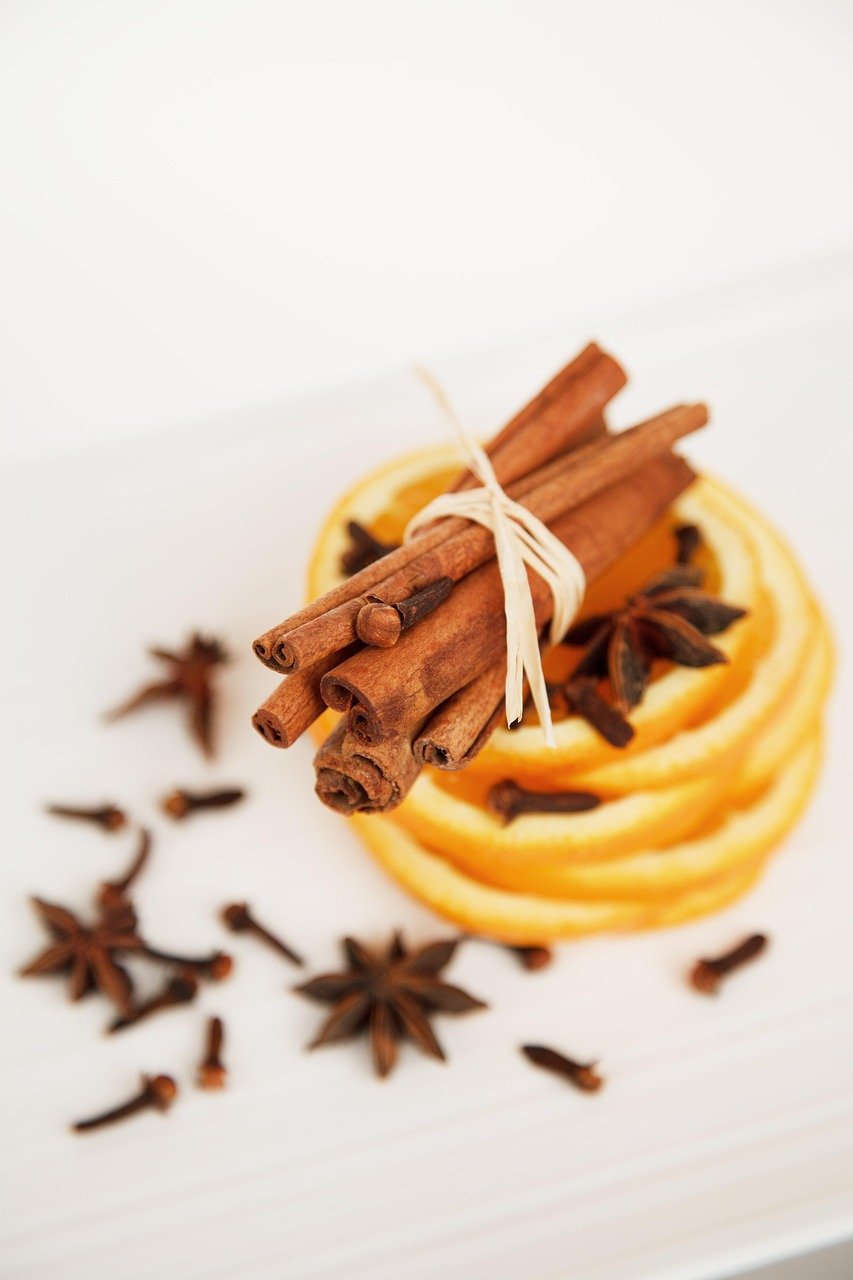
This is where the garland becomes a design piece. Tie a cinnamon stick between every few slices, tuck in fresh bay leaves, or weave the whole strand through a pine or magnolia garland. The Eden Project suggests alternating slices with cinnamon sticks and adding bay or holly. Cinnamon adds a rich brown that breaks up all the orange and releases a warm scent as it hangs. A bundle of cinnamon sticks in the baking aisle will do, but pick whole sticks that are straight and similar in length so they hang evenly.
Oven Drying vs. Air Drying: Which Is Better?
The oven is the most reliable route for most homes. Heat pulls out moisture quickly and consistently, and the slices finish in an afternoon. A dehydrator is even gentler: HGTV lists 125 to 145°F for at least eight hours, which is handy if you are making a lot of fruit for several garlands.
Pure air drying, with no heat at all, is possible in a dry, warm house, but it is slow and carries more risk. Fruit that sits damp for days is exactly where mold takes hold, especially in a humid climate. If you want to skip the oven for part of the process, a middle path works well: bake the slices until they are mostly dry, then finish them on a rack for a day or two in a warm, dry spot, which is what several of the tutorials above do. I would not trust a slice that is still cool or soft in the middle.
How Do You Keep Dried Orange Garland From Molding?
Mold comes down to one thing: leftover moisture. Blesser House puts it bluntly: make sure to completely dehydrate the slices, because any moisture left could attract bugs or rot. The Farmers’ Almanac gives a practical test: a properly dried slice feels stiff and leathery with no soft, cool spot in the center, and if a decoration develops spots or mustiness, toss it and dry a fresh one.
- Slice evenly so nothing stays damp in the center.
- Blot both sides before baking.
- Use a rack so air reaches both sides.
- Cure on the rack for a day or more before stringing.
- Hang the garland in a dry spot, away from steamy kitchens and bathrooms.
How Long Does Dried Orange Garland Last?
Within a single season, a well-dried garland will hold up for the whole holiday with no trouble. Beyond that, the sources are encouraging. Blesser House says a garland can last about two years if stored in an airtight container in a cool, dry place during the off-season. Love & Renovations says properly dehydrated and stored slices will last at least two years, and the Farmers’ Almanac says well-dried slices “can last for years” in an airtight container or a zip-top bag between sheets of paper towel, with a silica gel packet to manage humidity.
When you take it down in January, coil the strand loosely rather than crushing it, layer it with paper towels in a box or bin, and keep it in a cool, dark closet. Colors fade over time, but the shape and the cinnamon scent hold up for a while.
Where to Hang Your Dried Orange Garland
Once the garland is finished, it can go almost anywhere that stays dry. Reviewed suggests tying a little loop at each end so it hangs easily from doorways, window frames and mantels. A few places I like:
- Mantel or sitting room: Layer it with pine and candles, the kind of cozy, collected look we covered in this guide to the formal sitting room.
- Windows and kitchen: Hang it across the top of a window or over the sink, where light shines through the slices. It pairs nicely with DIY cafe curtains in a kitchen.
- Open shelves: Drape a short strand along floating shelves styled with books and candles.
- The tree: Spiral it around branches or hang single slices as ornaments.
- Gifts: Tie one slice to a wrapped package with twine and a sprig of rosemary.
For hanging on painted walls or trim, skip the nails. Removable adhesive hooks carry a lightweight garland easily and peel off cleanly in January. Garland weight is low, but always check the weight rating on the package and follow the surface prep directions so the hooks do not let go overnight.

If you love how fruit and greenery look together, you will find more ways to build that look in our roundup of Christmas decor that works in small homes and in the grandmillennial decor comeback, which shares the same layered, traditional spirit.
Variations: Apples, Lemons, Cinnamon and Star Anise
Oranges are the classic, but the method works for other fruit too. HGTV says the technique applies to grapefruit, orange, lemon and lime. Mix them in for variety:
- Lemons and limes: Slice and dry the same way. The Farmers’ Almanac notes they dry slightly faster than oranges, so check them earlier. Their pale yellow and green tones add contrast.
- Grapefruit: Large, pink-tinged rounds make a bold statement on a tree or a wreath.
- Apples: The Farmers’ Almanac says apple slices need an immediate lemon juice solution to prevent browning, then two to three hours at 200°F.
- Cinnamon sticks: Knot them between slices for color and scent.
- Star anise: It has no hole to thread, so tie it on with a short length of twine or thin wire. It looks beautiful tucked between slices and adds a spice note, though I treat it as an accent rather than the main event.
For a bigger weekend project once you are in a crafting mood, try a DIY tufted wall hanging.
Frequently Asked Questions
What temperature do you dry orange slices for a garland?
Most tutorials land between 175°F and 225°F. HGTV uses 175°F for three to four hours, while Reviewed, the Farmers’ Almanac and Blesser House use 200°F for roughly three hours. Start low, flip every hour, and remove slices as they finish. Your oven may run hotter or cooler than its dial, so trust the feel of the slice over the clock.
How thick should you slice oranges for a garland?
Aim for one-eighth to one-quarter inch. Reviewed recommends about an eighth of an inch but no larger than a quarter inch, and HGTV gives the same range. Thinner slices dry faster and look more translucent, while thicker ones take longer and are more likely to stay damp inside, which raises the risk of mold.
Can you make a dried orange garland without an oven?
Yes. A dehydrator works well, and HGTV lists 125 to 145°F for at least eight hours. The Farmers’ Almanac also describes a microwave method and an air fryer set to dehydrate, and Homes & Gardens suggests the air fryer as a preferred option. Skipping heat entirely is slower and riskier, so make sure the slices are fully dry.
How do you store a dried orange garland for next year?
Coil it loosely and store it in an airtight container or a zip-top bag, layered with paper towels, in a cool, dry, dark place. The Farmers’ Almanac also suggests adding a silica gel packet to control humidity. Sources say it can last about two years or longer. Before reusing it, check for soft spots or mustiness and replace any bad slices.
If you only have one free afternoon before the holidays, make this garland. Nine or ten oranges, a sharp knife, a rack and a patient oven give you a strand that smells like Christmas, looks like it came from a boutique, and can come out of its box again next December. Dry the slices completely, cure them on the rack overnight, string them with plenty of space and a few cinnamon sticks, and hang it where the window light can reach it.